It’s the middle of August and you know what that means; time to hastily plan last minute camping trips that you have put off all season because you can already almost feel the chill of winter’s prickly breath on the nape of your soon-to-no-longer-be-exposed neck. In an effort to make this planning as carefree and relaxed as you were maybe like four weekends ago I decided to write up this little guide.
I’ve got some tips and, you guessed it, tricks for you, as well as an outline of my approach. But honestly I’m going to try to keep my yap shut and let the photos do most of the talking because I was accompanied on this trip by a person who I consider to be objectively the best non-Canadian Chicago-based food photographer, and who also (unrelated to above opinion) happens to be my girlfriend.
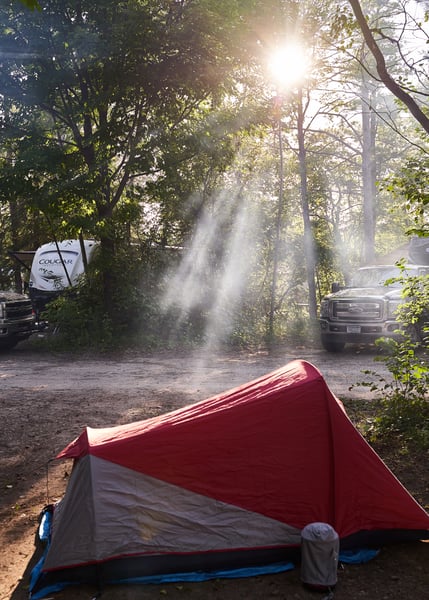
This guide will be geared towards car camping with a tent because that’s, you know, what we did. When deciding what to bring on a camping trip like this you want to be as prepared as possible while also bringing the fewest number of items. In light of this I packed the following equipment:
- A medium sized stainless steel saucepan
- A 8” thin gauge carbon steel skillet
- A 15” heavy gauge carbon steel skillet
- A 10” aluminum nonstick fry pan (I brought the one that was already dented)
- A medium sized cutting board with non-slip mat
- A half size aluminum sheet tray
- A wire rack to fit above sheet tray
- A grate from my oven to place above the fire (if you have a large grill grate, all the better)
- Two Leatherman multi-tools
- A hatchet
- A long carbon steel butcher's slicing knife
- An 8” single bevel stainless steel slicing knife
- A 9.5” carbon steel chef’s knife
- An 8” stainless steel chef’s knife
- A fixed blade pocket knife
- A folding pocket knife
- A fish spatula
- A silicone spatula
- Extra long wooden cooking chopsticks
- 12” cook’s tweezers
- A cake tester (for testing the doneness of meat)
- A large stainless steel spoon
- A wooden spoon
- A gram scale (for coffee)
- A handheld ceramic burr grinder (for coffee)
- A stainless steel kettle (for coffee)
- An aeropress (obviously for coffee)
- A pastry brush
- A half size 4” deep hotel pan
- A small mixing bowl
This may seem like ridiculous overkill, but let me assure you that it is. You could definitely get away with one saucepan, one skillet, a cutting board, a chef’s knife, a rubber spatula, some kind of grate to cook on, a large spoon, and tongs (which I actually forgot and is now, in retrospect, pretty embarrassing).
For food my strategy is actually one I do recommend trying out. I only brought main course stuff, staples I didn’t want to be without or buy again, esoteric things I wanted to use, but didn’t think I’d be able to find. It came out to roughly the following:
- A dozen eggs
- A block of cheddar
- A very large bone-in rib eye
- Breakfast sausage patties
- Flour tortillas
- Some herbs/flowers
- Really good salted butter
- Canola oil
- Salt and pepper
- 12 tall boys of Miller High Life (the champagne of beers)
- Thai Fish sauce
- Onions/garlic/shallots
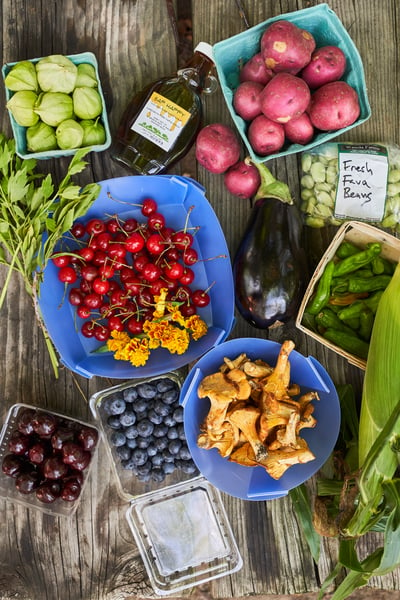
The rest I planned to get from a farmers market while I was up there. I really like this approach because not only is the most delicious produce in the area probably going to be at the farmer’s market, but then you can really experience the natural bounty of the region and the season, and isn’t that what camping is all about? We were in Wisconsin so we focused on cherries, corn, and dairy. But mostly cherries.
My advice is to start a fire immediately upon arrival. The longer you have to build up a strong fire and robust bed of coals the more pleasant your cooking experience will be, and it’s important to have some coals still smoldering in the morning to start a fire for making coffee and breakfast.
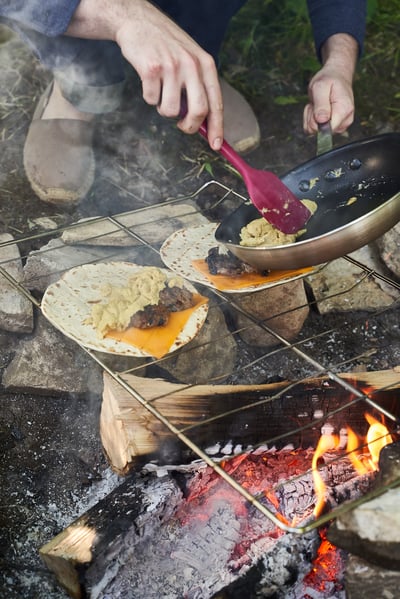
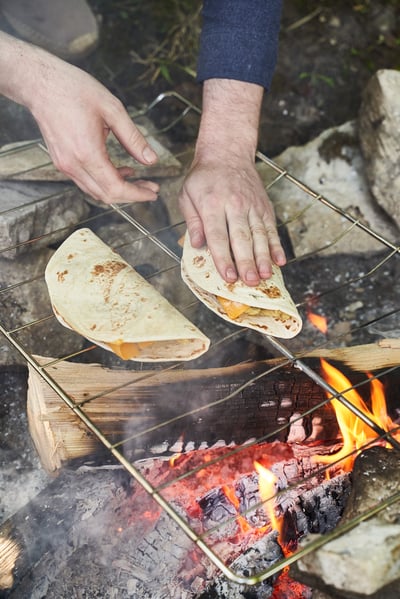
For breakfast I made simple quesadillas with the breakfast sausage, eggs, tortillas, and cheese. Afterwards it was off to the farmers market.
I ended up picking up eggplant, tomatillos, sweet cherries, tart cherries, blueberries, corn, chanterelles, potatoes, maple syrup, fava beans, lovage, and oregano.
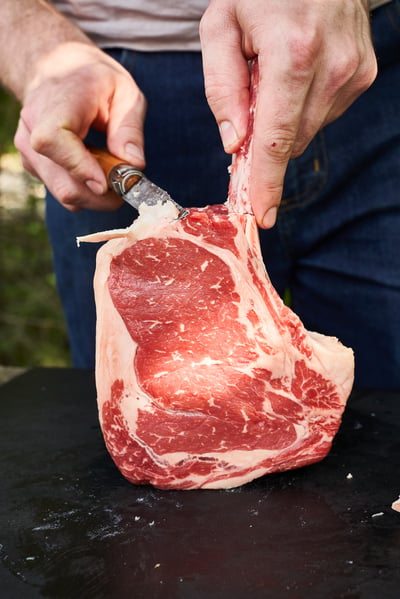
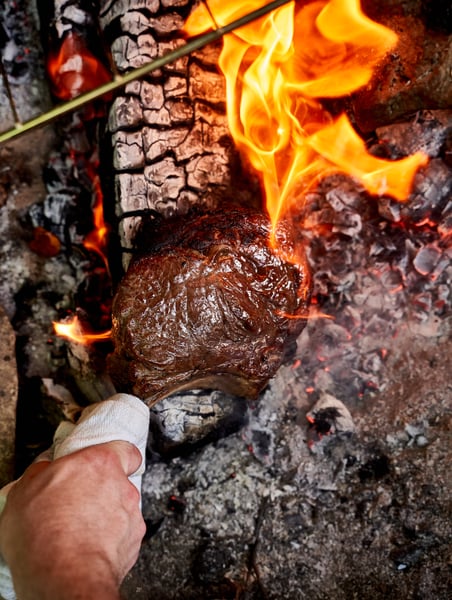
Before I started cooking I quickly cleaned up the bone on the ribeye, and made a glaze for it out of fish sauce, maple syrup, and salted butter, then seasoned it generously with salt before placing it on the grate opposite the fire so it could undergo a prolonged temper, and pick up some smoke.
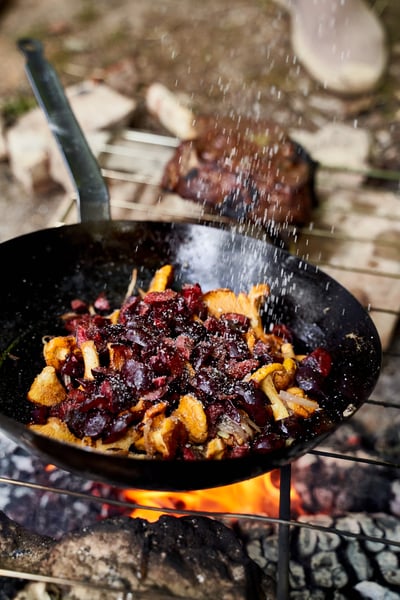
The eggplant got charred and dressed with a mignonette made with tart cherries and a dry cherry cider.
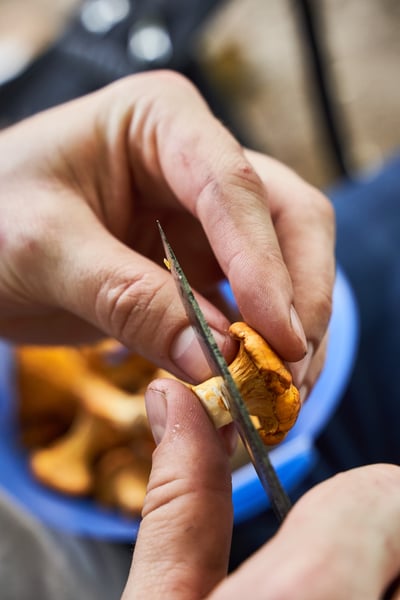
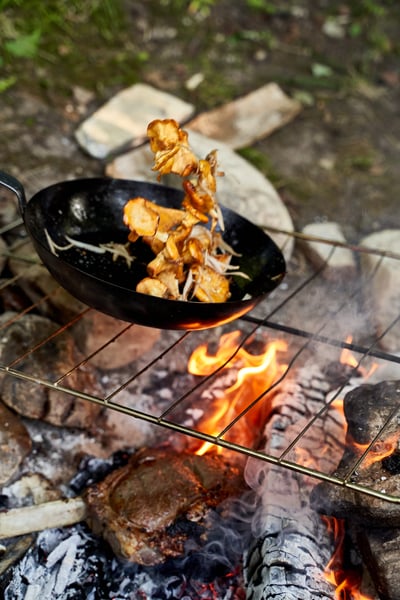
The chanterelles got cleaned, then sautéed with butter and shallots. Once the mushrooms were almost cooked I added the sweet cherries, and fresh oregano. This would be a condiment of sorts for the steak.
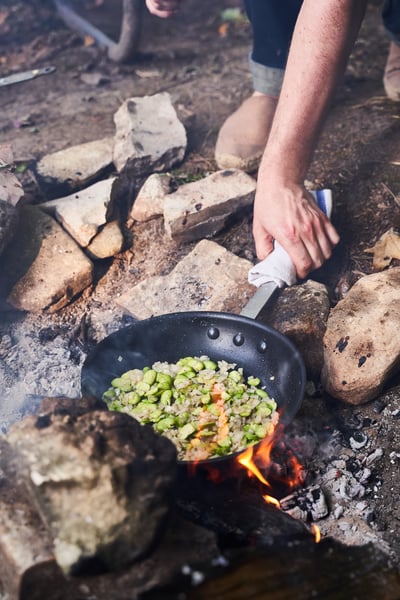
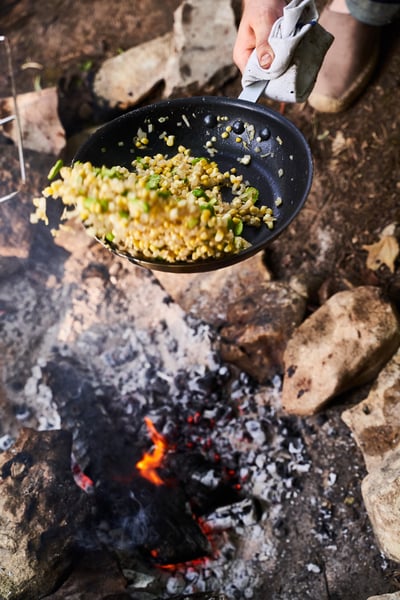
The fava beans and corn got made into a succotash with onions, garlic, and lovage.
When the steak was sufficiently glazed and tempered, I finished it off by dropping it directly on the coals.
And the potatoes just got boiled and dressed with butter and salt.
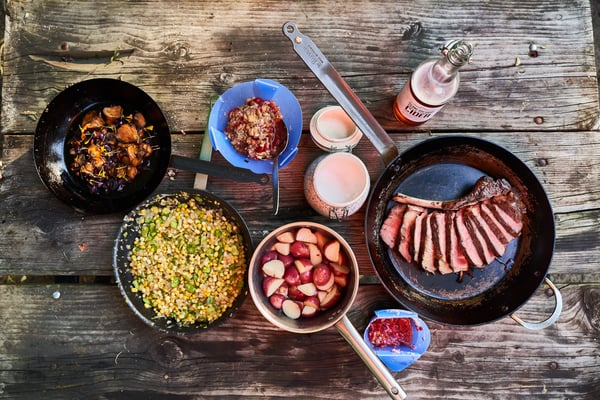
For dessert (aside from the obligatory s’mores), I cooked down some Wisconsin heavy cream with some Wisconsin maple syrup, then when it was very thick I used it to dress the Wisconsin blueberries, and finished it off with some whipped cream very lightly sweetened with maple syrup and some marigold petals (sadly not pictured).
I hope these photos inspired you to do a little live fire adventure cooking of your own, and if you’re interested in more campfire cooking recipes or techniques be sure to check out our new class Campfire Cooking coming up in September.
The Chopping Block also has a free Guide to Campfire Cooking which has recipes for breakfast, lunch, dinner and dessert to try on your next excursion.
