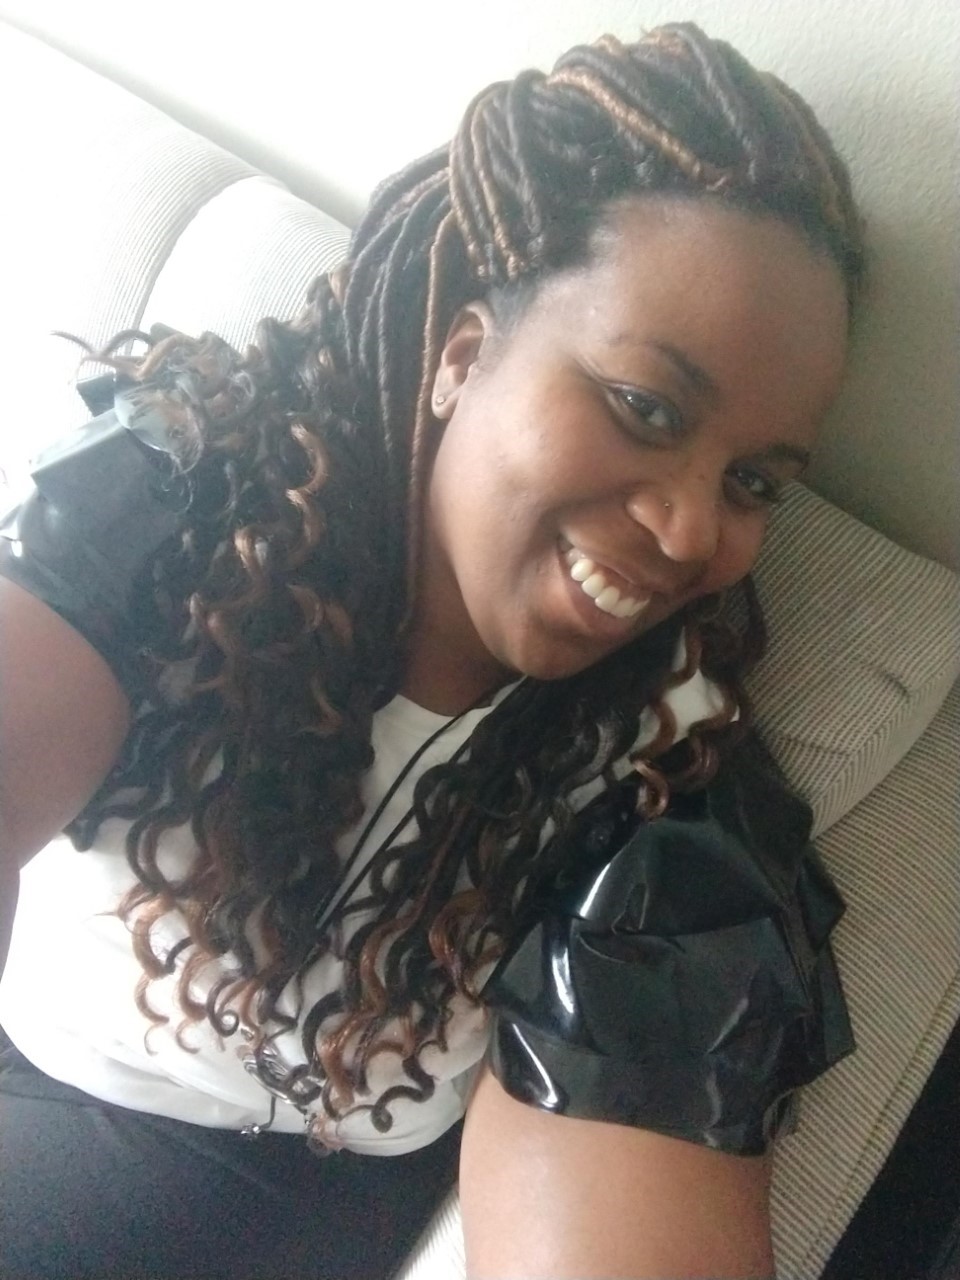
I recently had the honor of making a wedding cake for a friend. I had creative control with the exception of the cake flavor, which had to be chocolate. I thumbed through my collection of recipes looking for the perfect chocolate cake recipe and came across three I love: a traditional chocolate cake, a marble cake with a cream cheese and toasted Hazelnut filling and a red velvet cake. I thought a combination of these should satisfy the bride's desire for chocolate and still offer flavor complexity to the request.
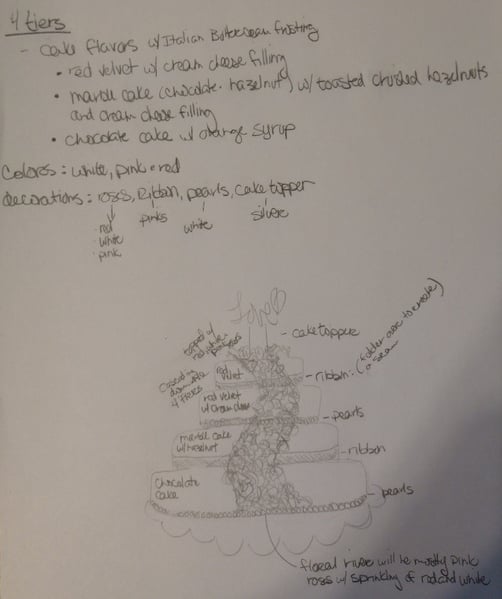
As I was contemplating making the cake, I got curious about the history of style of wedding cakes and found this source: A Brief History of Wedding Cakes - Traditional to Contemporary. The opulent, show-stopping wedding cake that we know today had its humble beginnings as a loaf of barley bread that was broken over the bride’s head by her groom. The Medieval time period brought about a wedding dessert (think donuts and sweet roll) that was piled high in front of the newlyweds. The newlyweds would attempt to kiss over the pile without toppling it. Frosting was introduced in the 17th century in Europe, and it wasn’t until the late 19th century that the more traditional cake as we know today arrived on the scene. After reading this article and perusing the Internet for wedding cake images, I felt like I could lean on my own creativity to create the perfect wedding cake for my friend. So, I sat down did a brain dump and created my version of a perfect wedding cake.
I started baking my cakes starting with the bottom layer and working my way up; that meant starting with the chocolate cake, then the marble cake and ending with the red velvet cake. I knew I already had a tested and approved chocolate cake recipe however I needed to find the perfect the marble cake and red velvet cake recipes. After another search, I found just what I was looking for the perfect Marble Cake and subtle chocolate Red Velvet Cake. I was most excited about baking the marble cake.
Marble Cake
2 cups (200g) cake flour
2 tsp. baking powder
1/2 teaspoon salt
1 cup (226g) unsalted butter room temperature
1 1/2 cups (300g) granulated sugar
8 egg yolks room temperature
3/4 cup (184g) whole milk room temperature
2 teaspoons vanilla extract
2 Tablespoons unsalted butter melted
1/4 cup (30g) unsweetened cocoa powder (make sure it's good quality)
1. Heat oven to 350°F. Prepare two 8-inch round cake pans by buttering (or spraying) and then adding a piece of parchment to the bottom of the pan.
2. Sift together cake flour, baking powder and salt in a medium bowl and set aside.
3. In the bowl of a stand mixer with whisk attachment, cream together butter and sugar on medium-high until light and fluffy, at least 3 minutes.
4. Lower speed to medium and add in egg yolks, one at a time, whisking after each addition.
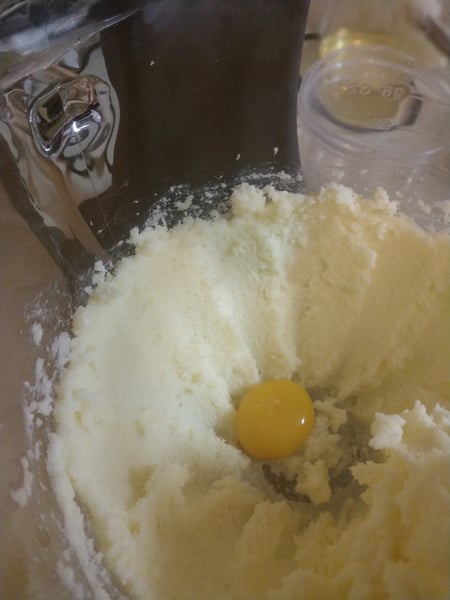
5. With the mixer on low, add in milk and vanilla and fully incorporate (usually about 1 minute).
6. Remove bowl from mixer and fold flour mixture into butter mixture. Mix until just combined.
7. In a small bowl, add the melted butter and cocoa and mix until combined.
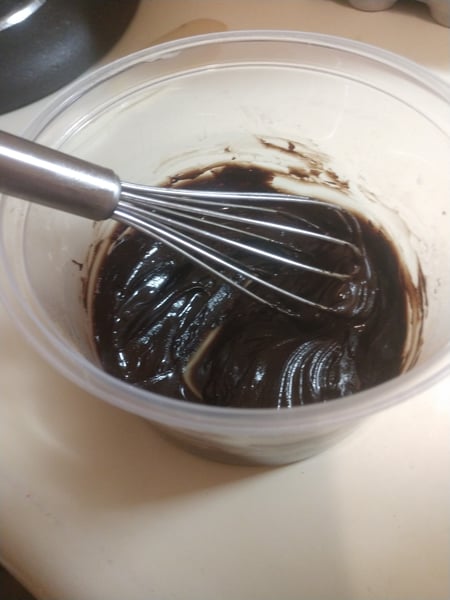
8. Add 3/4 cup of the yellow cake batter into the cocoa/butter mixture and fold together
9. Now add 3/4 cup of yellow cake batter to each cake pan and smooth out.
10. Divide the chocolate batter evenly between the two pans by dropping spoonfuls in a circle over the yellow batter.
11. Divide the remaining yellow cake batter between the pans and smooth out as much as possible without mixing.
12. Take a clean table knife and make a swirling pattern throughout the cake to gently achieve the marble effect.
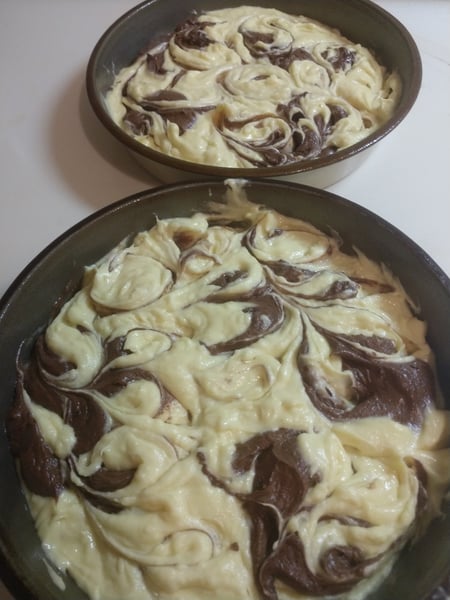
13. Bake for 20-30* minutes or until an inserted toothpick is removed clean from the center of the cake.
14. *Start checking the cake at 20 minutes. In the winter I can get away with a 22 minute bake time but in the summer it increases to 28 minutes. Just keep a close eye on it.
15. Cool the cakes for about 10 minutes then turn out onto a wire rack.
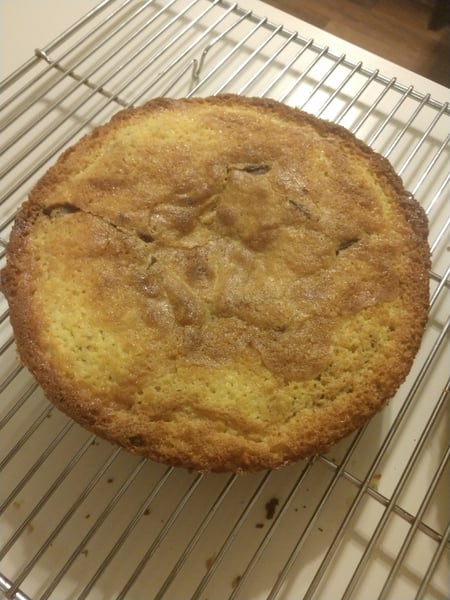
I repeated the baking process twice more for the chocolate and red velvet cake. Once the all the cakes where cooled, it was on to the second and third phase of the building process – crumb coating and frosting. The crumb coating seals in the moisture of the cake and makes the cake easier to frost.
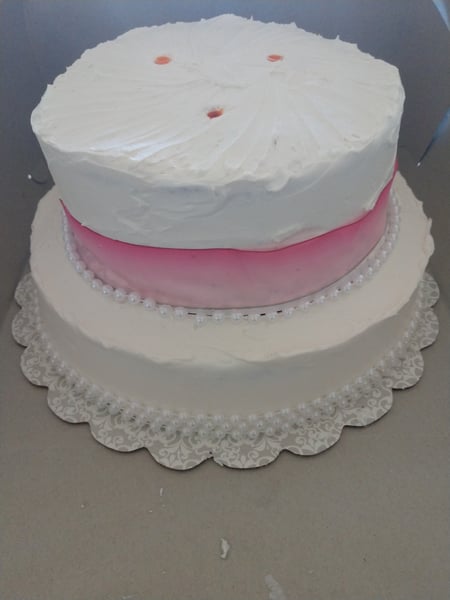
After the cakes were frosted, I was ready to individually decorate each cake and start the layering process.
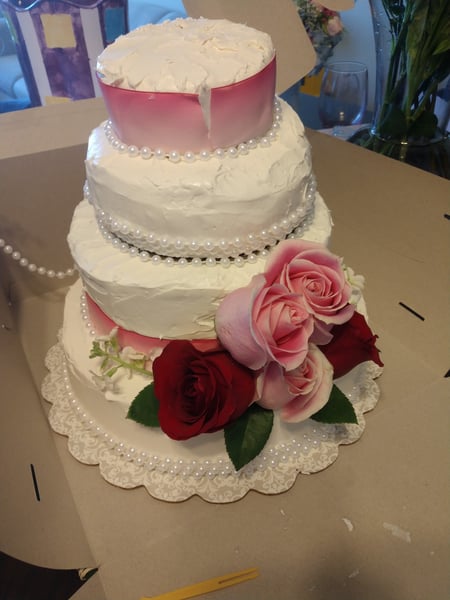
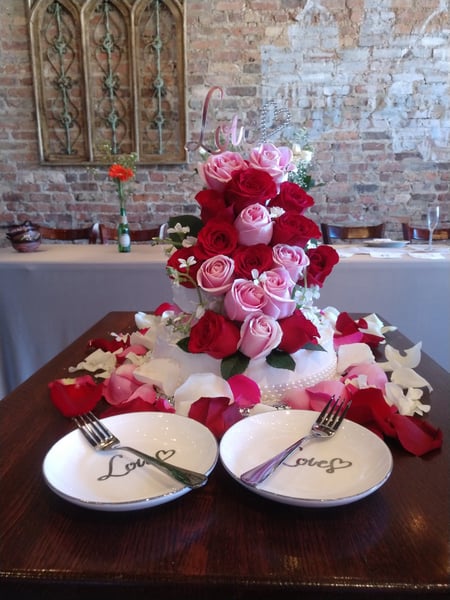
And here's the final project!
When looking for inspiration, the Internet can be helpful but sometimes you need some hands-on time with an experienced pastry chef. The Chopping Block can help with that! Here are just some of the upcoming baking and pastry focused classes on our calendar:
