
A few months ago, The Chopping Block team sent me over a document full of mouth-watering recipes, and I started taking photos for what will someday soon be a beautiful digital cookbook. As I am working through these recipes, I wanted to share a sneak peek into the process.
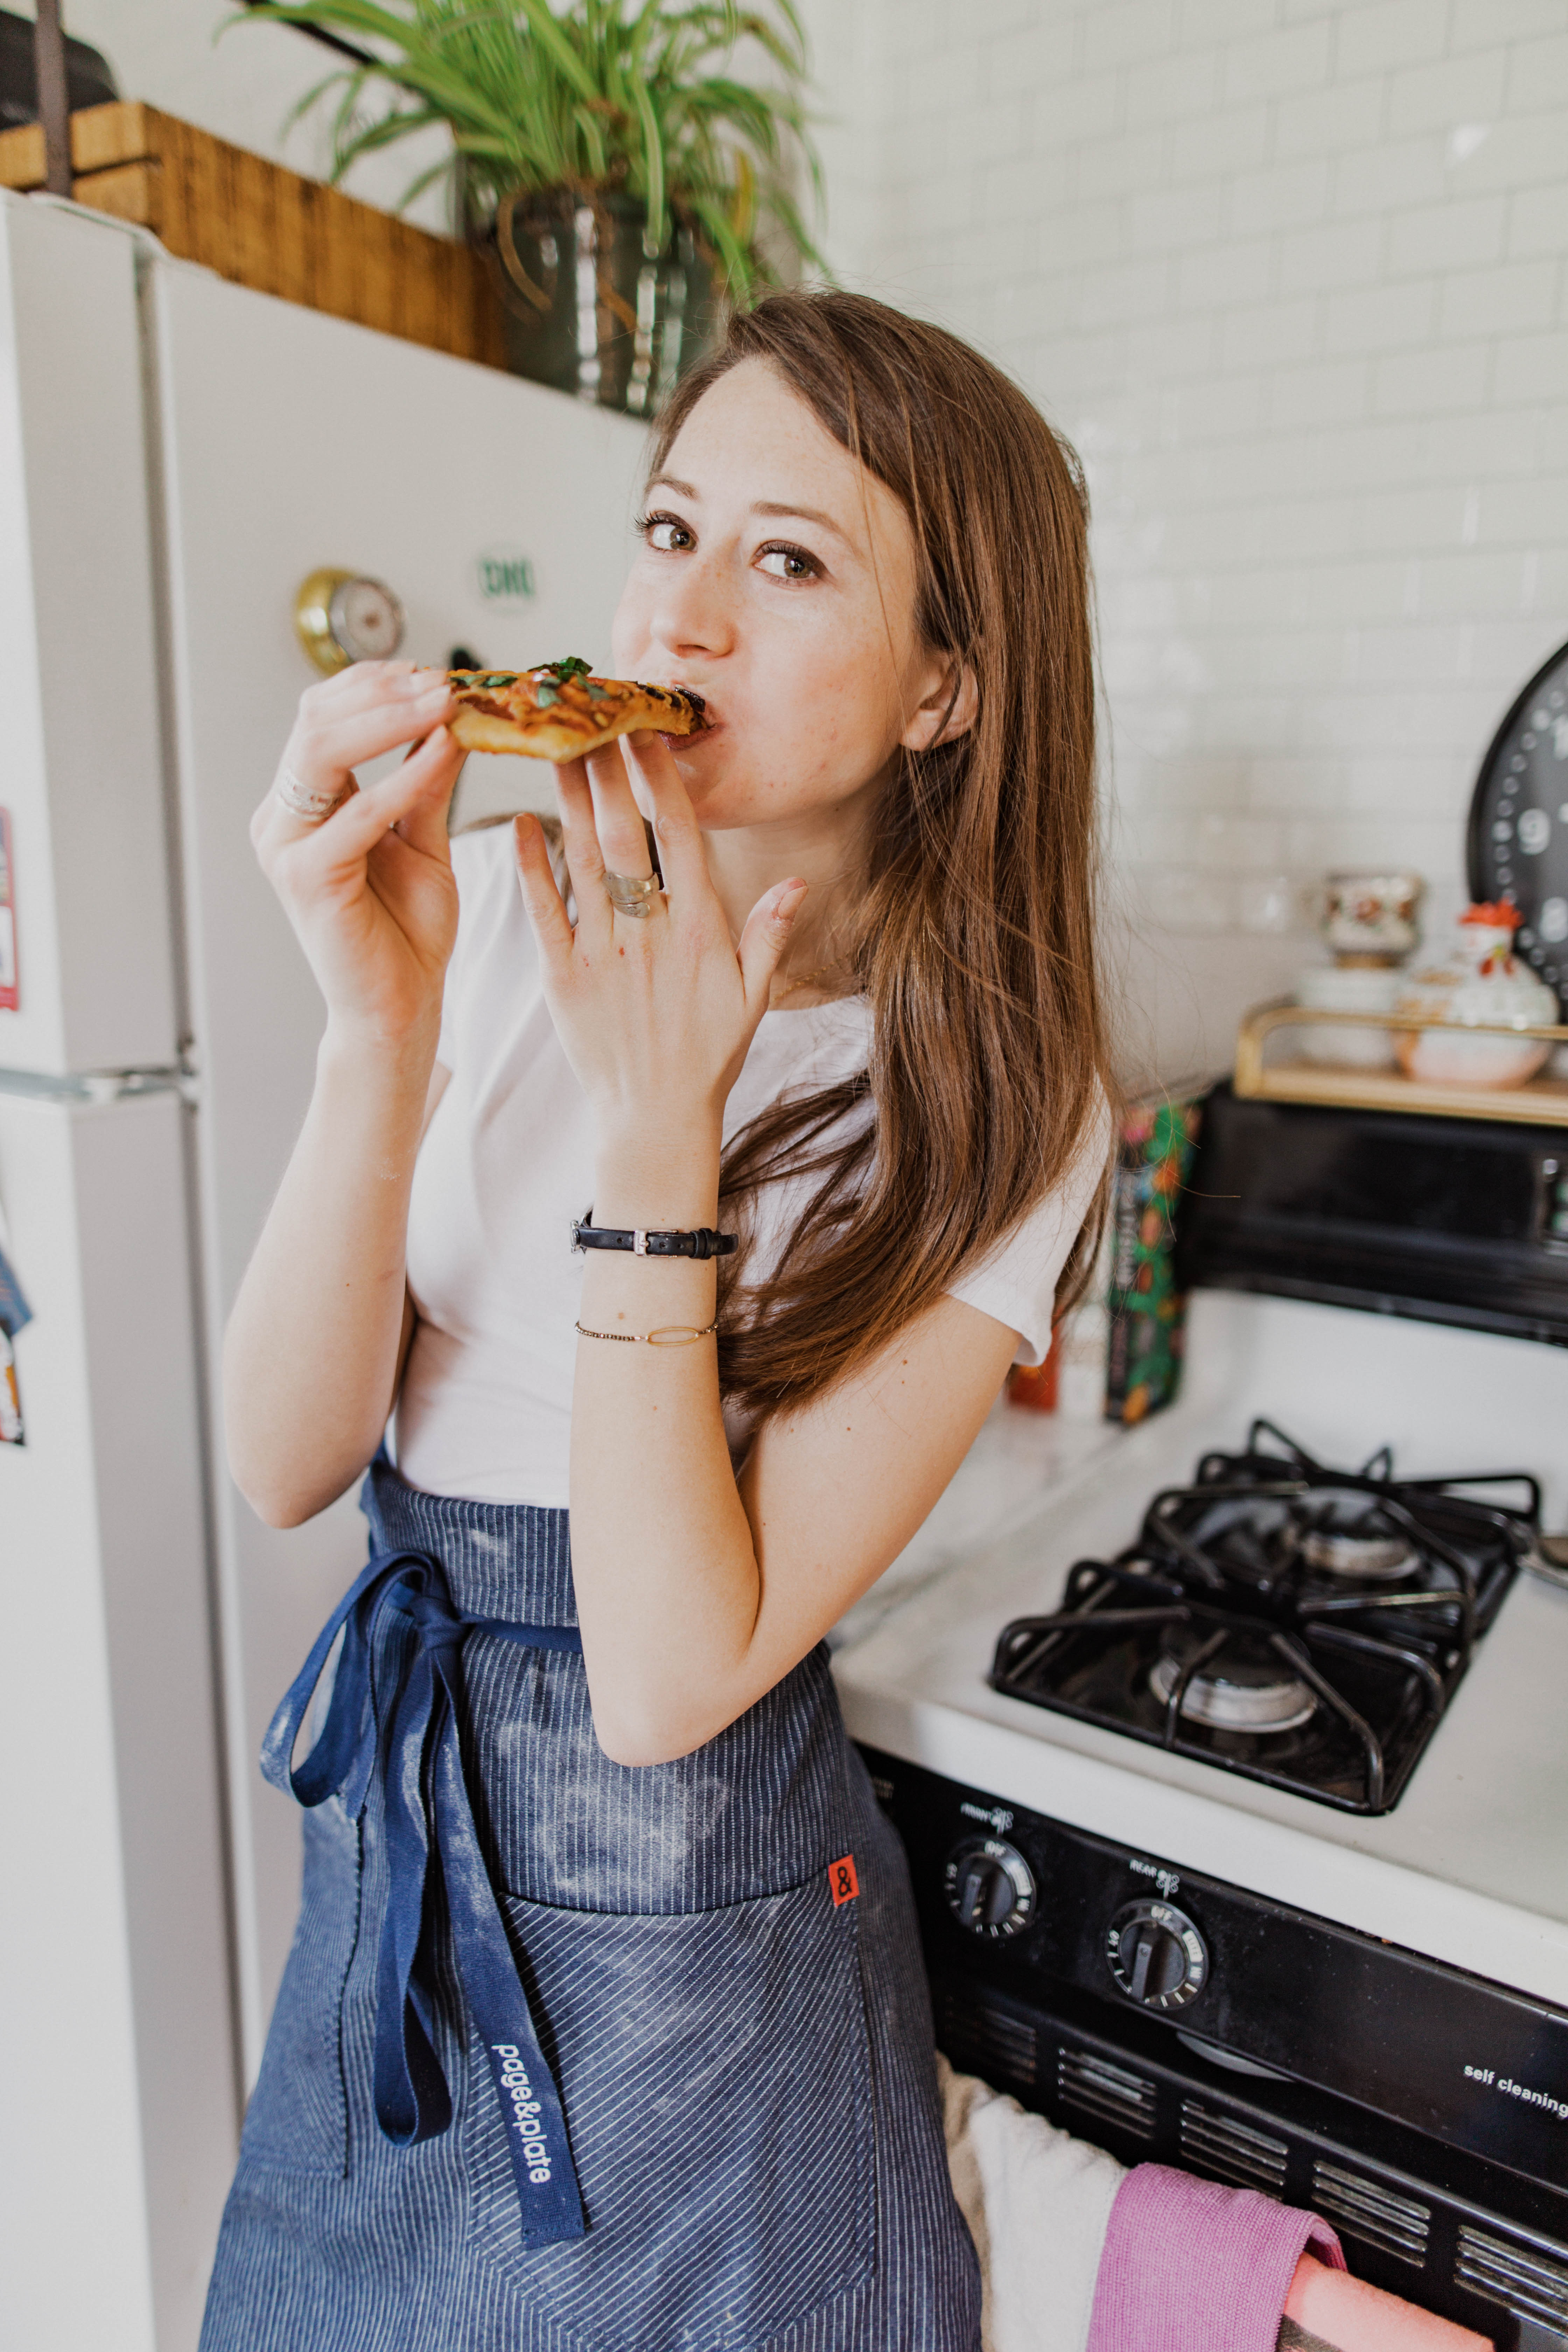
For this cookbook, I’m cooking and styling all of the food myself in addition to photographing it. This is fairly atypical: most cookbook photo shoots happen with the support of a food stylist and some assistants! Since I’m working from my home studio, though, I’m comfortable doing this on my own and with the help of a few foodie friends.

Prepping the Ingredients
The first thing I do is to read through the recipe to make sure that I understand the instructions and how the final dish is supposed to look. Because these recipes were carefully selected and written to showcase the skills learned in The Chopping Block’s Culinary Boot Camp, I always take my time to prep the ingredients according to the recipe. Once the ingredients are prepped, I pause and think about how the final dish will look.
Pulling Props and Setting the Scene
One of the reasons I pause here is to give myself a chance to curate how the scene for the photo will look before I’m busy cooking and trying to follow a recipe. When I select props, especially for a cookbook photo, I try to pick things that aren’t too busy or distracting. After all, we want the food to be the subject of the photo. Once I’ve selected the dishes and linens for the shot, I set up my light and my camera so I’m all ready once the dish is finished.

Styling and Shooting
After the dish is cooked, I plate it, first in the way that I would to serve it to a dinner party and then as served as an individual portion. Whether the full serving of the dish or the single serving is used in the final photo depends on how the subject works in the frame of the photo. Either way, when I’m styling the food for the hero shot, I always include plenty of garnishes and details to really capture the flavor of the food as best I can. Once the food looks its best, I start snapping photos.
Editing
Since I’m editing for a digital cookbook, I’m lucky enough to have access to the design as I’m shooting. I know what the page looks like, which makes it easy to edit the photo to look its best in the design. As always, since I’m editing a recipe that has been tested and recreated according to a carefully-written recipe, I don’t use any wild Photoshop to change the way the food looks in the photo. I want these photos to be a truthful recreation of the dishes as they’re spelled out in the recipes.
I can’t wait to share this cookbook with you! In the meantime, here’s a sneak peek photo of one of the recipes: an oatmeal cookie flavored with Garam Masala.
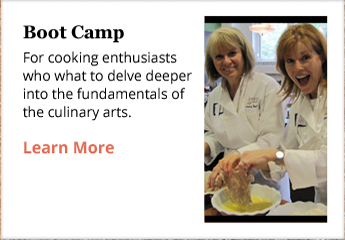
 Just one of the many techniques covered in Culinary Boot Camp is plating and presentation. If you would like to learn more about the five-day and five-star-rated course, peruse our webpage with a breakdown of dishes and techniques covered on each day.
Learn More about Culinary Boot Camp