For several months now, I’ve been toying with the idea of baking a Burnt Basque Cheesecake. The idea was first brought to my attention by my partner Fernando, who stumbled upon the recipe and thought it was something that I should definitely attempt.
It is such an unusual recipe because of the way it is baked that it initially made me nervous. But at the same time, I was quite fascinated with the recipe. It wasn’t until I finally attempted and baked a similar recipe that also challenged me that I decided to give Burnt Basque Cheesecake a try. The recipe that helped me decide was a recipe that I discovered in Milk Street Magazine for ‘Pao de Ló,’ a Portuguese Sponge Cake. With both recipes parchment paper plays a key role, both are baked in a springform pan, and both use eggs that play a big part in the baking process and the outcome of the texture of each cake.
My attempt at Pao de Ló was a success for the most part. The cake baked up beautifully, it had the spongy texture that I was looking for. It was sweet and eggy, deeply browned, with a wrinkly texture from the crumpled-up parchment paper used to bake the cake. Inside, the cake was a gooey, barely baked batter, in the center. The only issue is that the timing of the cake is most crucial. Removing it from the oven too soon could result in it being too gooey and an almost raw egg-like consistency. Removing it from the oven too late could lead to a denser sponge cake texture, losing the gooey and creamy consistency that the cake is known for.
The day I made the Pao de Ló happened to be a day that my oven completely conked out on me. I had already done the preparations for baking the cake, so instead of shelving the idea, I decided to use the oven in our vacant upstairs rental unit. It seemed like a great idea at the time, but as I mentioned, the timing of this cake is very crucial. My having to run up and down the stairs to check on the cake led me to remove the cake probably 2-3 minutes earlier than I should have. Once again, the cake was beautiful, it just wasn’t completely baked. It’s definitely on my radar to try baking once again though.
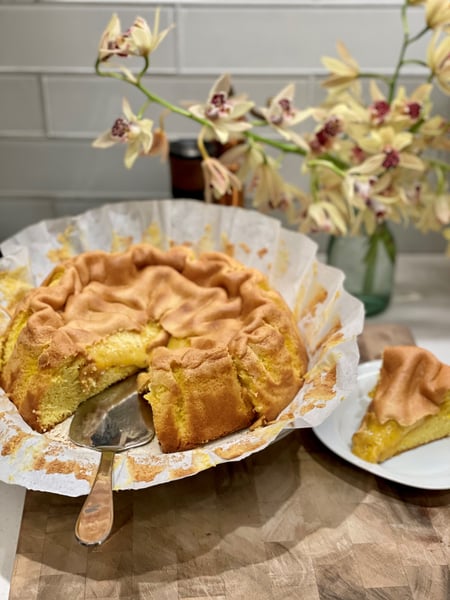
Here's a bit of backstory on the Burnt Basque Cheesecake. The cheesecake was invented in San Sebastián, Spain by the Chef/Owner of La Viña restaurant. And for over three decades now, this cheesecake has had chefs and foodies alike from London, Tokyo, Istanbul, Melbourne, Mumbai, New York, Paris, Hong Kong, Los Angeles, and hundreds of other cities completely obsessed and enchanted. Their obsession has led them on pilgrimages to Spain to discover the secret of this under-baked cheesecake, with a rough, wrinkly, caramelized almost burnt-like exterior. The website Tastecooking.com says about the Burnt Basque Cheesecake, “It breaks all the rules of the porcelain-white, even textured cheesecake (Americans) know,” says pastry chef Bea Vo, who’s based in London and has had La Viña’s cheesecake at least a dozen times. “It’s proudly tanned and even burnt in spots, with a rough, pillowy edge and oozy center.” That is the perfect way to describe this cake.
One of my favorite descriptions for this cake came from Molly Baz from Bon Appétit magazine. She calls the Burnt Basque Cheesecake “the anti-cheesecake!” Her YouTube video on the making of the cake is definitely worth watching. She brings a sense of humor to the baking of a cake that initially can look as something difficult to achieve. She makes it seem almost easy and quite fun to bake.
Unlike most American cheesecakes, this one doesn’t have a crust, and isn’t baked in a low temperature oven or using a water bath. It develops its almost crust-like texture from the high heat process that is used in order to bake it. It’s a cheesecake that is definitely not for the faint of heart or those avoiding fat content.
The first time you take a look at the cheesecake after it comes out of the oven, there’s something ugly-but-beautiful about its appearance. But the taste is absolutely spectacular.
Recipes can run the gamut. Some might include vanilla extract and some might leave it out. Other recipes might have cornstarch in place of flour, and some will leave out the flour and cornstarch all together. But you can be sure that they will all have a heavy amount of some type of soft cheese, either cream cheese, or goat cheese, lots of heavy cream and a heavy amount of eggs. The darkened top and sides has an enjoyable flavor similar to salted caramel or browned butter, with the added complexity and tang from the milk solids in the cheese, which caramelize at the high oven temperature.
I used Molly Baz’s recipe from Bon Appétit and for a quick second I thought about tweaking the recipe but then thought better. I considered maybe adding a bit more sugar, lessening the salt, increasing the vanilla content and possibly adding some lemon zest. I’m so glad that I didn’t and followed the recipe to the letter. I think if anything the next time I make it I might add a bit of lemon zest, but for the most part, the recipe is perfect.
A couple of tips regarding the recipe:
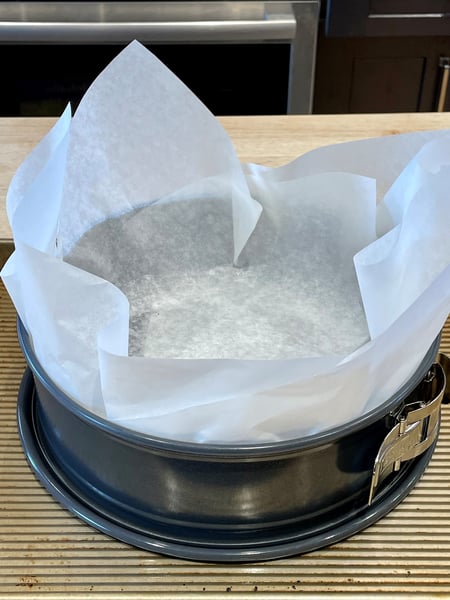
- Don’t be concerned about getting the sheets of parchment to fit perfectly in the springform pan. One of the most distinct features of the cake is the wrinkles and creases that will form from the crumpled parchment paper.
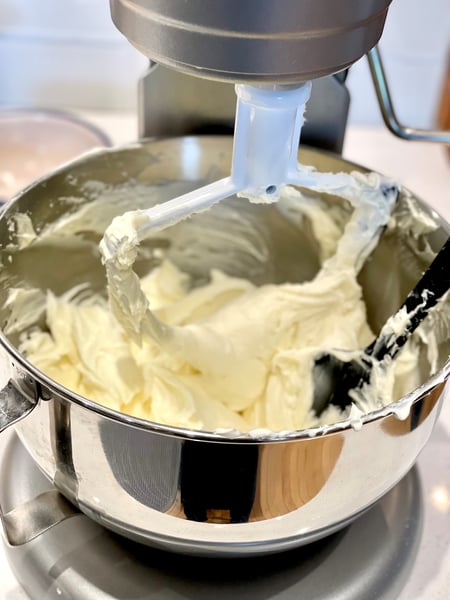
- Make sure to scrape down the sides of the bowl often when mixing your batter.
- Add each egg one at a time, making sure to fully incorporate fully for at least 15 seconds before adding the next.
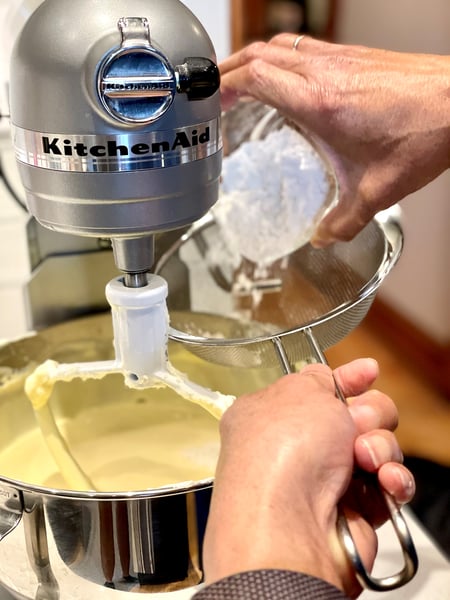
- Turn off the mixer and sift in the flour evenly over the cream cheese mixture.
- You want the cake to have a very jiggly center after the baking time and once you remove it from the oven. The more jiggle the better!
Once you cut into your first slice, it should have the appearance of a beautiful wedge of soft cheese, like a Brie or Camembert. Then sit back and enjoy with a nice glass of Spanish sherry!
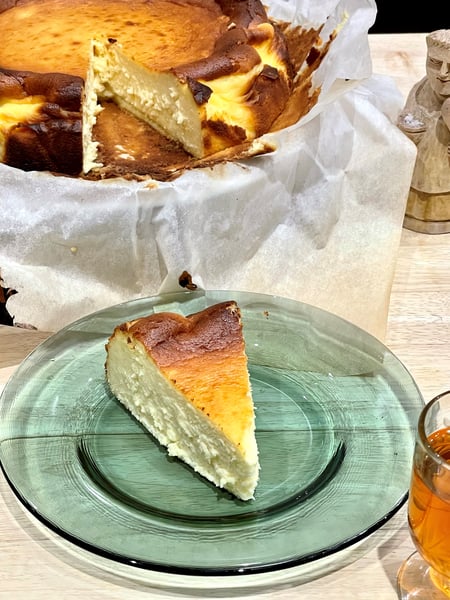
Burnt Basque Cheesecake
Recipe courtesy Bon Appétit (printable version here)
Prep time: 15 minutes
Cook time: 60-65 minutes
Total time: 80 minutes
Makes One 10” Cake
Equipment:
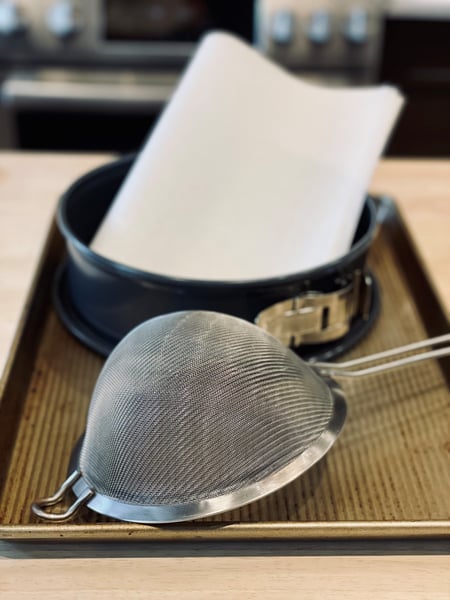
A 10” diameter springform pan
2 16x12” sheets of parchment paper
A sieve to sift the flour
A rimmed baking sheet pan
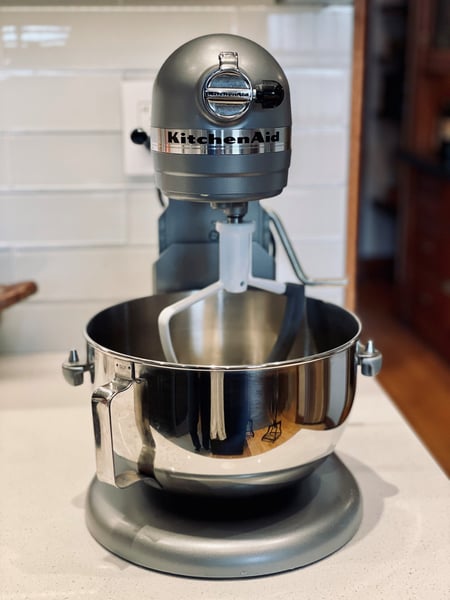
Stand mixer
Ingredients:
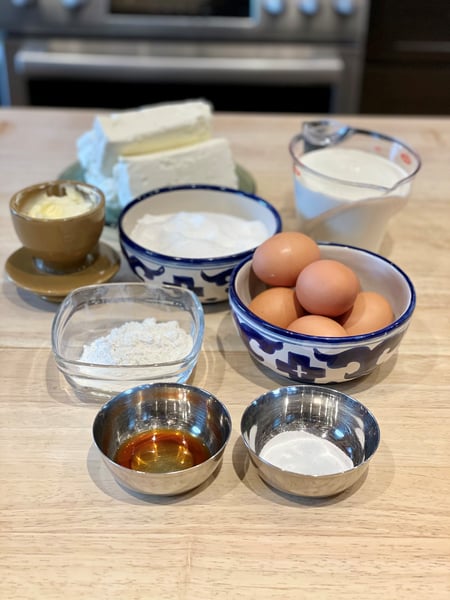
1 tablespoon of soft unsalted butter (for pan)
2 lbs. (4 - 8 oz. blocks) of cream cheese, at room temperature
1 1/2 cups sugar
6 large eggs, at room temperature
2 cups of heavy cream
1 tsp. kosher or fine sea salt
1 tsp. vanilla extract
1/3 cup all-purpose flour
 1. Place a rack in the middle of the oven and preheat to 400°. Butter pan, then line with two overlapping 16x12” sheets of parchment paper, making sure parchment comes at least 2” above top of an on all sides. Because the parchment needs to be pleated and creased in some areas to fit the pan, you won’t end up with a clean, smooth outer edge to the cake; which is okay, that’s what gives the cake its distinctive wrinkly folds and creases. Place pan on a rimmed baking sheet.
 2. Beat cream cheese and sugar in the bowl of a stand mixer fitted with the paddle attachment on medium-low speed, making sure to scrape down the sides of the bowl, until the mixture becomes very smooth, no lumps of cream cheese remain, and the sugar has dissolved, about 2 minutes.
 3. Increase speed to medium and add eggs one at a time, beating each egg at least 15 seconds before adding the next. Scrape down sides of bowl, then reduce mixer speed to medium-low. Add cream, salt, and vanilla and beat until combined, about 30 seconds.
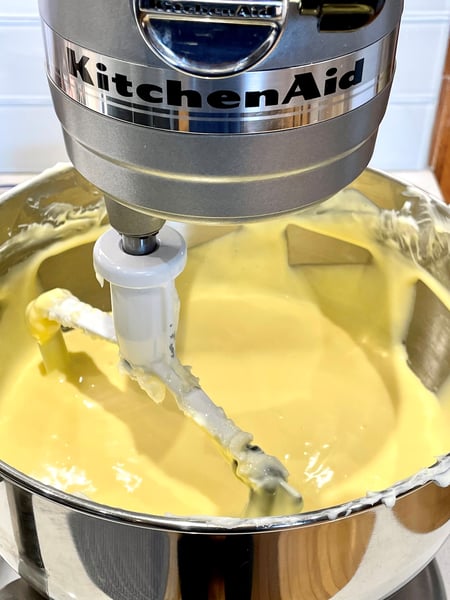
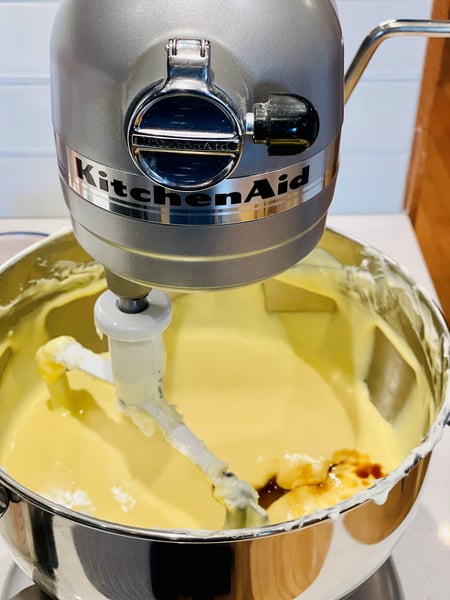 4. Turn off mixer, and sift flour evenly over cream cheese mixture. Beat on low speed until fully incorporated, about 15 seconds. Scrape down sides of bowl once again, and continue to beat until batter is very smooth and homogenous, about 10 seconds.
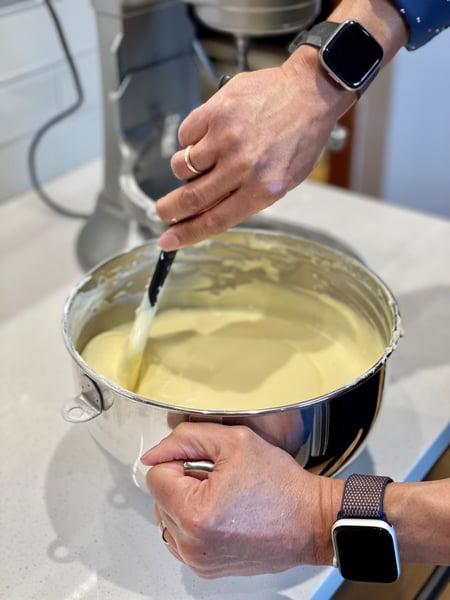 5. Pour batter into prepared pan, and using a silicone spatula smooth out the batter. Bake cheesecake until deeply golden brown on top and still very jiggly in the center, 60-65 minutes.
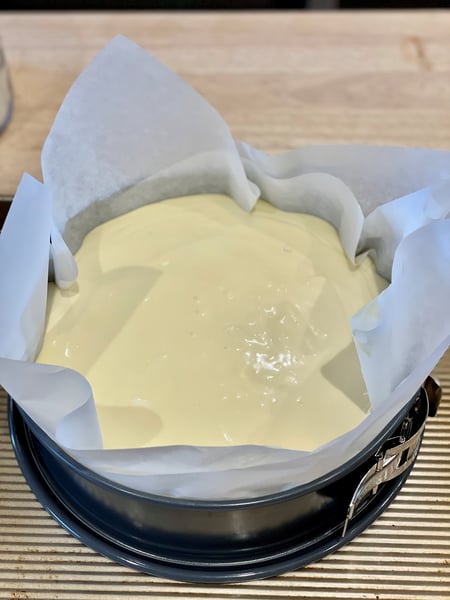
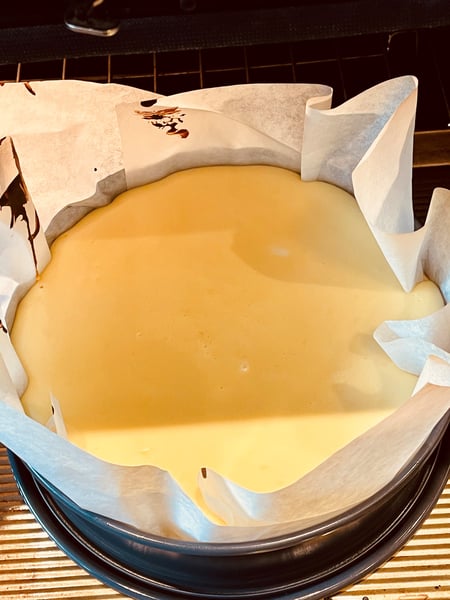 Cake after 25 minutes in the oven
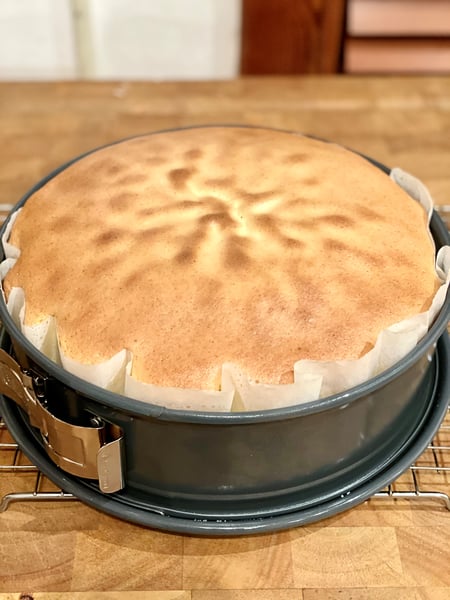 Cake right out of the oven
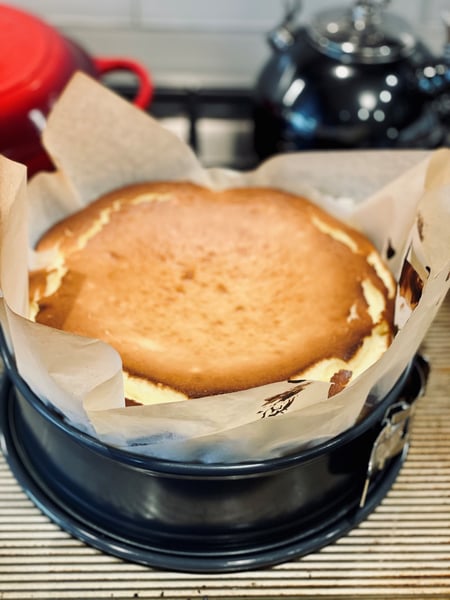
Cake a few minutes out of the oven
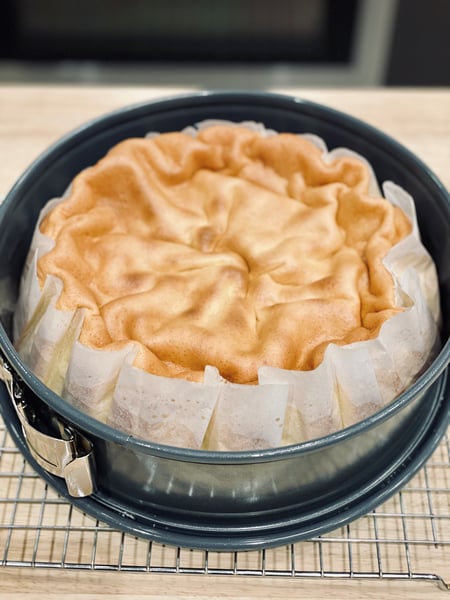 Cake after cooling longer
6. Let cool slightly, (it will fall drastically as it cools), then unmold. Let cool completely. Carefully peel away parchment from the sides of the cheesecake. Slice into wedges and serve at room temperature, preferably with a glass of sherry alongside.
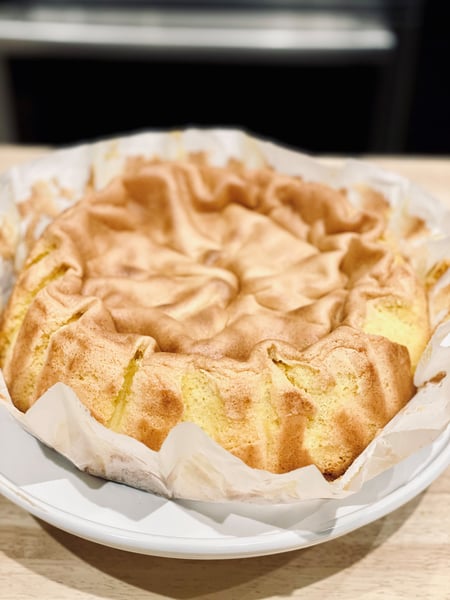
Cake unmolded from springform pan
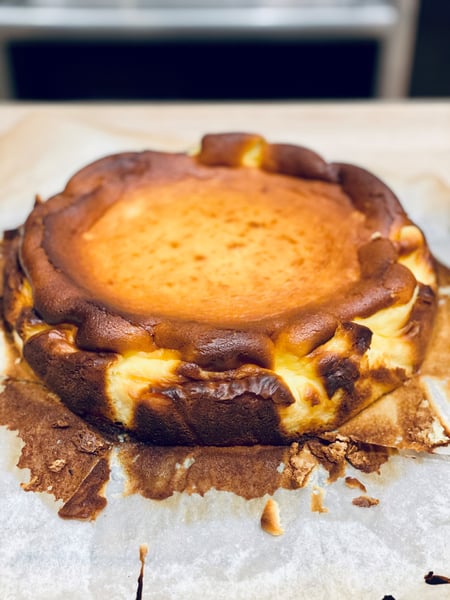
Cooled cake out of pan
Do Ahead: Cheesecake can be made one day ahead. Cover and refrigerate, be sure to let cheesecake sit for several hours at room temperature before slicing and serving.
While researching this recipe, there were a few recipes that suggested eating the cheesecake cold right out of the refrigerator, and emphatically dissuaded against microwaving it to warm it before eating.
The taste and texture of this cheesecake is so luscious. It’s not dense and doesn’t have that granular feel of other cheesecakes. It’s smooth and almost silky. Baking this cheesecake has given me the impetus to now try another recipe that I’ve been thinking about for several months, the famous Portuguese custard tart dessert, Pastéis de Nata. I can’t wait to do so and write a blog about it!
If you want some help brushing up on your baking skills, The Chopping Block has a lot of upcoming classes that will also meet your sweet tooth cravings. Join us for:
- Virtual Cake Donut Workshop Saturday, May 1 2pm CST
- In-Person Pie and Tart Boot Camp Sunday, May 30 10am Lincoln Square
- Virtual Custards Workshop Saturday, June 19 2pm CST
And if you have a child who loves to bake, our kids and teen summer camps feature baking camps for all age levels.
