Whenever I teach one of The Chopping Block's pizza-making classes, I always demonstrate to my students how easy it can be to make dough using a food processor. They are usually impressed, and I hope you will be too!
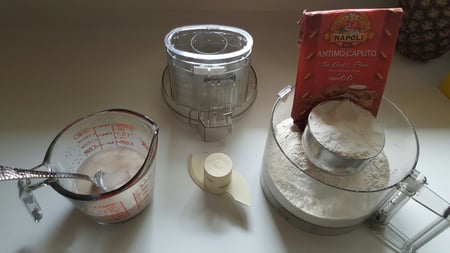
There are three ways to make yeast dough: hand-knead, stand mixer, and food processor. The big benefit of using a food processor is that it saves a tremendous amount of time. For example, if you hand knead or use a stand mixer, it usually takes around 15 minutes from start to finish. In a food processor, you can make dough in less than 5 minutes from start to finish and the added bonus is that usually the dough will rise faster because it is slightly warm after kneading.
Most food processors come with two blades-- metal and plastic.
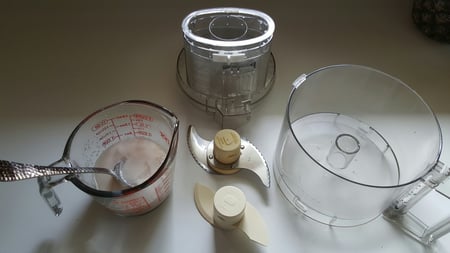
Most manufacturers recommend using the plastic blade for making bread doughs. By accident and a little trial and error, I found out that the metal blade can be also used and less time is needed to accomplish the kneading. The important thing to remember when using the metal blade is that it creates much more heat and that can easily affect how the dough rises.
For example, as the dough comes together in the food processor it will form a ball and roll around the bowl. When that happens using the plastic blade, you will process the dough for 20 seconds before stopping and rotating the dough from the top to the bottom adding flour as needed.
When you use the metal blade the exact same process is used except you use only 12-15 seconds before rotating. As mentioned the metal blade creates much more heat and if the dough gets too hot, some of the yeast cells will begin to die which lessens the rise of the dough. Whether you are using the plastic or metal blade the kneading process in the food processor take 4 turns of either the 12-15 or 20 second interval.
Let’s talk a little more about yeast. They are living organisms that are single celled. There are hundreds of strains of yeast, but only very specific strains are used for bread making. Yeast is very susceptible to heat in that when they are exposed to temperatures above 130 degree they die.
When I began to work with yeast, I was taught to use tepid water to activate it, which is roughly your body’s temperature. Yeast can be activated using cold water, but it will take longer. The general rule is that if your water feels hot, don’t use it.
The next thing to remember is that yeast loves sugar and I always put ½ to 1 teaspoon in the activating solution whether the recipe calls for it or not. The proofing of the yeast is essential for the initial rise of the dough. When yeast has proofed, it usually takes on the look of a foamy spongy on top of the liquid. As the bread dough proofs (rises/expands) the naturally occurring sugars found in the flour are converted to carbon dioxide.
Lastly, when I was in culinary school my bread baking instructor gave our class a simple ratio for making any bread dough and it is 1 cup liquid to 1 package (tablespoon) of yeast to 3 cups of flour (preferably a high gluten flour). Try this pizza dough recipe in your food processor:
Pizza Dough (Using a food processor)
6 ounces of tepid water plus 2 ounces
1 tablespoon active-dry yeast
½ teaspoon sugar
3 cups of bread flour or Italian “00” flour (available at The Chopping Block)
1 teaspoon sea salt
2 tablespoons of extra virgin olive oil
- Dissolve the sugar into the water and then add the yeast and stir well. While the yeast is proofing, add the dry ingredients to the food processor bowl using the metal blade and pulse for 3 seconds.
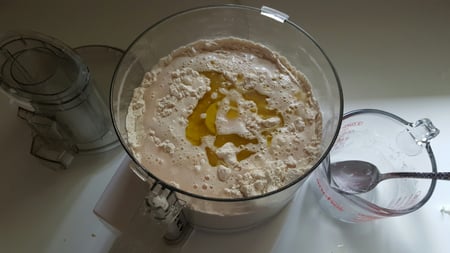
- When the yeast has proofed, add it with the olive oil to the dry ingredients. Using the pulse button, combine the wet with the dry with 5-10 pulses. Add the other 2 ounces of water to the measuring cup and rinse out any yeast that remains and add to the dry ingredients and pulse for 3 more seconds. Turn on the food processor and run until the dough comes together into a ball and rolls around the bowl. As this occurs, count 12 -15 seconds and then stop the machine.
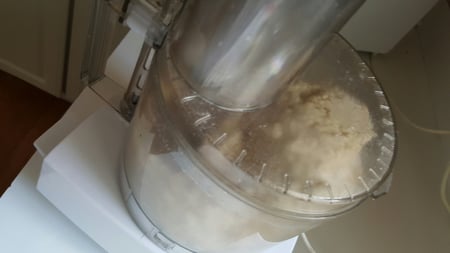
- Lightly dust the dough and flip it so that the top is now on the bottom. Note: you will feel the dough on the bottom being warmer than the top.
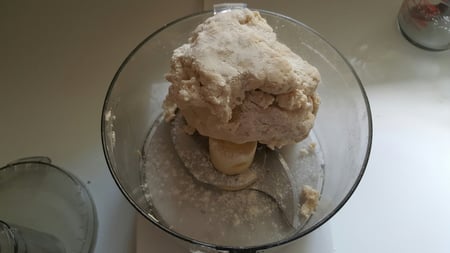
- Repeat the kneading of the dough process 3 more times so that in the end you have kneaded the dough approximately one minute. Remove the dough from the work bowl and hand-knead for another 30 seconds until the dough is smooth and easily springs back when poked with your finger.
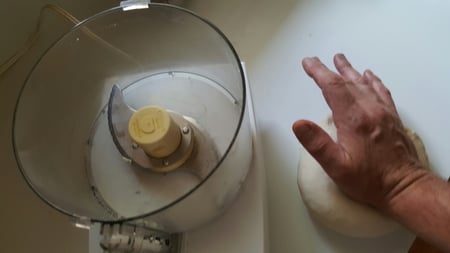
- If you need to shred cheese in the processor, this is a perfect time to do it since your work bowl should be basically clean. Otherwise lightly coat the outside of the dough with olive oil and the inside of the work bowl and divide the dough, cover, and allow it to double in size.
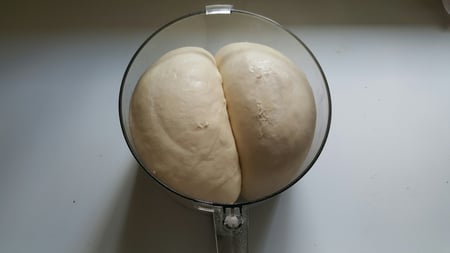
- This usually takes about 45 minutes and then you are ready to work with your dough.
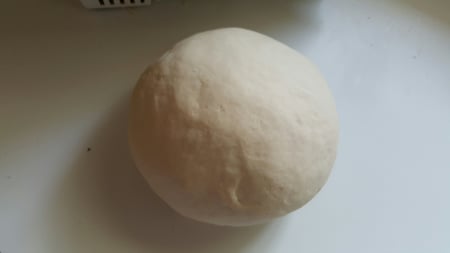
Give this homemade pizza dough method a try, and let me know how it goes in the comments. If you need more hands-on experience with pizza dough, don't miss our upcoming Neapolitan Pizzeria classes:
June 28 Lincoln Square
July 25 Merchandise Mart


