Depending on the time you are reading this article, you may have noticed fall brings in a restructuring of the grocery store. Large sections have been refitted from summer enjoyments like soft drinks and s'mores. The shelves instead are arranged for fall foods, which means a bounty of cans! Green beans in a can, cream of mushroom cans, and from other food groups, gravy, jellied cranberry, and the most telling that fall is undeniably here, 100% pure pumpkin, also (not surprisingly) in a can.
 Certainly you are not reading this article for an easy-can-dump recipe. We have our parents and the internet to thank for a spellbindingly vast array of easy recipes where the only technique is to open a can, dump-stir, and follow the oven timings. That may be ideal for those who want to play it safe, but my bet is you are here for food that is both culinarily delicious and a challenge.
So, here it is:
Roasted Pumpkin Snack
Scroll down for a printable version of this recipe
Serves 2-4
Prep time: 10 minutes
Cook time: 20 minutes
Total time: 30 minutes
1 pie (sugar) pumpkin
Salt and pepper to taste
2-3 teaspoons cooking oil of your choice
6 cloves
1 cinnamon stick
1/3 finely grated whole nutmeg
2-4 Tablespoons Real Maple Syrup (Grade A or B)
Note: you can replace whole fresh ground spices with 2 teaspoons ground pumpkin spice.
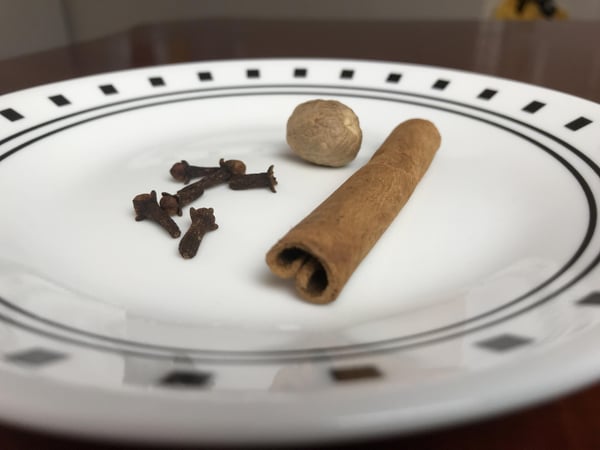 1. Preheat oven to 400 degrees F.
2. Wash the pumpkin thoroughly and dry it.
3. Cut the top and bottom off the pumpkin then cut the pumpkin in half.
4. Scoop out the seeds and guts, then peel off the skin.
5. Cut into 1 cm or 3/4 inch slices like a rainbow.
6. Cut those slices in half to make half rainbows.
7. Toss in a large mixing bowl with ground spices, salt, pepper and oil.
8. Place on a sheet pan lined with parchment paper and bake for 20 minutes or until soft. If still crunchy, continue cooking for an additional 5 minutes until soft.
9. Place on a plate and drizzle with maple syrup.
Be careful while cutting your pumpkin! If not done with care, splitting a pumpkin can be dangerous. This is part of the challenge and fun.
Place the pumpkin on the side that rolls the least. I recommend using a sturdy (not bendy) serrated knife and cutting the top and bottom pieces off with a gradual sawing motion.
Consider those tiny safety serrated knives that come with a decorative pumpkin carving kit. Though I don’t recommend using them, acknowledge how they work. Operate with a short sawing motion that is always in control. This is an ideal, safe way to cut the ends off, then in half.
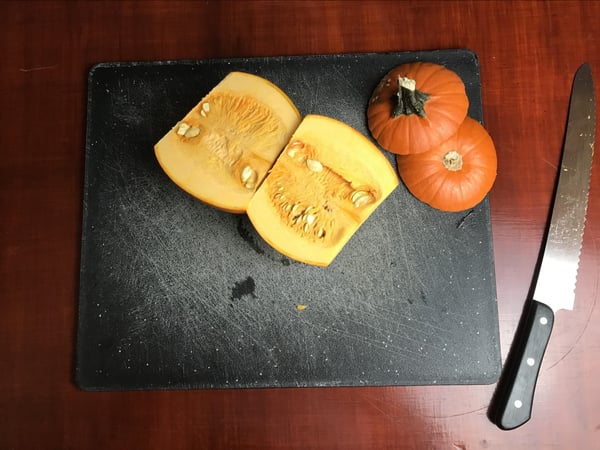 Once in half, scoop the seeds out with a sturdy spoon and peel the pumpkin with a peeler. I recommend using a horizontal peeler instead of a vertical peeler for control.
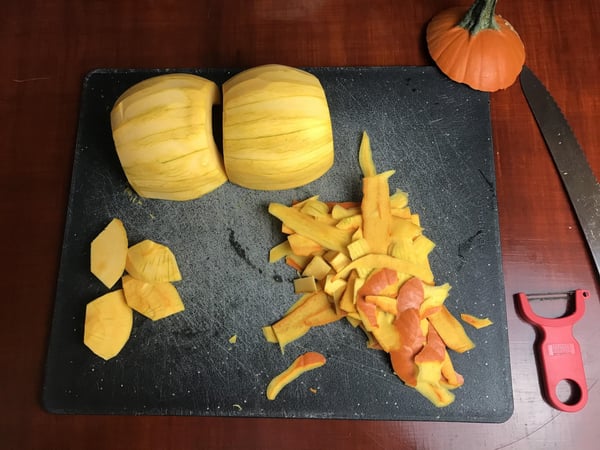 Once peeled, make 1 cm - 3/4 inch slices with the serrated knife making sure that they are as even as possible, or else they will have uneven cooking times. Uneven cooking times result in some pieces crunchy, while others are mush. You have an option here to cut the long rainbow slices in half so they are a little shorter. I highly recommend doing this, they will be easier to eat.
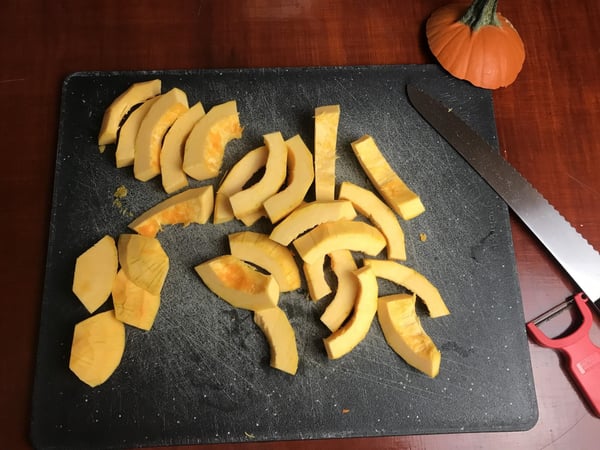 Finish all of your cuts then place into a large bowl.
Then grind your spices if you are using whole. Obviously using freshly ground spices are going to have a more dynamic flavor, making you a better cook.
I often use an electric spice/coffee grinder, adding a few whole black peppercorns, cloves, and a whole cinnamon stick that I have broken into small pieces by hand.
I make sure the spices are evenly ground by holding on to the grinder with two hands and shaking it a bit during the grind so there is no grit or chunks of spices remaining. You also may pulse the grinding for adding to this result.
Drizzle the pumpkin with oil, grated nutmeg, and toss with the spices and salt.
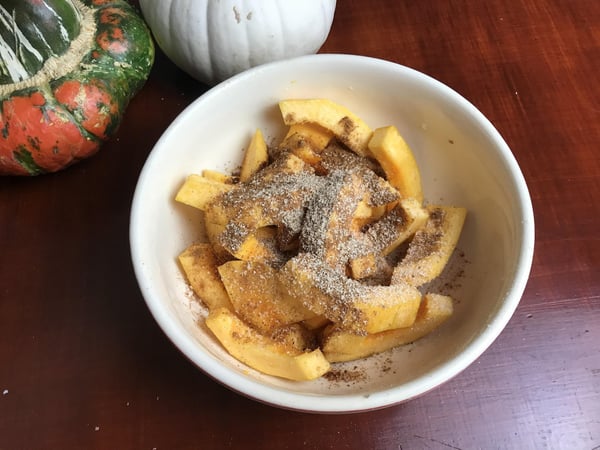 Once seasoned and oiled on all sides, place pumpkin on a baking sheet lined with parchment paper. Bake in a preheated 400* oven for 20 minutes. After 20 minutes be careful opening your oven, there might be a significant amount of steam built up in there.
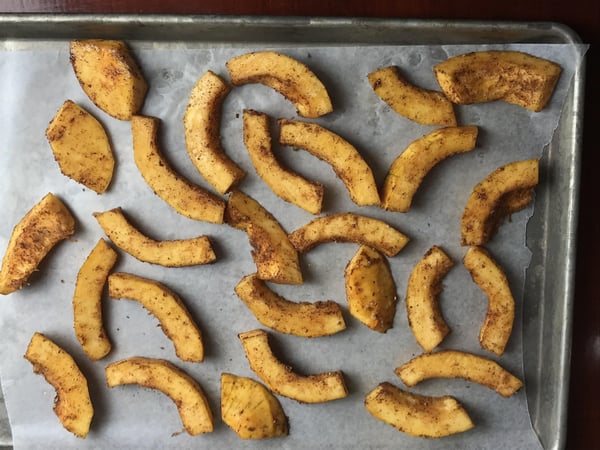 Pull them out and check to see if it is done. Poke with a toothpick or butter knife. Undercooking means they are crunchy, and overcooked means they are mushy. Try to meet halfway between. Understand too that a little bit of carry over cooking will happen, so don’t wait until it is super soft.
Then free the pieces from the parchment paper and stack on a serving plate and drizzle with maple syrup.
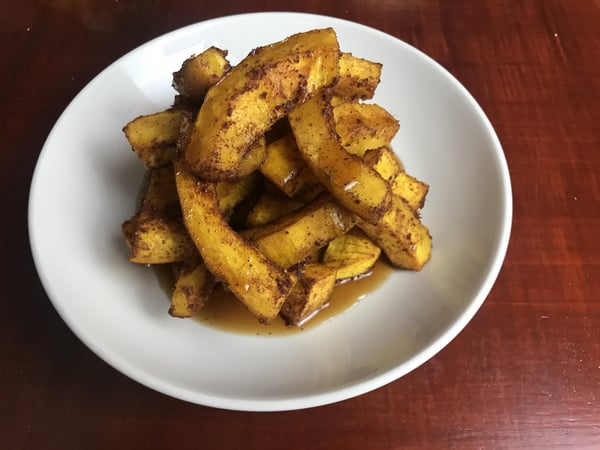 This recipe is perfect for experimentation in your kitchen. You can try out different flavor profiles and how that may pair with the subtle flavor of gourds. I also recommend;
- Clarified butter/ghee with Garam Masala and a little jaggery or brown sugar
- Olive oil then finish with scallions and everything bagel seasoning and goat cheese
- Sesame oil, black pepper, and a pinch of crushed red chili served with honey
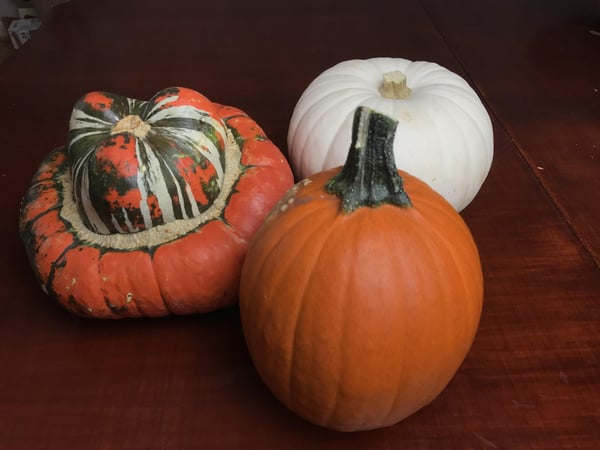
What gourd to choose? This is not just a pumpkin recipe, you could apply this concept to other gourds like winter squashes.
Go out and experiment if you haven’t already. It is time to find your favorite gourd, whether it be squash or pumpkin. Go to your local food co-op or farmers market for the most locally grown gourd you can find. They will likely have gourds that work best with the farmers in your area. It might be a surprise what you end up getting, but I think it is likely that they will be more flavorful than a commodity gourd from the supermarket. If you are going to the supermarket, a few recommendations:
- Sugar (pie) Pumpkin can be both fibrous and spongy yet packs a deeper flavor.
- Jarrahdale is a larger pumpkin that has a sweeter flavor and superior texture. They are often larger which can be great for parties or larger gatherings.
- Kabocha could lean towards creamy or starchy, but the peel is often edible once cooked.
- Acorn squash can reach almost like a melted custard kind of texture and is often watery.
I would keep trying this recipe with different types of gourds until you have found the one that speaks to you the most. It is obvious that different types of gourds cook differently than others, though in my opinion, gourds of the same variety cook differently. I like to approach these fruits on a case-by-case basis.
In the pursuit of trying these out, you have achieved a low-calorie snack that is high in natural vitamins and dietary fiber, while advancing on your safety knife cuts that will truly make you a better cook. For more information on gourds check this great recipe for Winter Squash Biscuits.
This can be something great that you can manage on a weeknight – a simple undertaking that will connect you back to the precious seasonality of fall food, without the can.
Pumpkin can also be the star of the show, as The Chopping Block's Owner/Chef Shelley Young make a stunning centerpiece that stars a gorgeous French pumpkin that doubles as its own serving dish in this video. And here's another stuffed pumpkin recipe so you are set for the holiday season.
And for tips on working with winter squash, don't miss our virtual Winter Squash Workshop on Sunday, November 13 at 11am CST. You'll make:
- Butternut Squash Bisque with Ancho Chili and Toasted Pumpkin Seeds
- Roasted Acorn Squash Stuffed with Kale-Gruyere Bread Pudding
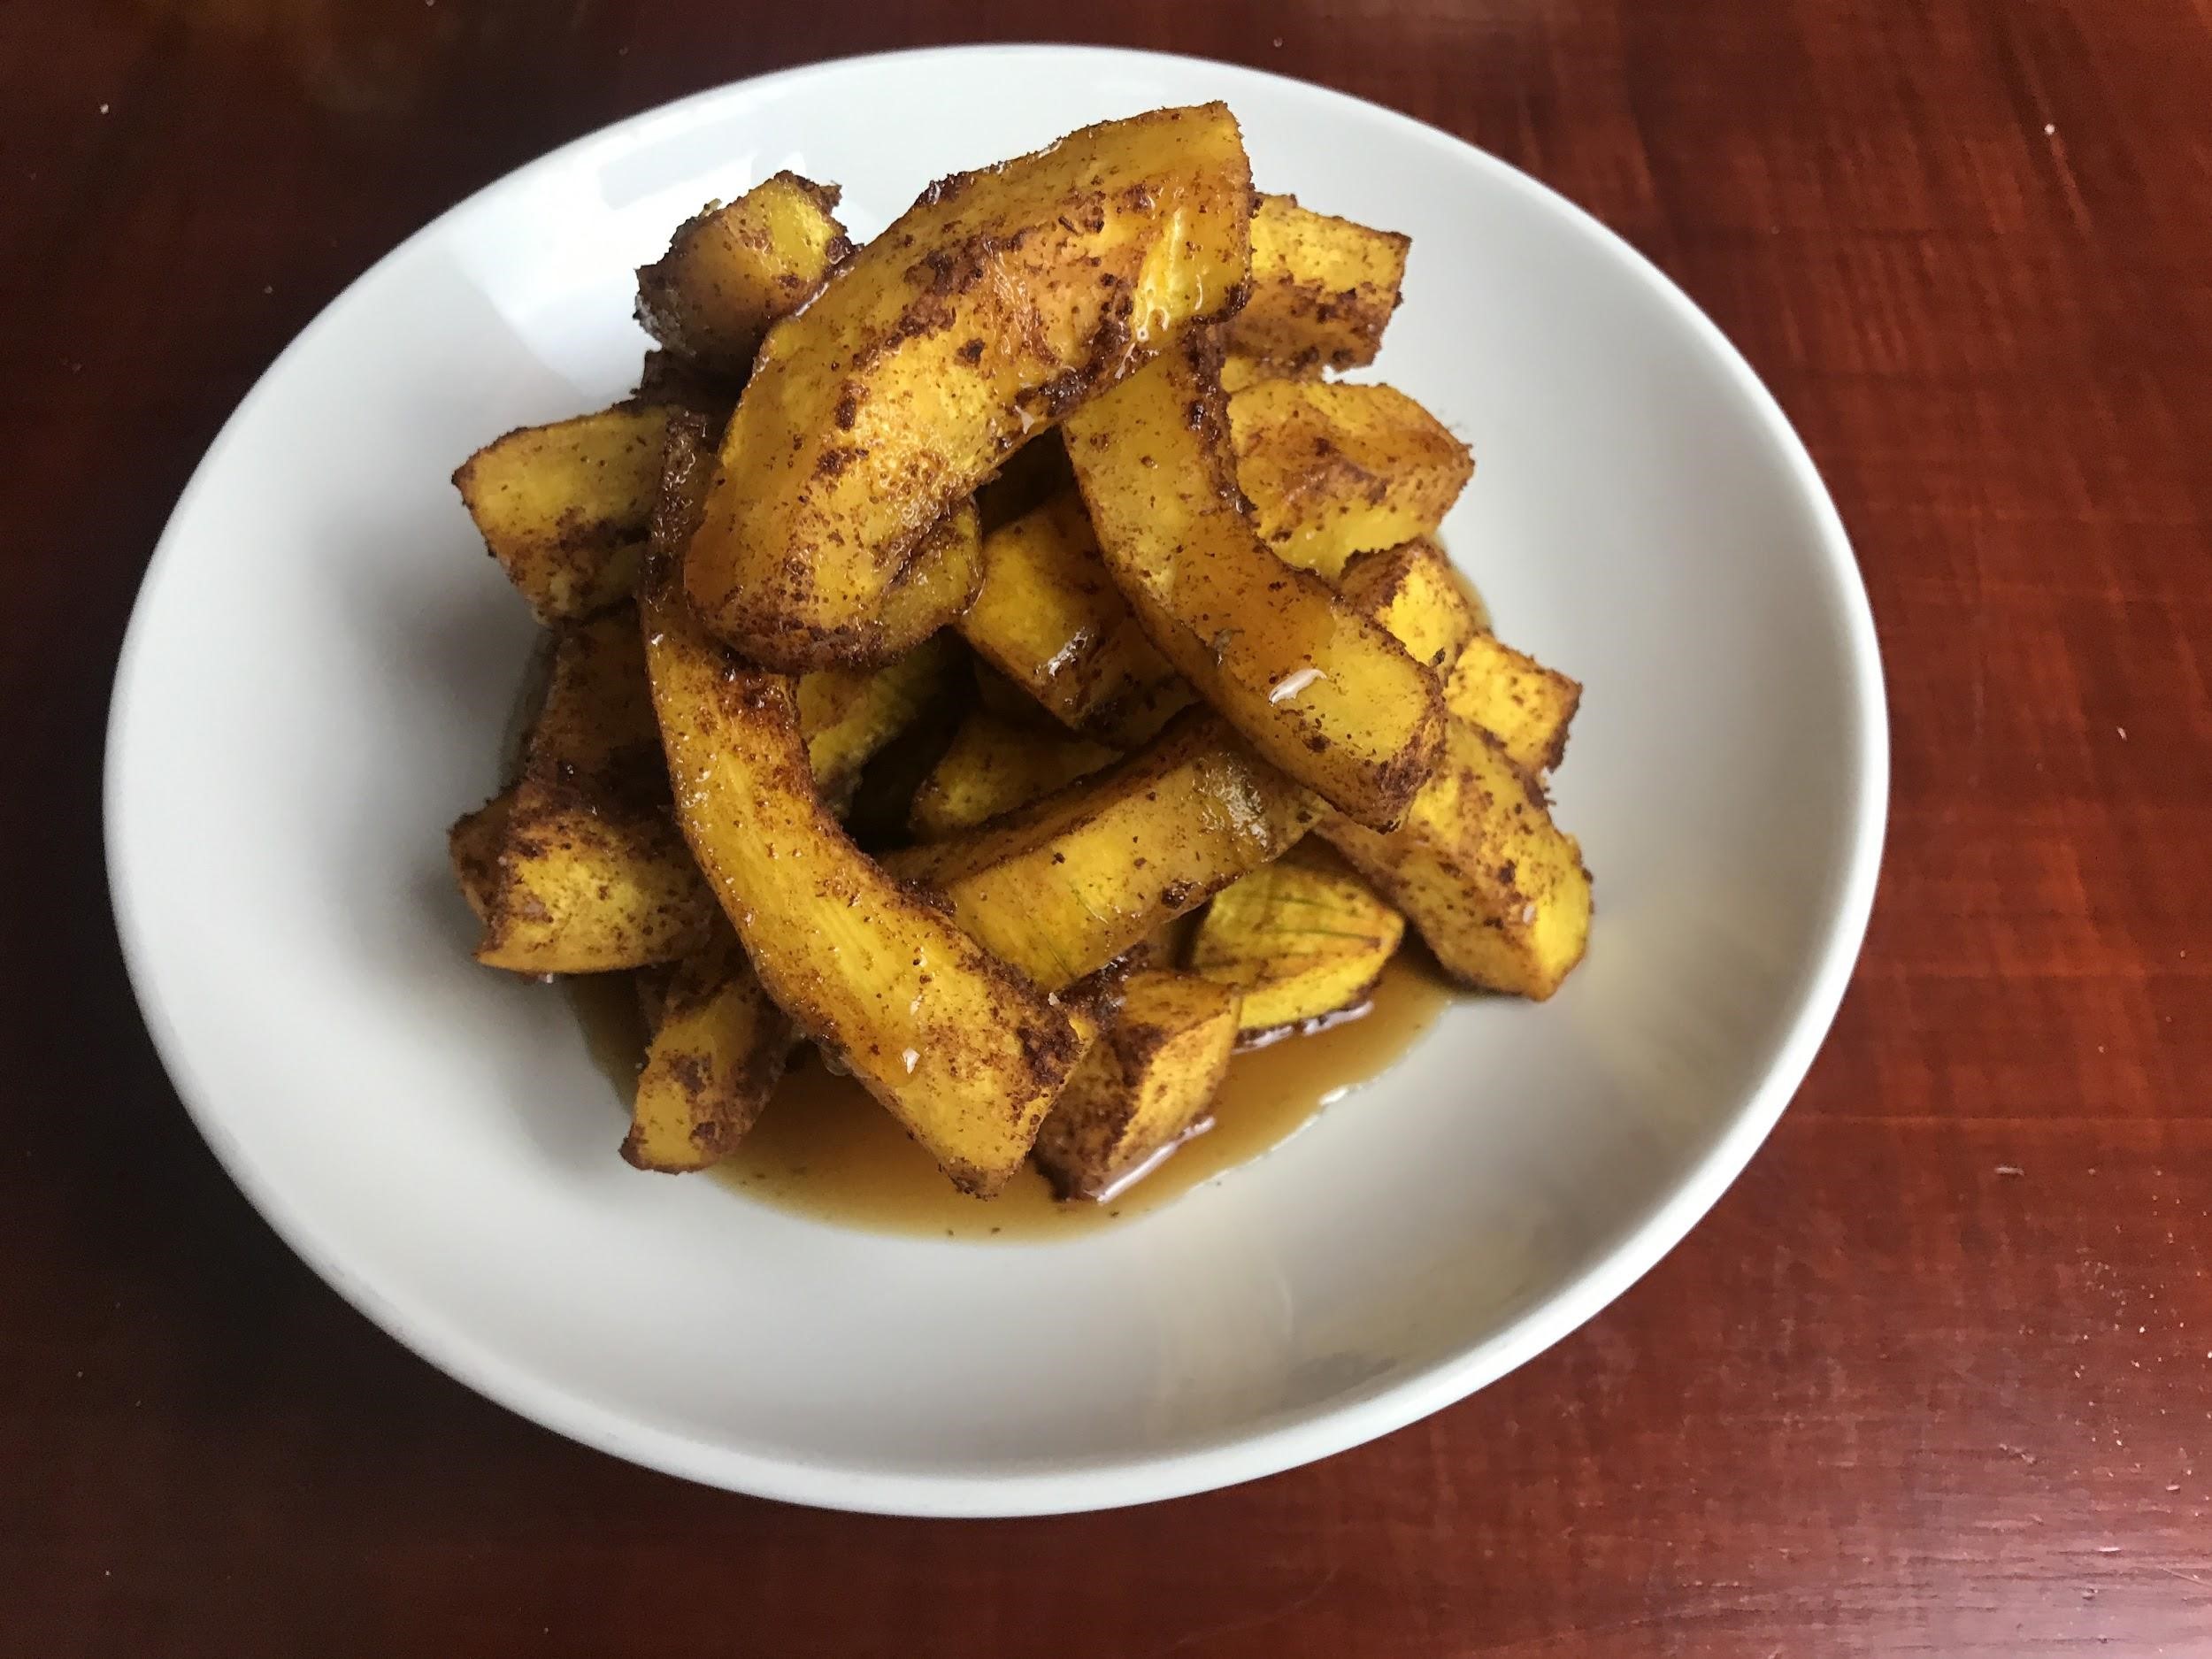
Roasted Pumpkin Snack
Ingredients
- 1 pie (sugar) pumpkin
- Salt and pepper to taste
- 2-3 teaspoons cooking oil of your choice
- 6 cloves
- 1 cinnamon stick
- 1/3 finely grated whole nutmeg
- 2-4 Tablespoons Real Maple Syrup (Grade A or B)
Instructions
- Preheat oven to 400 degrees F.
- Wash the pumpkin thoroughly and dry it.
- Cut the top and bottom off the pumpkin then cut the pumpkin in half.
- Scoop out the seeds and guts, then peel off the skin.
- Cut into 1 cm or 3/4 inch slices like a rainbow.
- Cut those slices in half to make half rainbows.
- Toss in a large mixing bowl with ground spices, salt, pepper and oil.
- Place on a sheet pan lined with parchment paper and bake for 20 minutes or until soft. If still crunchy, continue cooking for an additional 5 minutes until soft.
- Place on a plate and drizzle with maple syrup.

