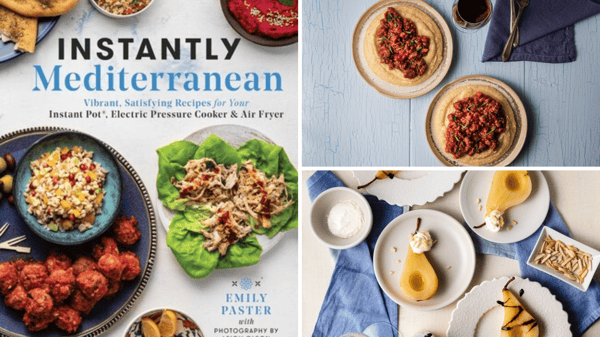
If you love your Instant Pot and air fryer as much as I do, or even if you haven't even taken your appliances out of the box yet, today is a big day. Instantly Mediterranean by Emily Paster is here, and this cookbook will be your new go-to guide for all recipes for your electric pressure cooker and air fryer.
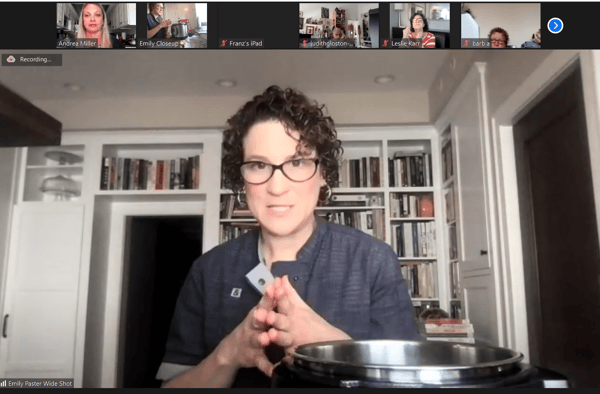
Emily taught a virtual Intro to the Instant Pot class this summer for The Chopping Block and it was such a big hit, we invited her back to share even more recipes from her new cookbook. She has authored four cookbooks in all, and this latest one focuses on how to make vibrant, mouthwatering Mediterranean recipes in the Instant Pot and air fryer. Emily knows everything there is to know about the capability of these machines and how to use them to make your life in the kitchen easier.
As a working mom, Emily can attest to how hard it can be to get a dinner on the table the entire family will enjoy. Enter Mediterranean cuisine which is among the healthiest, most sustainable and tastiest food in the world. These recipes are not only approachable, but they are absolutely delicious!

- Italian Sausage Ragù
- Olive Oil Garlic Mashed Potatoes
- Prosecco Poached Pears


As I perused the book, marking more pages than I care to admit to my "to make" list, I was especially drawn to the chapter on Dips, Spreads and Breads. I make yogurt in my Instant Pot often, but I've never used the Yogurt function to proof bread. I was pleased to learn it cuts down the time it takes the dough to rise nearly in half.
Emily gives props to Chicago restaurant Galit in her story for this recipe. I am in total agreement that it is absolutely amazing Middle Eastern food, especially their football-size heart-baked pitas, but this version comes pretty darn close!
Whole Wheat Pita
Reprinted with permission from Instantly Mediterranean
Scroll down for a printable version of this recipe
Makes: 8 pitas
2 teaspoons instant or active dry yeast
1 cup warm water
2 cups bread flour, plus more for dusting
1/2 cup whole wheat flour
2 teaspoons kosher or sea salt
Pinch of sugar
2 Tablespoons olive oil, plus more for greasing
2. Combine the bread flour, whole wheat flour, salt, sugar and olive oil in a large bowl and stir to combine. If using instant yeast, add it to the flour mixture.
3. Gradually add the water-yeast mixture (or just the warm water, if using instant yeast) to the flour and stir with a fork until a dry, shaggy dough comes together. (You may not need all the water, depending on the humidity in the air and the age of your flour.)
9. Working with one ball at a time and keeping the others covered with a clean tea towel, use a lightly floured rolling pin to roll the dough out to 1/4-inch thickness. It should be very elastic.
I took Emily's advice and made her Chickpea Fatteh (recipe in Instantly Mediterranean) with some of the pita. This toasted pita with chickpeas and yogurt-tahini sauce utilizes other leftover ingredients you may have if you are cooking your way through this book (yogurt, chickpeas, etc.). Dried chickpeas are cooked in the Instant Pot, and with no soaking and only about an hour total time, you have perfectly cooked chickpeas. This dish made for a perfect vegetarian lunch, and now I want to top everything with that sauce!
In honor of Emily's Instantly Mediterranean book release today, using your Instant Pot or air fryer is this week's challenge in our private Facebook group. Join, use one or both of your appliances this week and share your creations with other home cooks.
Whole Wheat Pita
Ingredients
- 2 teaspoons instant or active dry yeast
- 1 cup warm water
- 2 cups bread flour, plus more for dusting
- 1/2 cup whole wheat flour
- 2 teaspoons kosher or sea salt
- Pinch of sugar
- 2 Tablespoons olive oil, plus more for greasing
Instructions
- If using active dry yeast, whisk together the yeast and warm water in a small bowl and let it sit until foamy, about 10 minutes.
- Combine the bread flour, whole wheat flour, salt, sugar and olive oil in a large bowl and stir to combine. If using instant yeast, add it to the flour mixture.
- Gradually add the water-yeast mixture (or just the warm water, if using instant yeast) to the flour and stire with a fork until a dry, shaggy dough comes together. (You may not need all the water, depending on the humidity in the air and the age of your flour.)
- Turn the dough out onto a lightly floured surface and knead with your hands until smooth and elastic, 8 to 10 minutes.
- Place the trivet in the inner pot of your electric pressure cooker. Lightly oil a bowl small enough to fit inside the pot. Place the dough in the bowl and place the bowl on top of the trivet.
- Close the lid and make sure the pressure release valve is set to "Venting." Select the Yogurt function and press the Adjust button until "More" is illuminated. (The 8-hour timer will begin, but you will not need it. Let the dough rise until it has doubled in size, about 30 minutes.
- Punch down the risen dough and turn it out onto a lightly floured surface. Divide the dough into 8 equal pieces ad roll each piece into a ball. (If not baking right away, you can place the balls on a baking sheet, cover, and refrigerate them until you're ready to bake, up to overnight.)
- Heat large heavy skillet over high heat until water sprinkled on the skilled sizzles on contact.
- Working with one ball at a time and keeping the others covered with a clean tea towel, use a lightly floured rolling pin to roll the dough out to 1/4-inch thickness. It should be very elastic. Place the rolled-out dough in the hot skillet and cook until it begins to puff up and the underside is browned and charred in spots, about 1 minute. (To really encourage the dough to puff, cover the skillet briefly.) Flip with tongs or a spatual and cook until the second side is browned and charred in spots, 30 to 60 seconds. Transfer the cooked pita to a cooling rack and repeat with the next ball of dough. If the pitas begin to char too much or too quickly, turn the heat down to medium-high or medium as needed.
- Serve warm or at room temperature. Leftover pitas can be stored, covered on the county for several days or used to make Fatteh.
