After having taught more than a few Knife Skills classes here at The Chopping Block, there’s one constant question I’m asked during the “How to sharpen a knife” portion of the class: What do you do if the tip of a knife chips?
I guess this is an issue that effects more than just professional chefs. The answer to this question depends on your knife. If you have spent a little more on your knife and bought one of our high-quality Shun knives, then I would remind you of their refurbishment program and that you just need to send it in. Problem solved.
If you have not purchased a knife with a refurbishment program (Shun, MAC), then any knife sharpening company in the Chicagoland area would gladly help you out. Just make sure you ask that they wet/oil stone the knife, since using a grinding wheel heats up the metal, thereby weakening the strength and hardness of the steel and exacerbating the issue. Easy enough, right? Sure… but if you are like me and you want to know how someone would go about fixing a broken knife, save some money and learn a new skill in life, then this is for you!
I am not a master knife sharpener, or bladesmith of the sort, but this is how I went about fixing a knife one of my managers handed me one day thinking all was lost. It does involve an investment in terms of buying a knife sharpening system - whether it's oil, wet or diamond stones, but the good news is this system will also sharpen your knives. Oil and diamond stone systems are cheaper and do a good job, but my money is invested in wet stones. They remove more material and can get a cleaner and finer edge but I find they wear down faster. Stones are rated by their grit: the lower the number, the more material they will remove (400 grit removes more than a 1000 grit). You are going to need a low, medium and high grit to effectively sharpen a knife. I own a 400, 1000 and an 8000 as a polishing stone. To reshape the knife, I used my 400 grit stone and went to town for about two and a half hours, then followed my normal knife sharpening procedure, proceeding up the stone grits.
Here is how I fixed the broken knife tip:
First, I used a sharpie to outline the amount of material that needed to be removed. In this case, it was a lot! It also helped as a general guideline on what I was removing.
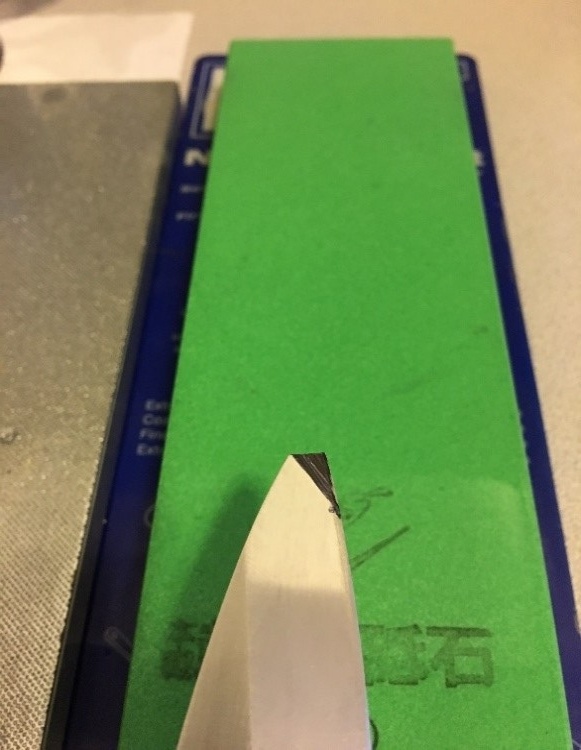 Using a steep angle, above 45 degrees from being perpendicular to the stone, I began removing the rough edges. Since this was a single-beveled knife, I had to attack it from the beveled side- the side facing up in the picture.
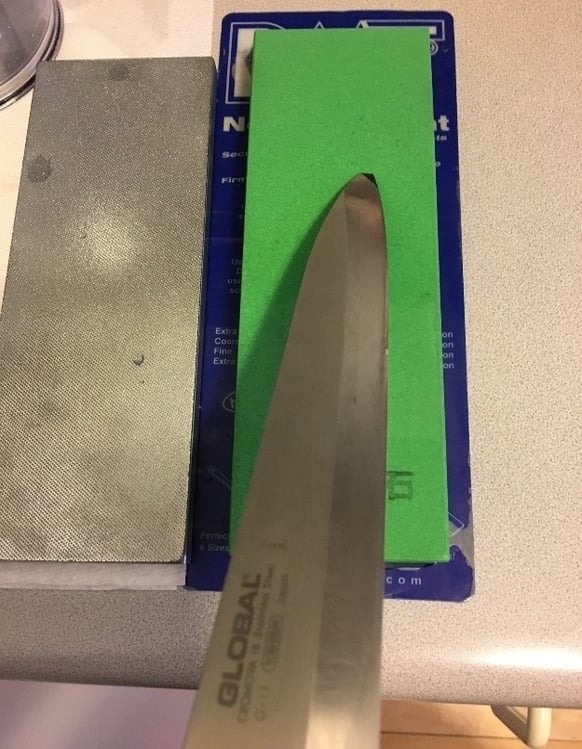 After about an hour, I had arrived halfway through the process. You can see here I’ve lowered the angle of attack, rounding out the cutting edge in line with the contour of the knife. That grey sludge is metal that has been removed mixed up with the stone material. This is the cutting material so don’t wipe it off or add too much water so that it washes off.
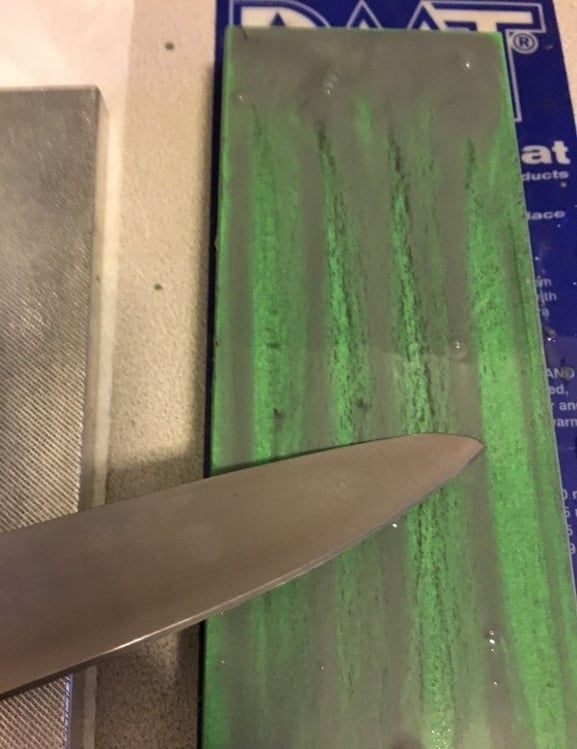 At about an hour and forty-five minutes, the final shape is starting to take. I have reapplied my sharpie mark to keep on track, rounding out the contoured edge. It looks more like a drop-point style of knife now, but I would have to lose a lot more material to keep the original curvature (i.e man hours).
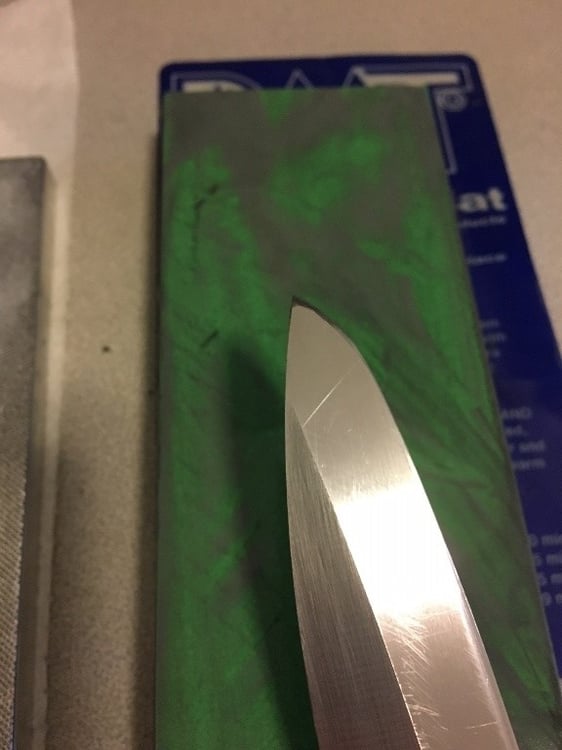 Finishing the contouring of the tip, I also took out the angle of attack and knife edge, basically flattening it out. To me, it was easier to start from scratch than to keep trying to fix a problem. Once I was happy with the final contour of the tip, I remade the cutting-edge angle (knife geometry) to around 17-20 degrees. Once again this is a single beveled edge knife, so I did all this on the angled side of the knife as opposed to the flat side, going up on grit until I reached a polished edge.
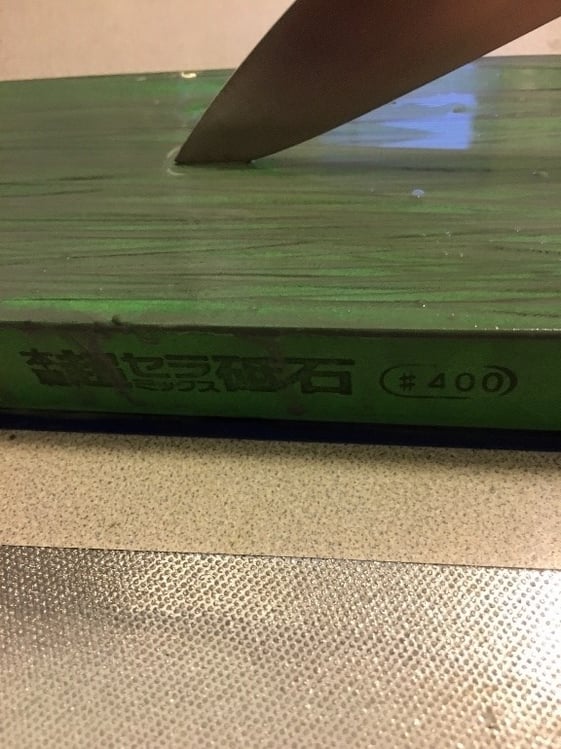 Tip: Use a paper towel soaked in the cutting/stone sludge to polish your knife.
Two and a half hours of dedicated work later, the resurrected knife is complete. I can understand how someone sitting at home would be hesitant to try something so seemingly complex, but why not? No matter what you do, it can always be fixed by a professional and at the very least, you’ve learned what not to do. If you have any more questions, or want to get a more in-depth perspective on knives and knife sharpening, join us for a Knife Skills class ,and we can geek out together.
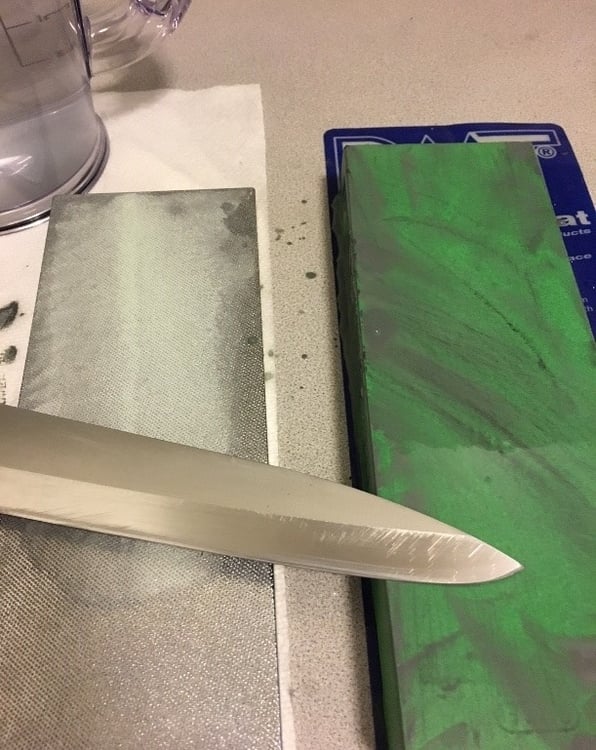 Now go on, crack that beer. You’ve earned it!


