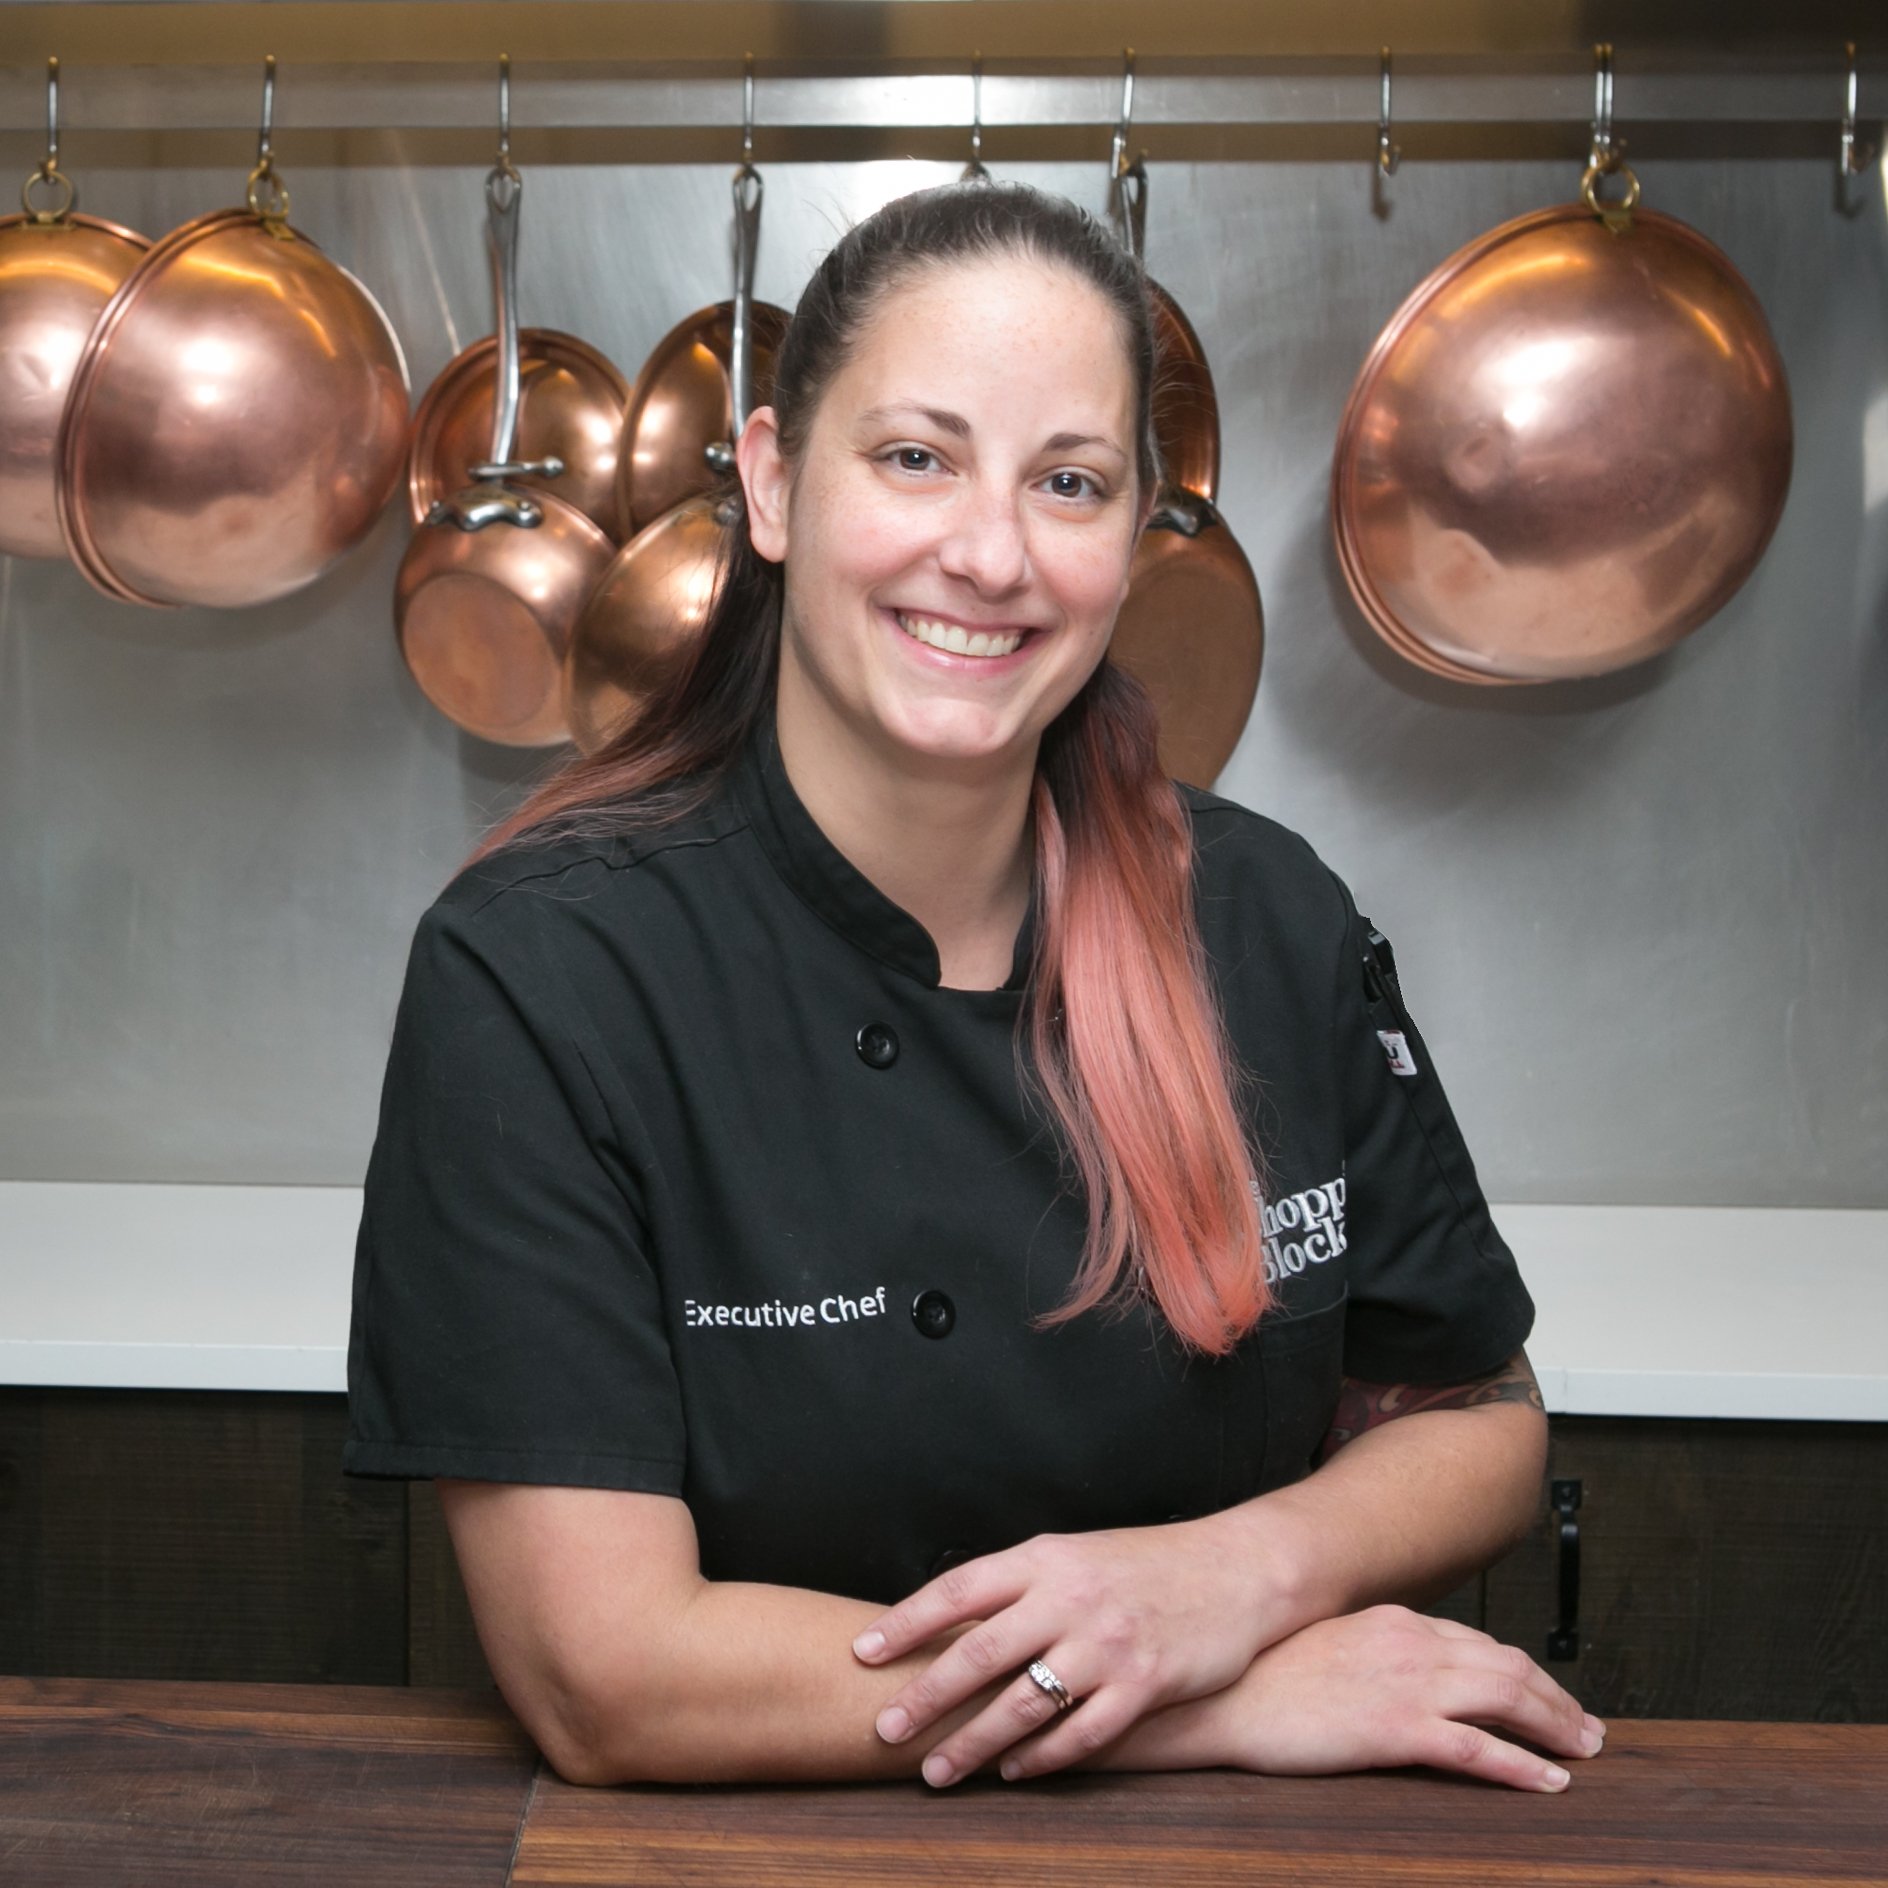
I love making lasagna, and it has been a Christmas tradition in our house for as long as I can remember. For Christmas Eve, we always celebrate the Feast of the Seven Fishes, but on Christmas day, we feast on lasagna. Every year, we change up the fillings and layers.
You may know if you ever have researched lasagna recipes, there are a million types out there to choose from. What I love about making lasagna is that really anything goes! Whether you are vegetarian or prefer a meat-filled lasagna, this dish is easily customizable to your preferences. It can be thrown together in a matter of minutes using store bought pantry items or it can be an intense labor of love, but no matter what, it always tastes delicious.
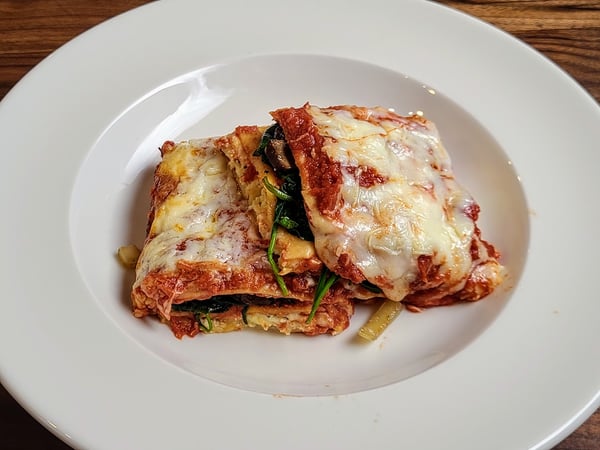
So, let’s dive in and talk about all of the different layers and options that make up this fabulous dish.
Pasta
Homemade fresh rolled pasta sheets vs. dried store-bought pasta sheets
Each of these options have their pros and cons. When I have the time, I usually prefer to make my own pasta from scratch. I find that it cooks up well and gives me those crispy, crunchy ends that I love so much. You can't really beat the taste of homemade, but there are a couple of schools of thought on whether you need to preboil the sheets or not. I do not precook my fresh sheets of pasta. I find that with covering the pan and making sure my sauce is not too thick; the noodles are able to absorb enough liquid and cook properly during baking. The biggest drawbacks are time, space and equipment needs; those things may be hard to come by for some folks.
As for the store-bought lasagna sheets, I don’t mind them one bit. This may come as a shock, but even though I may be a professional chef, I don’t make everything from scratch all of the time! I like using the flat sheets that say no boil or oven ready on them. In a pinch, I find that they work the best. Others that I have tried did not fully cook the noodles without pre-boiling them first.
One thing to remember with dried pasta sheets is that they take longer to rehydrate than fresh sheets. If you are using sheets that need to be pre-boiled, there is no need to cool them down, and they shouldn’t be cooked all of the way through. Remember, they will continue to cook during the baking process.
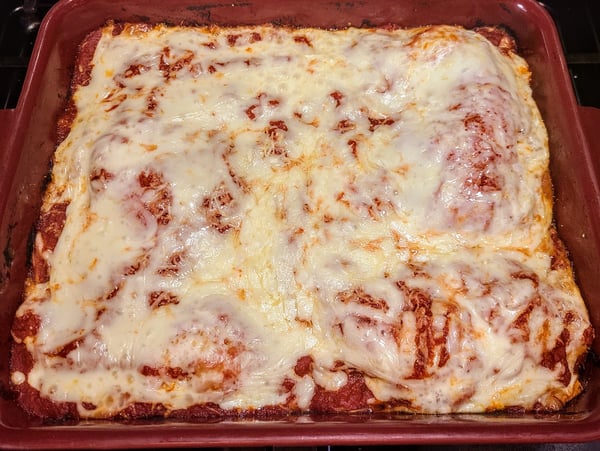
Here is my go-to fresh pasta recipe from The Chopping Block.
Fresh Pasta Dough
Scroll down for a printable version of this recipe
Yield: 9x13 inch lasagna
Active time: 20 minutes
Start to finish: 40 minutes
2 cups 00 flour
1/4 cup semolina
3 eggs
2-3 tablespoons water
1. Place the dry ingredients in the bowl of a food processor.
2. Add eggs and 1 tablespoon water, and process until well combined.
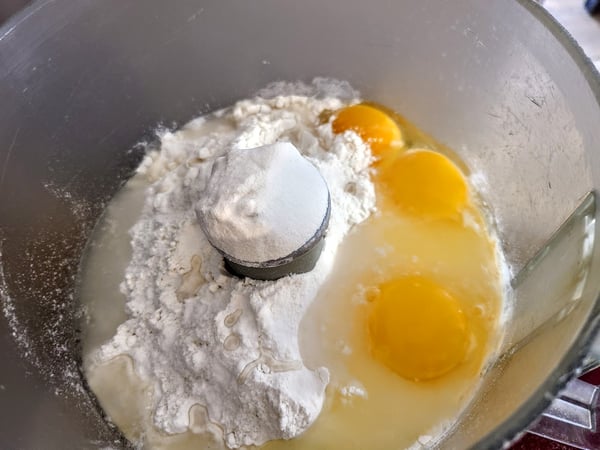
3. Test dough to make sure it will hold together. If it is dry, add up to a tablespoon more water as needed to make the dough moist but not sticky.
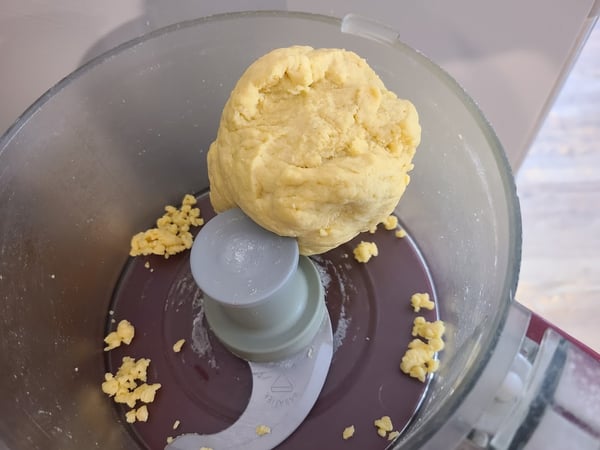
4. Turn dough out and knead for 1 to 2 minutes by hand until dough is smooth.
5. Wrap the dough tightly in plastic, and allow it to rest at least 20 minutes.
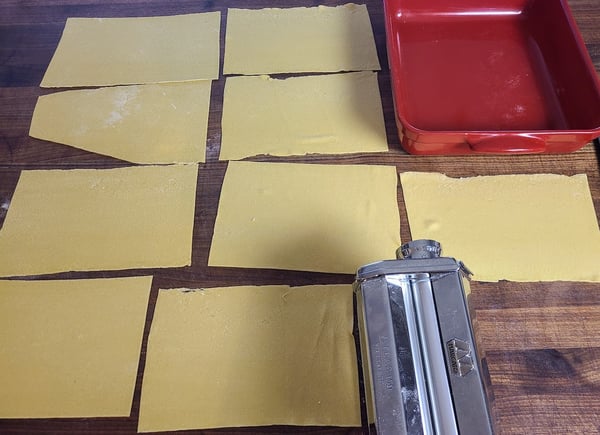
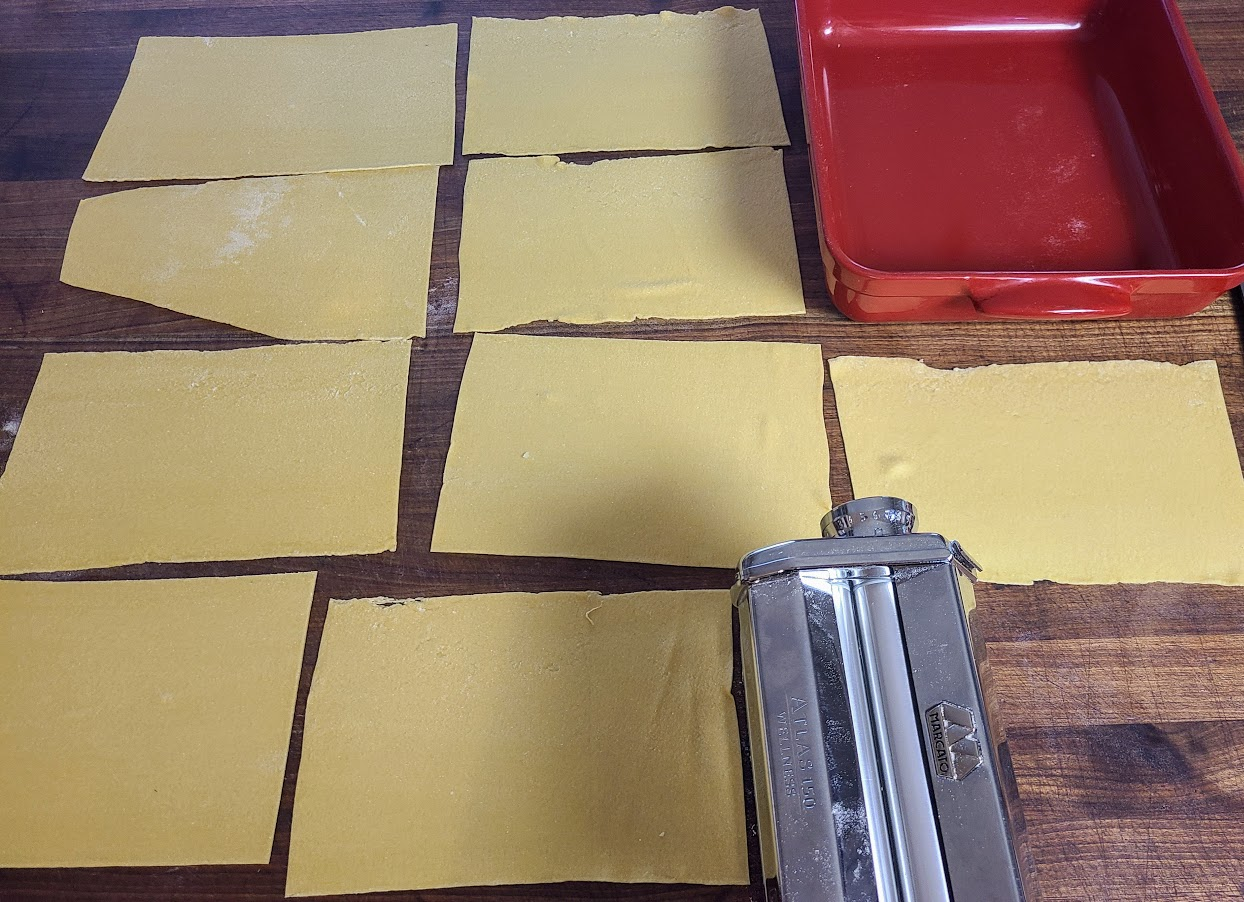
7. Roll out in a pasta maker until smooth, then roll into sheets and cut into desired shapes.
Sauce
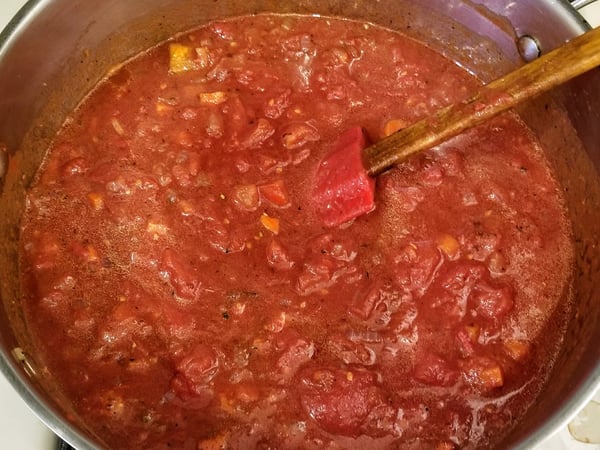
There is much debate on what makes for a “traditional” lasagna sauce. Red vs. white. Tomato sauces provide plenty of moisture to cook the pasta and acidity to cut through all of the other add ins you may want to use in your casserole. A bechamel, which is a roux thickened milk-based sauce, makes for a creamy lasagna and is stable enough to be baked. I tend to use bechamel when I want to use seafood or a lot of veggies in my lasagna because they pair really well together. That is not to say that you can’t use a red sauce with veggies, but I tend to lean this way when I am using heavier meat proteins in my lasagna. If you wanted to, you can even use both sauces in between your layers to get the best of both worlds. What is your favorite? I admit I prefer a red sauce over a white!
Proteins
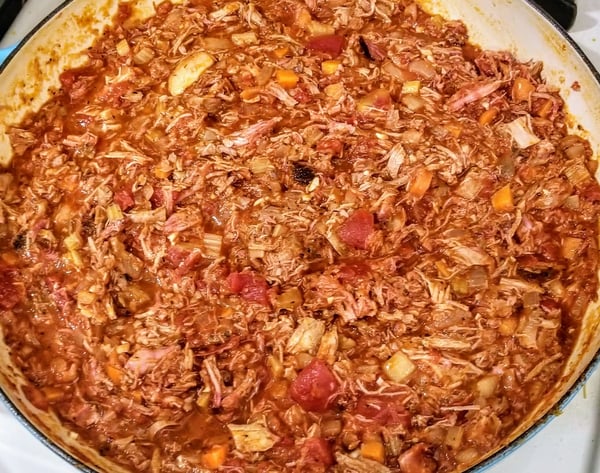
Virtually any proteins can be put into your lasagna. Italian sausage, chicken, or even lobster are just a few examples. They can be added to the sauce in order to incorporate them thoroughly and ease of building the layers. I have a fantastic recipe for a pork ragu that works really well in lasagna. Proteins can also be cooked off separately and just sprinkled onto the layers. I do always recommend cooking all of the proteins ahead of time to insure they are cooked through instead of hoping they will cook during the lasagna's bake time.
Vegetables
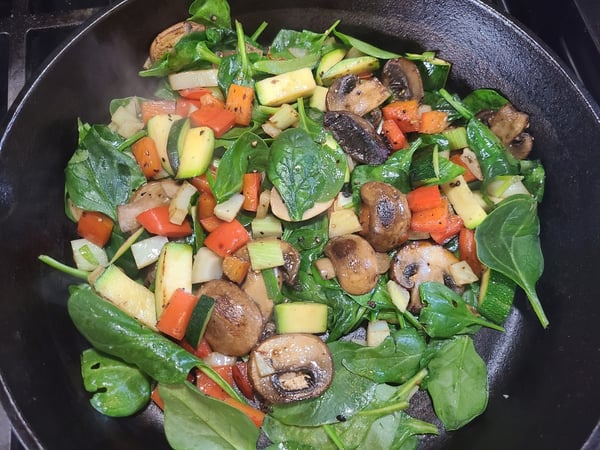
Any vegetables can be used in between the pasta sheets to make this dish an all-in-one favorite and tick off every nutritional box. Roasting mushrooms, grilling zucchini, or wilting spinach are all excellent choices. It's always best to cook them before putting them in the lasagna to evaporate out any excess moisture and to make sure they cook properly. Just be careful not to overcook the veggies because they will continue to cook during the baking portion.
Cheese
I always joke in my classes that there can never be too much cheese! Any kind of semi-hard, meltable cheese can be used to score that epic cheese pull we all crave for those Instagram-worthy pictures. My favorite is fontina, but mozzarella, gouda, and provolone are great. Pro tip: grating your own cheese ensures an even melt and less graininess than using pre-grated cheese.
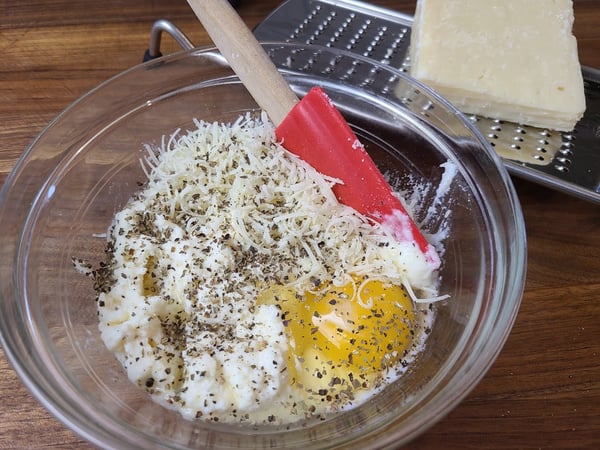
Another layer of cheese I always incorporate into my lasagna is ricotta. When using ricotta, I always add an egg in order to keep it from running out of the pasta. This acts as a binder and adds richness to the ricotta. I love adding fresh or dried herbs to this layer or even grated Parmesan for maximum umami flavor. Whether you are making a white or a red lasagna, a ricotta layer is a great addition.
Assembly
At a bare minimum, I think a lasagna should have at least three layers of pasta. This is not a necessity and really you can make as many layers as you want in your lasagna.
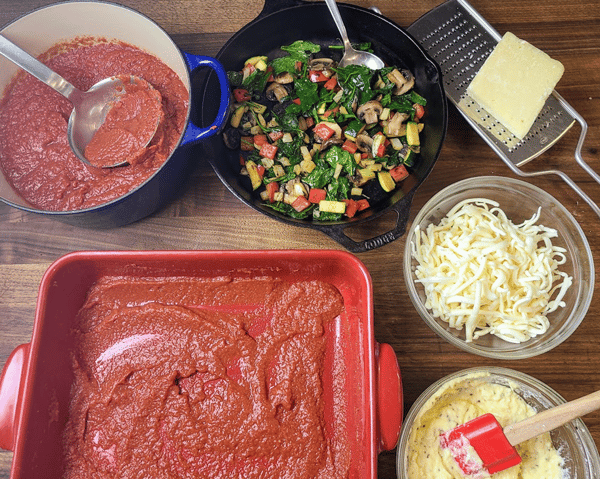
Here are some tips and tricks to keep in mind when building your lasagna:
- Always put a thin layer of sauce in the bottom of the pan before placing the first layer of pasta in. This makes sure it won’t stick to the bottom of the pan.
- “Oil the foil” is a motto of mine whenever I am baking anything with cheese on top. By putting a little oil on the side of foil that will be near the cheese, it won’t stick when you pull it off!
- The more layers, the longer it will take for the pasta to cook all the way through, so err on the side of under cooking rather than over baking. Otherwise, you run the risk of everything blurring together.
- Use your baking dish as a measurement when cutting homemade pasta sheets.
- Thin even layers of filling work best, try not to overload with the meat and veggies all in one layer, try alternating fillings and pasta for a better hold.
- Lasagna is a great way to utilize leftovers!
- Melted cheese is the glue that holds everything together, I like grating a little bit on each layer.
- Any kind of baking dish can be used to make lasagna. Just note that metal dishes conduct heat faster than stoneware or glass, so keep that in mind for baking times.
- I usually bake my lasagna at 375° for about 45 minutes with the foil on and then take the foil off for about 15 minutes or until the cheese is golden brown and melted.
- You know it is done when the cheese is all melted and bubbling and you can stick a knife in the center without any resistance.
- Lasagna freezes and reheats really well! You can bake it straight from the freezer but I suggest lowering the oven temperature to 350° and bake longer with the foil.
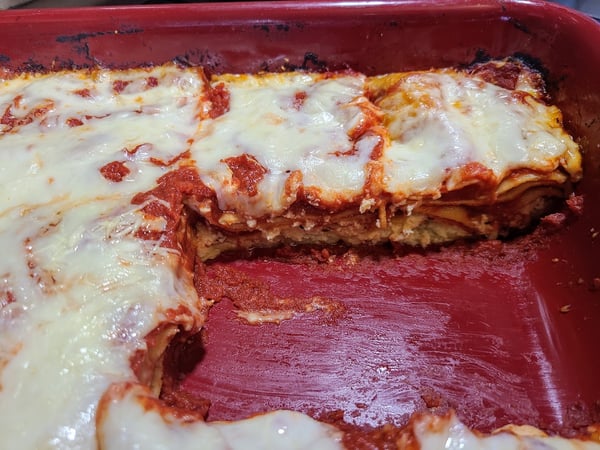
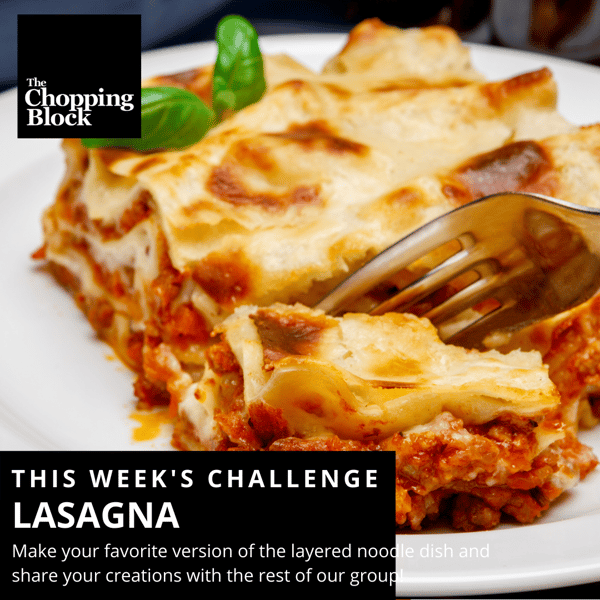
Remember, when researching lasagna recipes, they really are just guidelines. Have fun with your layers and don’t be confined to just one sauce or cheese - get creative. Now that you have learned all about the different layers of lasagna and tips to put it together, I would love to see all of the different combinations you can come up with. This week's TCB challenge in our private Facebook group is to make your own lasagna! I can’t wait to see what you come up with. Did you know that you can even make lasagna in an Instant Pot? Follow the link to read all about it.
If you wanted to learn more about making pasta from scratch and rolling it out to make ravioli or fettucine, we have a virtual Pasta Workshop coming up on Saturday, February 27 at 3pm CST. Don’t have the proper equipment, like a pasta roller? No problem! We also have pasta kits available for purchase to make it a breeze in your own kitchen. Check out all of our other virtual classes on our class calendar and I hope to cook along with you in your own kitchen sometime!
Fresh Pasta Dough
Ingredients
- 2 cups 00 flour
- 1/4 cup semolina
- 3 eggs
- 3 tablespoons water
Instructions
- Place the dry ingredients in the bowl of a food processor.
- Add eggs and 1 tablespoon water, and process until well combined.
- Test dough to make sure it will hold together. If it is dry, add up to a tablespoon more water as needed to make the dough moist but not sticky.
- Turn dough out and knead for 1 to 2 minutes by hand until dough is smooth.
- Wrap the dough tightly in plastic, and allow it to rest at least 20 minutes.
- Roll out in a pasta maker until smooth, then roll into sheets and cut into desired shapes.
