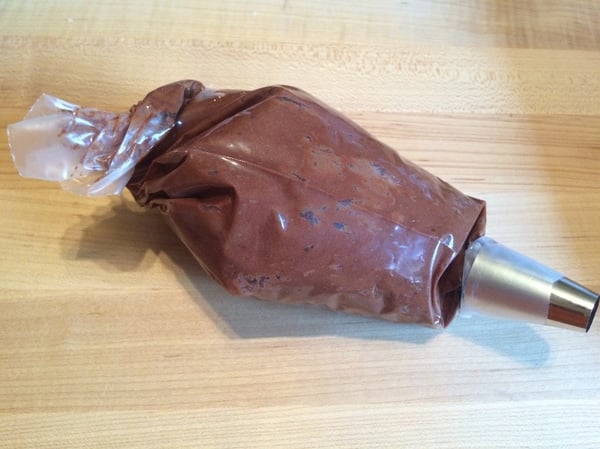
Somewhere along the line, cupcakes became “the thing”. They are all the rage these days with their interesting flavor combinations and beautiful decorations. The only problem is that their growing popularity has led to there being quite the premium on artisanal cupcakes nowadays.
Luckily, I have some tips for you today on the decorating side of things, so you can join the bandwagon and make some high-end quality cupcakes in the comfort of your own home. You, of course, want your cake to taste good, and you want the frosting and cake combination to marry well together, but as the saying goes, you eat with your eyes first, so this is dedicated to the thing you see first - the frosting – and more specifically, how to properly apply the frosting.
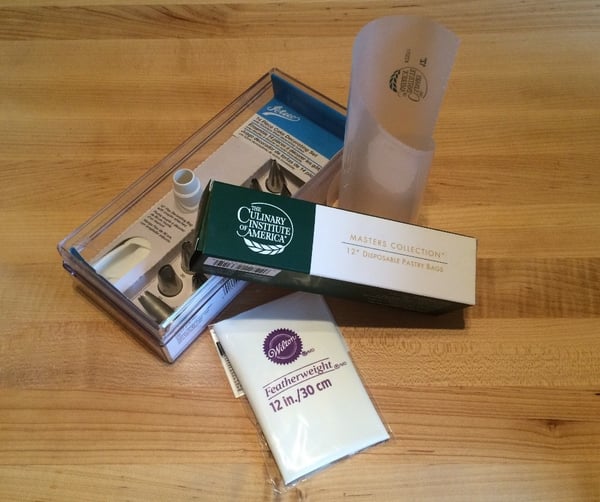
Piping Tips
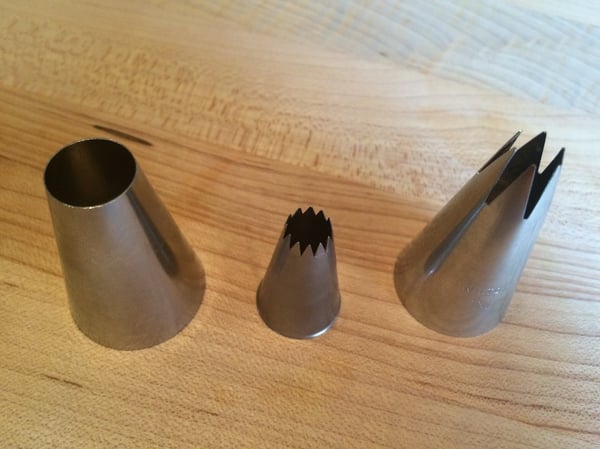
There are all sorts of different piping tips available that serve different purposes and make different designs. It is certainly fun to experiment with the many varieties available, but if you’re looking to get things started, your best bet is to start with what I consider to be the two standard, yet great go-to piping tips: a basic round tip and a star tip. You can find handy kits that include a nice assortment of piping tips, but those tend to be smaller (pictured at the center below), which work fine, but I personally prefer larger piping tips (pictured on the left and right below), as I feel that it results in a smoother end product.
Piping Bags
There are also two main types of piping bags you can use. There are disposable, one-time use bags that make for easy cleanup, and there are reusable bags that are cleaned and re-used. Piping tips are attached in different ways depending on the style of bag you have. Many reusable piping bags are outfitted with a firmer end that come with a screw to hold the piping tip in place on the outside of the bag.
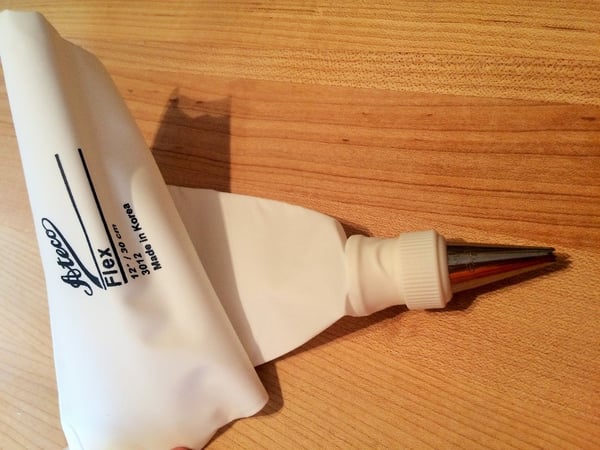
For some other reusable piping bags and the majority of disposable bags, a small section of the piping bag end should be snipped off, then the tip is pushed through to the edge from the inside. Make sure you don’t cut off too much of the tip though, otherwise the piping tip will push straight through with the frosting, and you will have wasted a perfectly good piping bag.
It is my personal preference to have bags where the piping tip goes inside the bag, but an important reminder with this – don’t forget to remove the piping tip once you’re finished! For disposable bags, you can easily do this by cutting the area just shy of the piping tip, then pulling it out. I forgot to remove my piping tips from the bags once and accidentally threw them away. I was in the midst of pulling off a surprise birthday party for my husband, so I blame my absentmindedness on the craziness of the day. Excuses aside, it’s a sad realization once it dawns on you that some perfectly good piping tips met their untimely demise in a stinky, old trash can…
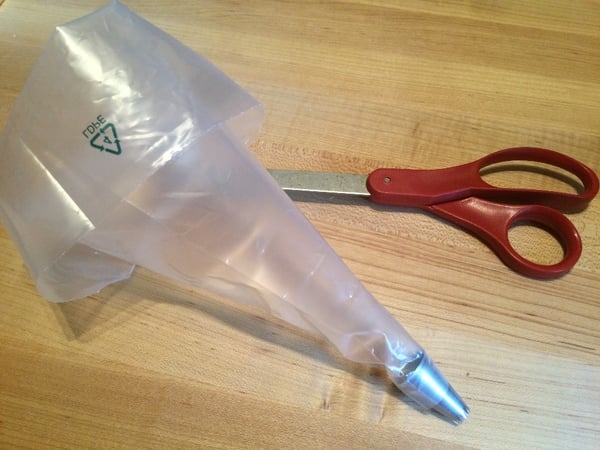 If you want a hybrid between the two, you can get what is called a coupler, which has a firm insert that goes on the inside of the piping bag, which is then kept in place with a second piece that screws onto the outside of the bag.
As far as size of piping bags go, I think that bigger is better in this case. I currently have 12 inch piping bags that I’m working through at home, but am finding that I am considerably more fond of 16 inch piping bags. The 16 inch bags are far more conducive to fitting most, if not all of a 1X batch of frosting in it. The 12 inch bags require some refilling throughout, which gets trickier the more times you have to refill it.
How to Load a Piping Bag
There are two methods to make this job easier. Both require you to first start by folding back the top portion of the pastry bag, allowing for about a 3-inch overhang. This folded over section can then be draped either over your non-dominant hand or over the top of a cup or deli container.
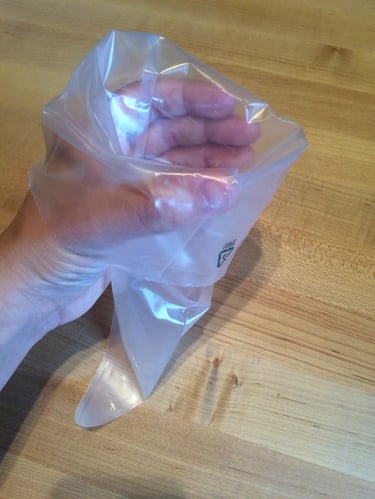
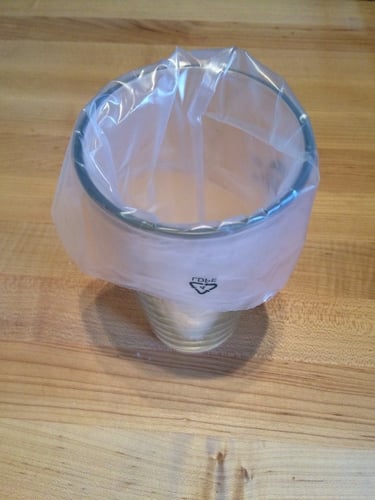 This then creates a lip to ease the transfer of your frosting into your piping bag. These methods help keep the bag open while filling and gives you an area to scrape your spatula along the edge so that no frosting is left behind.
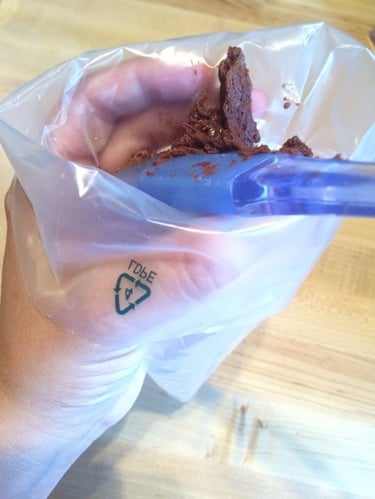 Once your piping bag is filled, unfold the draped edges. This is where you’ll start to understand the importance of making sure the edge was draped by at least 3 inches. Without that clearance, your frosting will start to come out the top as you go to work with the piping bag, which makes for a messy, unhappy baker.
To get the frosting down to the end of the piping bag, nestle the top portion of the piping bag in the nook between the thumb and forefinger of your dominant hand, then pinch your thumb in. From here, twist the bag in a clockwise motion. This will force the frosting down toward the tip. Keep twisting until the frosting is all the way to the edge of the tip.
If you don’t plan on using the frosting immediately, it can be easily stored within the piping bag by pushing a section of the piping bag into where the tip begins to essentially create a seal. This would need to be done before twisting the frosting through. If you are storing your frosting in the bag and not piping it right away, it is so important that you not store it in the fridge in most cases. Your standard buttercreams will last at room temperature for a solid three days. If you opt for the fridge, you will need to allow extra time for the frosting to come down to room temperature, otherwise it will be stiff and unworkable if too cold.
Proper Piping Technique
Now it’s time to start piping! Are you one of those people that hates when the tube of toothpaste is not squeezed from the end? If so, this method is for you! If not, are you one of those people that hates when even the smallest bits of frosting are wasted? If so, this method is also for you!
Start by placing your dominant hand on the top of the bag. Pinch the twisted top portion in the nook between your thumb and forefinger, like you did previously. Place your non-dominant hand further down on the bag. In order to use up as much of the frosting as possible, and to prevent air bubbles from wreaking havoc on your piping endeavor, it is important to take my advice in the following two sentences. First, do not use your non-dominant hand to squeeze the frosting further down the piping bag; instead it should just be holding the bag and helping to aim and guide the bag along in the desired motion. Your dominant hand is the one that will force the frosting down the bag; this is done by continuing to twist the bag in a clockwise motion from the top along the way to keep a steady flow of frosting throughout.
The piping should begin from the center of your cupcake and work its way out from there.
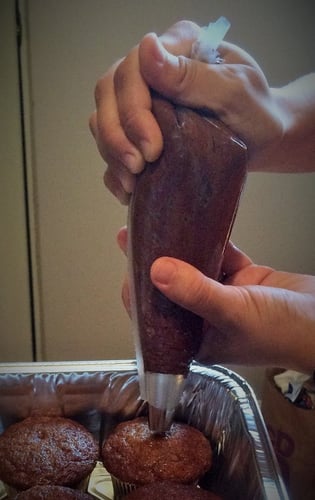 Once the base layer is established, start circling in toward the center again as you pipe out your presentation layers.
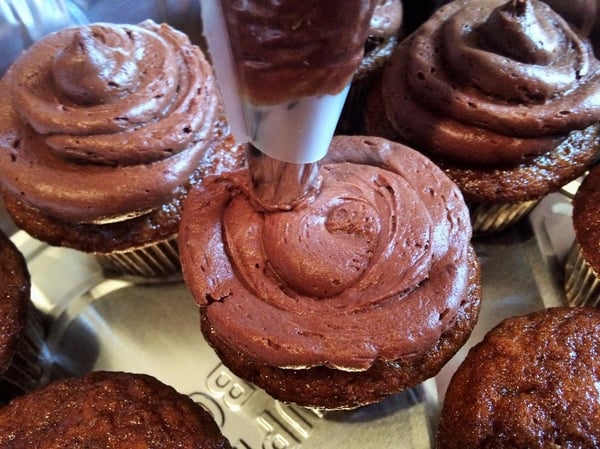 Finish with a nice, confident lift straight up to end with a pretty peak.
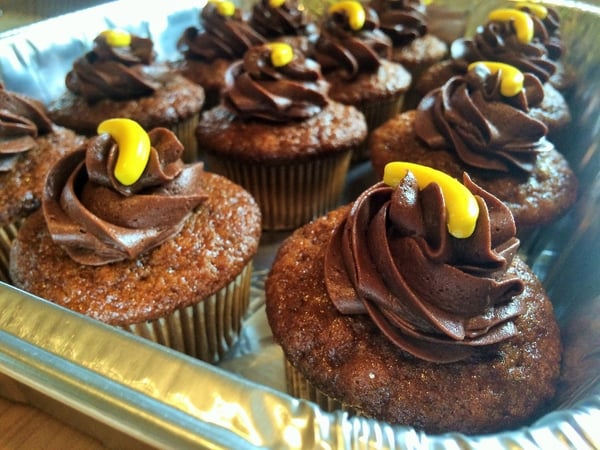
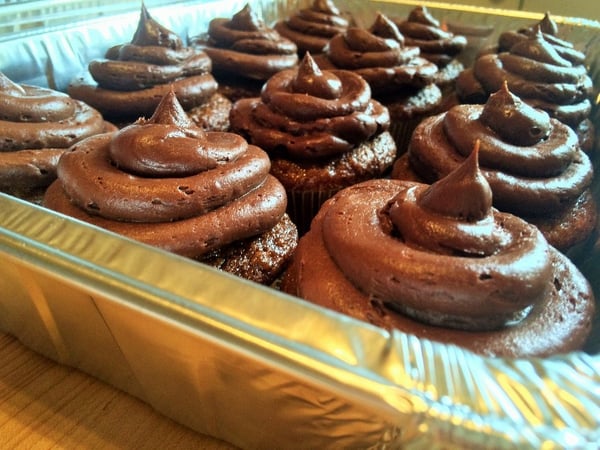 You can either leave your cupcakes in their classic form at this point, or add some flare and decoration. For these banana muffins with chocolate frosting, I opted for a simple banana candy as a topper.
 Ready to take your cupcake skills even further? Join us for The Chopping Block’s ever-so-popular, Cupcake Boot Camp coming up on October 30th at our Merchandise Mart location. Sign up soon because this one always fills up fast!


