I've noticed a lot of articles about no churn ice cream lately. From the Huffington Post to Martha Stewart, food writers proclaimed their love of these ridiculously easy-to-make recipes that require no special equipment. I've seen so many recipes this summer that it's safe to say no churn ice cream is a food trend.
Being that ice cream is my favorite dessert (yes, even in fall) and that I don't own an ice cream machine, I was intrigued. But it seemed impossible to get the same creamy, rich result from just two ingredients frozen for only a few hours. So, I decided to experiment.
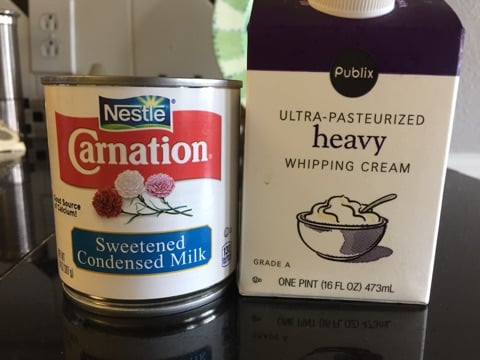
First, I did my research. Luckily, all of the recipes I found for no churn ice cream online were pretty similar. They basically involve sweetened condensed milk (not evaporated milk) and heavy whipping cream as the base. The instructions from The Kitchn were the most detailed, so I used that as my guide.
You'll need:
- 1 14oz can sweetened condensed milk
- 2 cups heavy whipping cream, cold
- 1 teaspoon vanilla extract, almond extract, mint extract, or other flavoring (optional) Note: I chose to omit this ingredient so I could really see what the base tasted like without any additional flavoring.
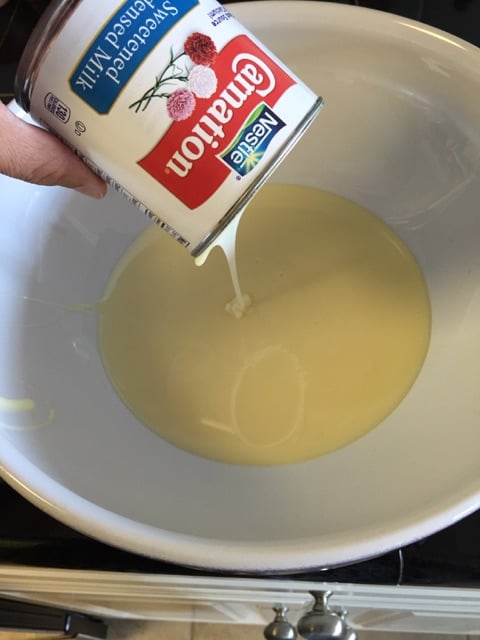
Pour the sweetened condensed milk into a bowl.
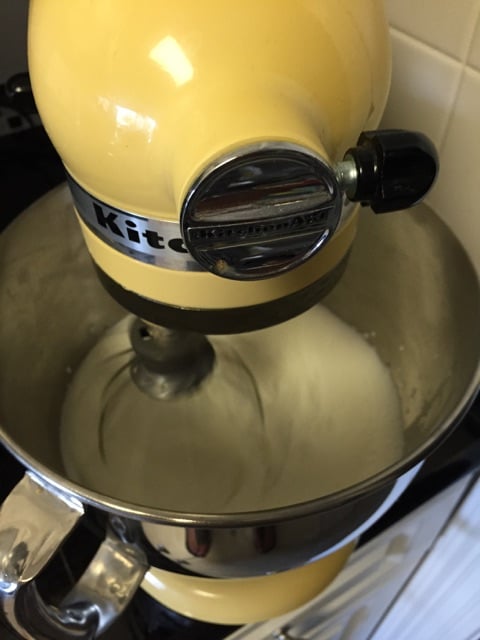
Whip the heavy cream to stiff peaks. My Kitchenaid mixer makes this task a breeze, but you could also use a hand mixer or just a whisk and some muscle.
The next step is to gently start folding the cream into the condensed milk. Start with one spoonful to lighten the milk.
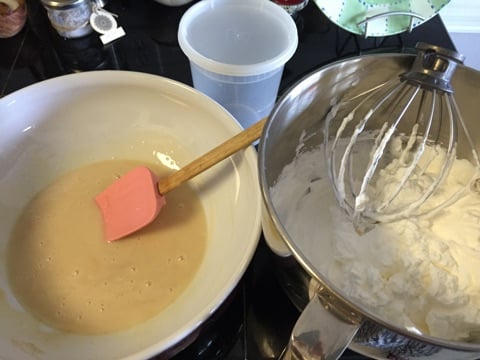
Go slowly as you want to maintain the air in the whipped cream.
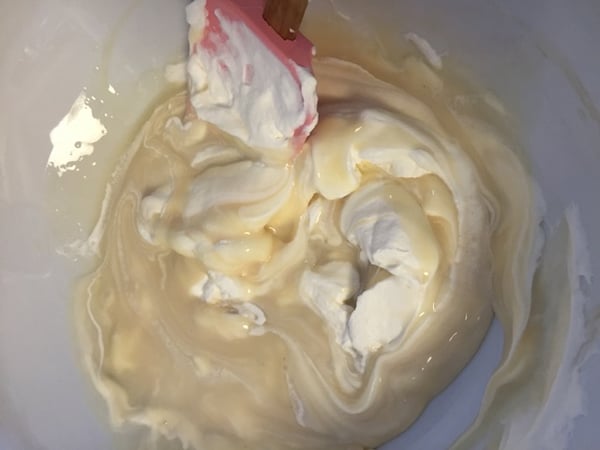
Don't be alarmed that it's lumpy at first. As you slowly fold, the mixture will smooth out and become soft and silky. Be careful not to over-mix, so stop when you have just a few small lumps.
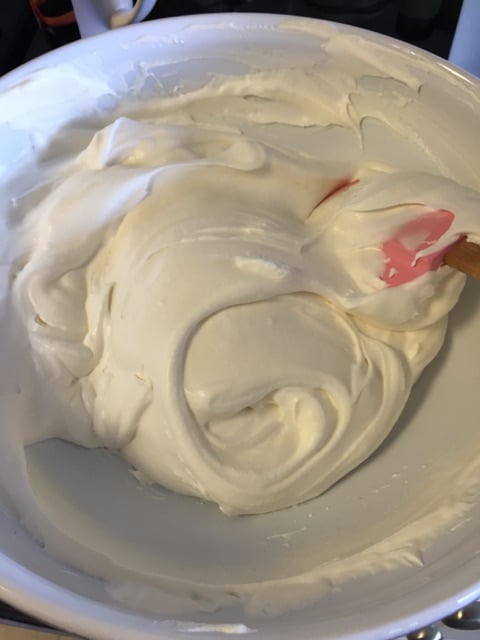
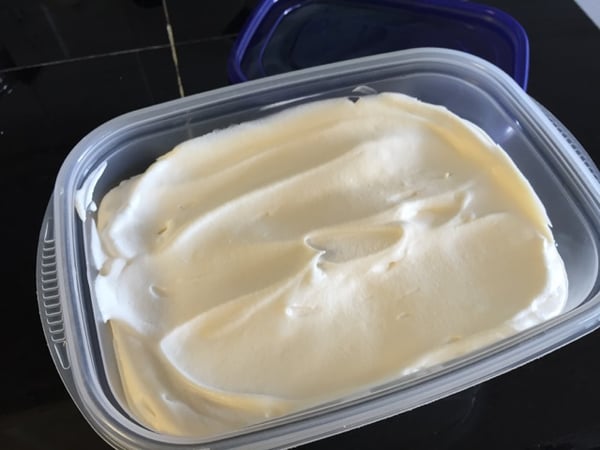
Transfer the mixture to a freezer container. I just used a disposable container with a tight fitting lid.
The Kitchn suggested putting a piece of wax paper over the top, but I only had parchment paper, so I used that. It worked just fine in helping to prevent ice crystals from forming at the top.
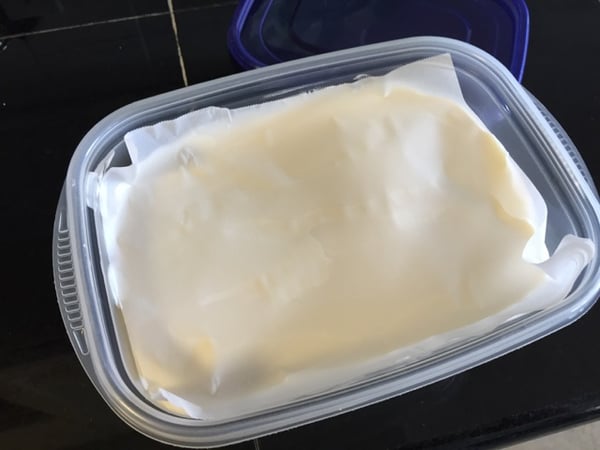
Freeze for at least six hours or up to 2 weeks. The longer it freezes, the firmer the ice cream will be but for best texture and flavor, it should be eaten within 2 weeks. I tried some even after 2 weeks and thought it tasted fine, but the texture definitely got more crumbly the longer it sat.
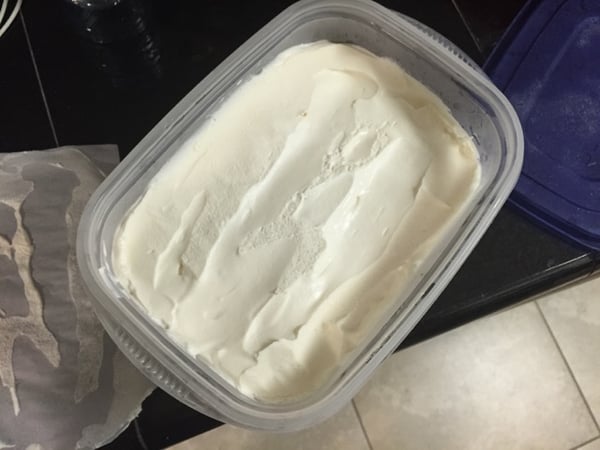
I found the ice cream to be pretty soft right at 6 hours, but the texture was just right the next day.
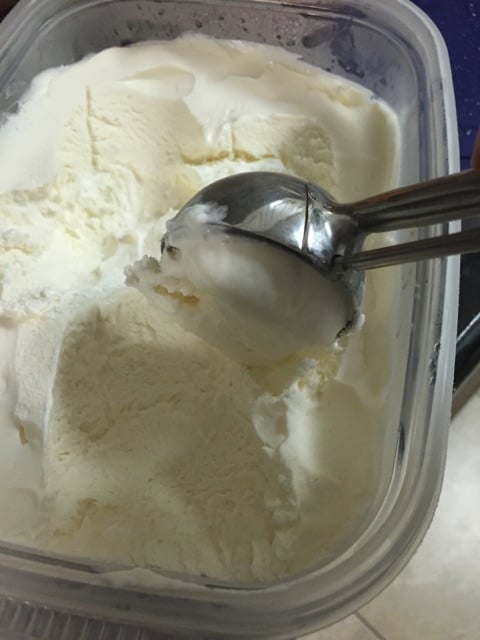
I served it on top of a peach cake. My parents were my guinea pigs, and they couldn't tell it wasn't real ice cream. It really does look, taste and scoop the same!
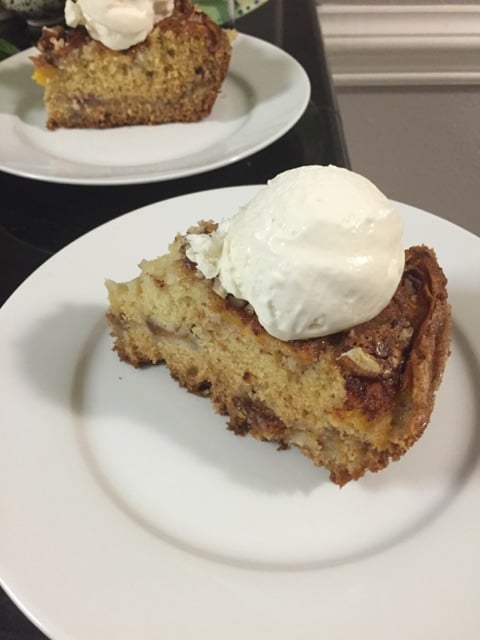
This was an incredibly easy recipe to make with fast and tasty results. The only problem with it, is that it may be too easy and allow me to indulge in ice cream more often!
Give the no churn method a try, and let me know what you think! The beauty of this recipe is that you can vary the flavors however you like by adding mix-ins or switching up the base. Here are 15 ideas to get you started.
Love ice cream as much as me? We're serving it up with Bananas Foster in The Chopping Block's upcoming Bayou Bash class. It's also accompanying the Maple Apple Crisps in our Date Night: Cozy New England Supper. Those are two hands on cooking classes ice cream lovers won't want to miss.


