I’ve touched on some of the fondest food memories of my youth in a number of my blogs. Those memories for me, like a lot of us, begin with meals and desserts prepared by our mothers and grandmothers. Not to say that there weren’t any wonderful food memories that came from my father, the man made some of the best collard greens ever!
I remember the smell of my mom’s macaroni and cheese as it baked in the oven. I thought this rich, cheesy, creamy baked pasta was beyond compare until my sister Chandra mastered the recipe. Sometimes the simplest of ingredients will yield you the best results and my mom’s mac & cheese was a great example of that. She also made a mean buttermilk pie!
My grandmother made the best sweet potato pie and her pot roast with roasted root veggies was also a standout. The food memory that I recall the most whenever I think of my grandmother would definitely be her chocolate cream pie. There was practically nothing that woman couldn’t bake or cook! Her meals weren’t fancy or grand, but they were prepared with all the love that a grandmother could cook up for her family.
But this post isn’t about those food memories that my family created. Instead, it's about memories from elementary school, high school and college.
If you grew up in Chicago and attended a public school, whether north, south, east or west side, you probably were lucky enough to experience in the delight, wonder and deliciousness of the Chicago Public Schools’ lunchroom creations; butter cookies and peanut butter cookies. These cookies were legendary! If you Google CPS lunchroom cookies, you’ll read several stories of peoples’ almost cult like memories of those cookies as well as find several recipes devoted totally to recreating those cookies. But it was always the CPS butter cookies that have and still generate the most devoted of fans. To this day, people will still have heated arguments over which Chicago elementary or high school had the best butter or peanut butter cookie. In all honesty, arguments weren’t really necessary, because the answer was always your school.
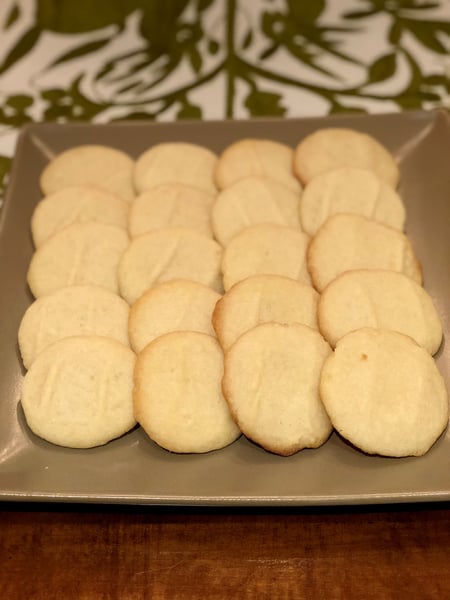
The first time I ate a CPS butter cookie was in elementary school. I can’t tell you which exact school it was, because we moved around a lot when I was young. But I do remember absolutely everything about them. They had just come out of the oven and as I broke the cookie in half and proceeded to devour its warm sweetness, the buttery taste and texture, I thought to myself, “Wow, I have the best school ever!” It wasn't until I reached third grade that I was finally able to receive lunch money from my parents in order to enjoy those cookies. There were no more bagged lunches of boring, bland, lifeless sandwiches and a piece of fruit. Now there were sloppy joe sandwiches followed up with these incredible butter cookies!
The origins of the classic Chicago Public Schools shortbread cookies are a bit murky. There really isn’t a true record of when they or the classic peanut butter cookie made their debut or where. But according to alumni lore, the cookies popped up in the 1960’s at both elementary and high schools throughout Chicago and lasted throughout the 80’s. With the butter cookies always maintaining the original recipe of four basic ingredients: butter, sugar, vanilla extract and flour. I’d like to also believe that there was a lot of lunch lady love thrown into the recipe as well. You always would know when the cookies were being baked that day. The delicious and inviting smells would waft from the lunchroom through the walls of every classroom.
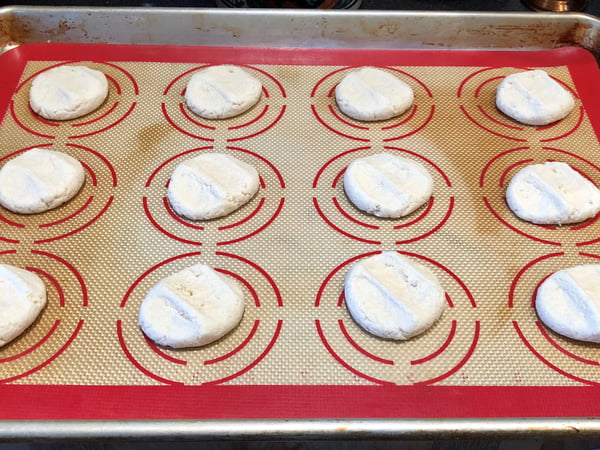
The recipe has been adapted several times from past students of CPS, recreating what they feel was the butter cookie they remembered and grew up with. You can even find recipes posted from people who claim that their cookie recipe is the exact same one from whatever school they attended. But whichever recipe you find, it’s going to always include those four basic ingredients as well as the classic, three finger press, that flattens the cookie, giving each cookie its distinctive mark.
It wasn’t until high school that I can remember experiencing the joys of the classic CPS peanut butter cookie. When you talk to people who graduated from high school throughout the 60’s, 70’s and 80’s, they will tell stories of not only the CPS peanut butter cookie, but the grilled cheese sandwiches, the cheeseburgers that supposedly contained oatmeal as a filler, but were still so delicious, including the sloppy joe sandwiches. The lore and legend of the CPS peanut butter cookie is just as nostalgic as the memory of the butter cookie. But this cookie seemed a bit more refined and grown up, just like how you felt as a teenager. They had the salty, creaminess of peanut butter, along with the slight molasses-like taste of brown sugar. With the addition of baking soda and baking powder to give the cookies a crispier and chewier texture. You knew you had just graduated from an elementary school kid into a high school teen.
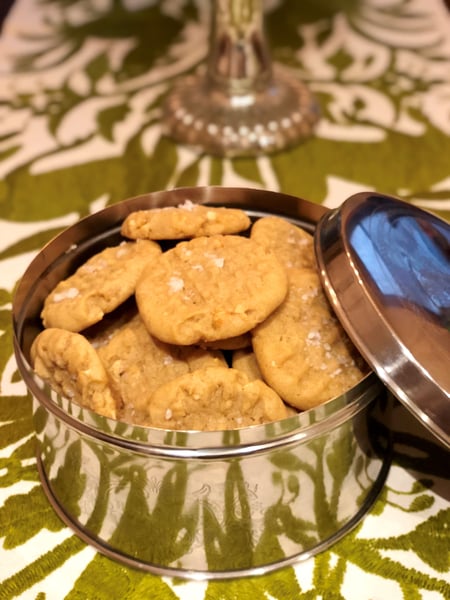
The peanut butter cookies were always distinguished by the crisscross pattern that they were given by a fork used to flatten the dough. To this day, the peanut butter cookie is my go to cookie, so I always have a supply of peanut butter and brown sugar on hand. I’ve adapted the recipe and added a few more ingredients to make it my own, but it still doesn’t take away from those memories of the high school ones I grew up with.
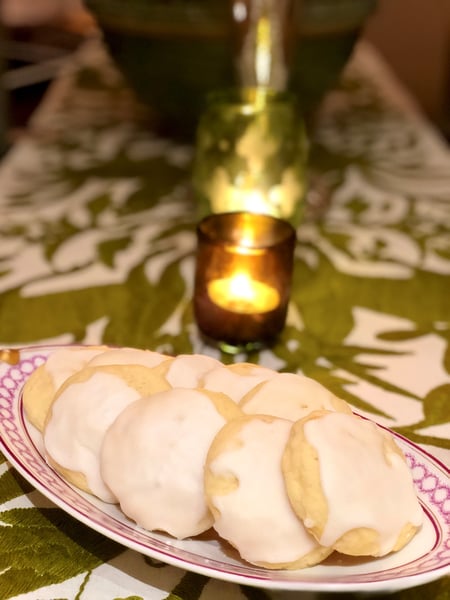
Once I hit college, my taste in cookies went into an entirely different direction. No longer were they cookies freshly baked and just out of the oven, handed over to you by the smile of the school lunch lady. These were store-bought, made with lemon, soft, cake-y and topped with a confectioner’s sugar glaze. These were the perfect cookie to enjoy as a late-night snack in my dorm room while cramming for a college exam. This is another cookie that I’ve adapted the recipe for and made it my own.
Chicago Public School-Inspired Butter Cookies
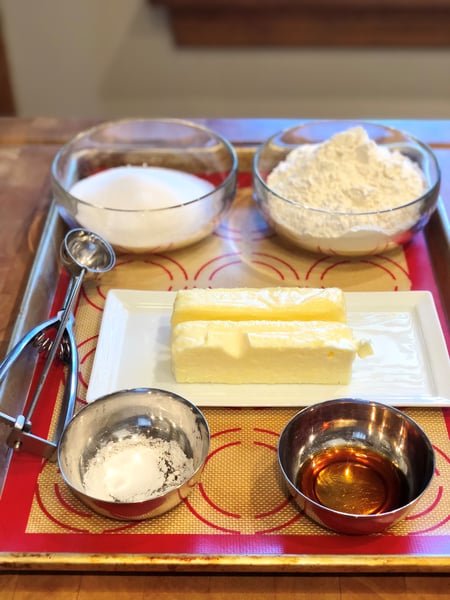
2 sticks of unsalted, softened butter
¾ cup of sugar
¼ teaspoon of salt
1 teaspoon of vanilla extract
2 cups of flour
- Preheat your oven to 375 degrees.
- In the bowl of a stand mixer or a large bowl using an electric mixer, cream the butter and sugar on medium speed until fluffy, which should take about 5 minutes, scraping down the sides of bowl with a spatula every so often. Mix in the salt and vanilla. Reduce the speed to low; next add the flour in batches until the cookie dough is well combined.
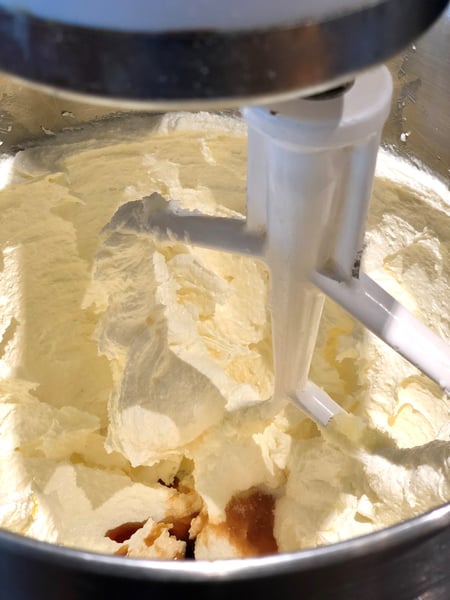
- Place the cookie dough covered in plastic wrap in the refrigerator for 15 minutes to chill slightly in order to handle it better for rolling.
- Using a 1¼ ounce ice cream scoop or a tablespoon, scoop out the cookie dough onto an ungreased baking sheet at least 2 inches apart from each other; you can also line the baking sheet with a silicone pad.
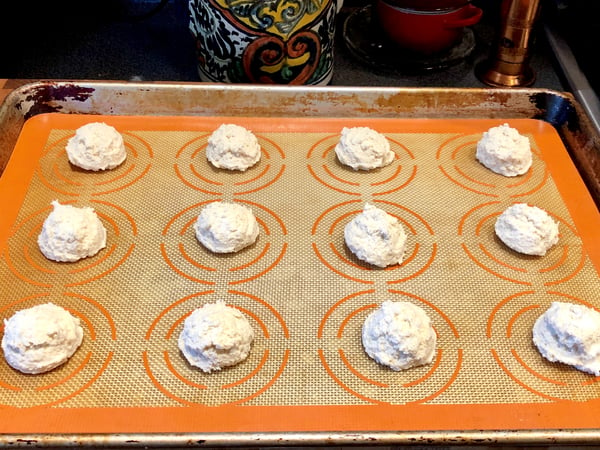
- Working quickly, roll the cookies into balls. Next use three fingers to gently press the cookies down onto the baking sheet, giving them the distinguished three finger mark that the cookies are known for.
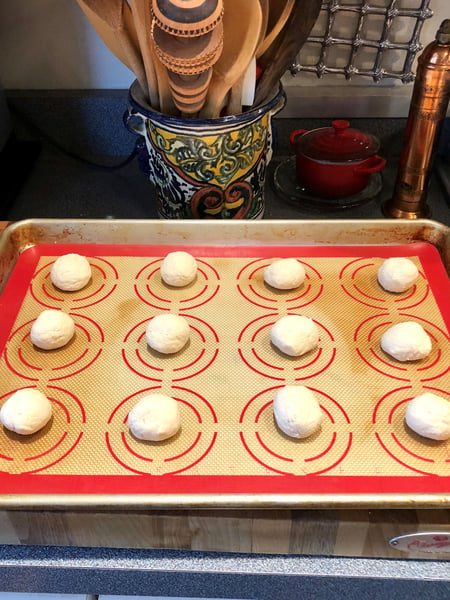
- Bake in the preheated oven for 12-14 minutes, rotating the sheet pan halfway during the baking process, just until the cookies start to develop a slightly brown edge. I prefer that the cookies have a lightly golden-brown color, but if you prefer your cookies slightly darker, give them just a minute longer.
- Remove from the oven, let them sit on the sheet pan for about 5 minutes before transferring to a wire rack in order to prevent the cookies baking any longer and to cool down completely.
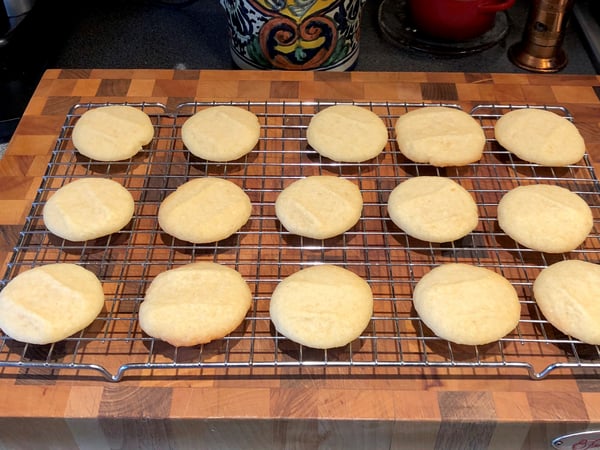
Now simply enjoy with a glass of cold milk or a hot cup of tea or coffee.
My Favorite Peanut Butter Cookie Recipe
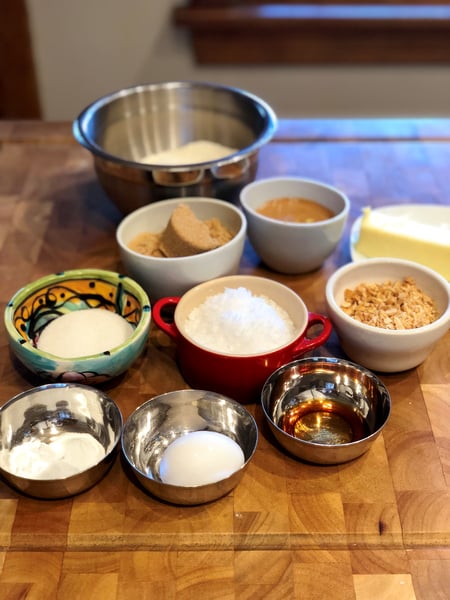
¾ cup of firmly packed light brown sugar
¼ cup of granulated sugar
½ cup of creamy peanut butter. I prefer using a natural organic brand, just stir well to mix the oils on top before measuring.
½ cup (1 stick) of unsalted butter softened
1 large egg
1 teaspoon of vanilla
1 ½ cups of all-purpose flour
½ teaspoon of baking powder
½ baking soda
½ teaspoon of salt
¾ cup of chopped roasted peanuts
Maldon flaked sea salt for topping (optional)
Cooking spray
- Preheat oven to 350 degrees.
- In a medium bowl, combine flour, baking powder, baking soda and salt and set aside.
- In the bowl of a stand mixer or a large bowl using an electric mixer, cream the butter, brown sugar, granulated sugar and peanut together and beat on medium speed until well mixed. Add egg and vanilla; continue beating until well mixed.
- On low speed, gradually add the flour, baking powder, baking soda and salt. Beat on low speed until all is completely combined.
- While the mixer is still on low speed, add the chopped roasted peanuts until combined. Being careful not to overbeat the dough, in order to avoid a tough cookie.
- Cover the bowl with plastic wrap and place in the refrigerator for 30 minutes to chill slightly in order to make rolling out the dough easier to handle.
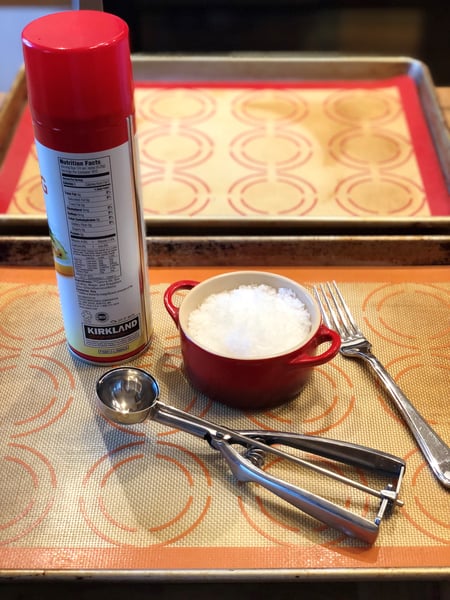
- After chilling the dough for 30 minutes, using a 1¼ ounce ice cream scoop (I like spraying the scoop with cooking spray, so that the cookie dough releases much easier) or a tablespoon, scoop out the dough onto an ungreased cookie sheet or you can also line the sheet pan with a silicon pad, placing the cookies at least two inches apart from each other. Roll the cookies into 1 ½ inch balls and then using a fork, flatten the balls in a crisscross pattern. Next apply on top of each cookie a small sprinkling of Maldon flaked sea salt. I like using the flaked sea salt, because it adds another layer of salt flavor to the cookies and the flakiness of the salt gives the cookie a crunchy feel and texture. But you can definitely leave out the sea salt if you prefer.
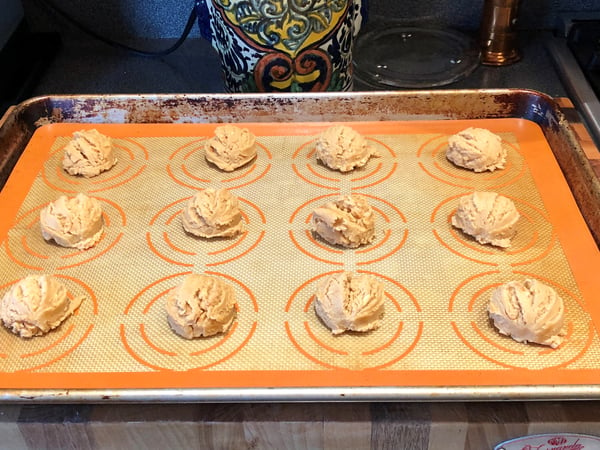
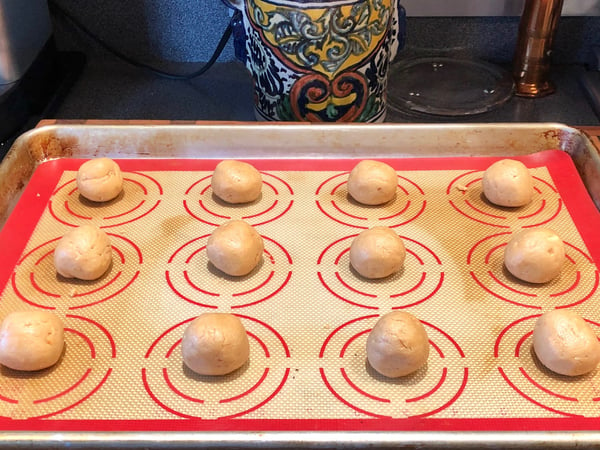
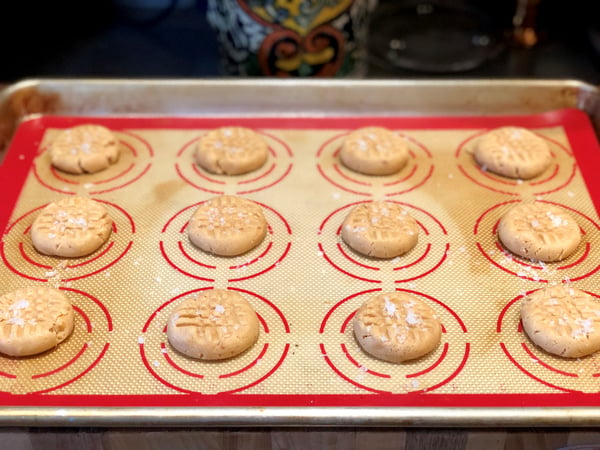
- Bake for 8-10 minutes or until the edges are lightly browned.
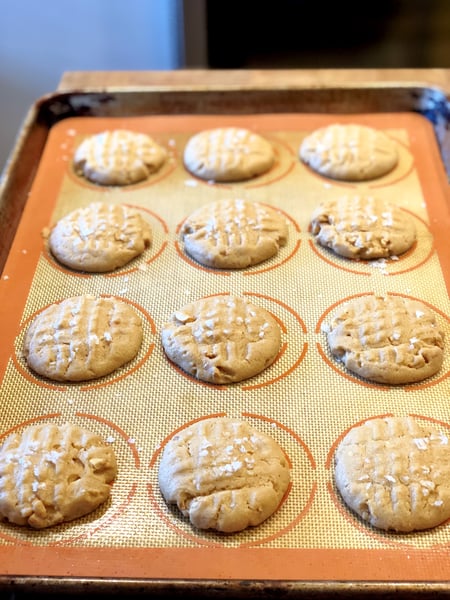
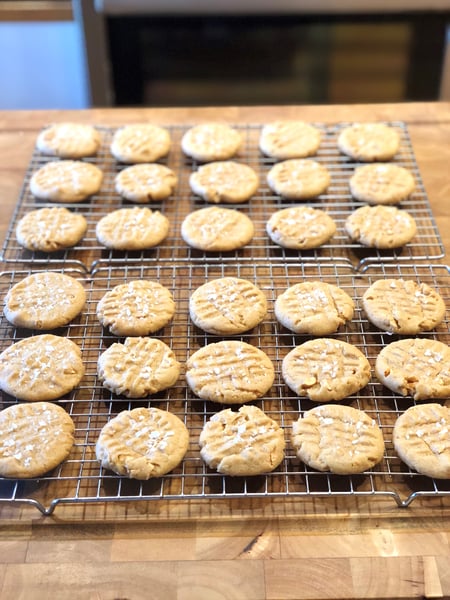
- Remove the cookies from the oven and let sit on the sheet tray for 5 minutes, in order for the cookies to slightly harden, making them easier to transfer from the sheet pan to a wire rack to cool completely or to eat and enjoy while still slightly warm.
Desserts have always been a bit of a challenge for me, but I still keep trying to conquer that fear and create tasty and delicious desserts for family and friends. That's why I love being a chef instructor at The Chopping Block. I get the chance to guide someone through a dish they’ve never created before or a cooking technique they will recreate at home. Sometimes what you’re teaching them brings back a fond memory from their past.
If you are interested in improving your own baking skills, check out one of our upcoming summer baking classes:
- Blue RIbbon Baking Saturday, July 7 10am Lincoln Square
- All American Pie Workshop Saturday, July 21 10am Merchandise Mart
- Donut Boot Camp Sunday, July 22 10am Merchandise Mart
- Macaron Workshop Saturday, July 28 10am Merchandise Mart
- Blue Ribbon Baking Sunday, July 29 11am Merchandise Mart
