If you’ve read some of my other blogs, then you know I enjoy preserving summer produce this time of year. All the greatest produce is in season right now, and I feel like I have a duty to can and pickle as much of it as possible before the weather turns.
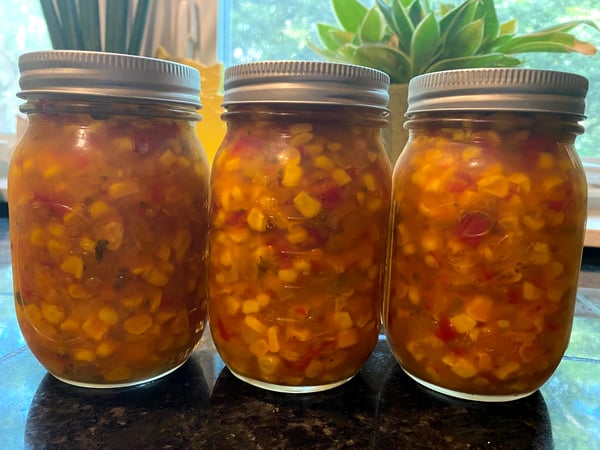 This past week was no exception, but with it being so hot outside, the last thing I wanted to do was bust out my big canning pot and sterilize canning jars in boiling water. So, I did the next best thing… I made refrigerator pickles! What are refrigerator pickles, you ask? They are pickles that are placed in the refrigerator to brine instead of going through the hot water bath canning processes (read more about that in our downloadable canning guide).
Canning is great because it means your jars will be shelf stable for a long period of time, and they won’t take up room in your refrigerator, but skipping this step and going right for the fridge means you don’t need any special equipment… and it keeps your kitchen cooler!
Let’s get back to pickling. Did you know you can pickle anything? Our friends from Portlandia seem to think so, too! The most common fruit to pickle is certainly cucumbers, but because pickling is a globally diverse and ancient method of preservation, you can get creative and try your hand at pickling any and all fruits and vegetables, plus chutneys, eggs, pigs feet or herring.
Pickling is the process of submerging foods in a brine comprised of vinegar, water, salt and sugar and it prevents spoilage because bacteria cannot survive in this environment. The ratios of these ingredients can change depending on personal preference and desired final outcome, and quite often you’ll see different spices and herbs added to the brine for more flavor. You can also make pickles by salt brining foods, known as fermentation, to promote the growth of good bacteria (think kimchi, sauerkraut and fermented pickles), but that is a very different technique and should be researched before attempting it.
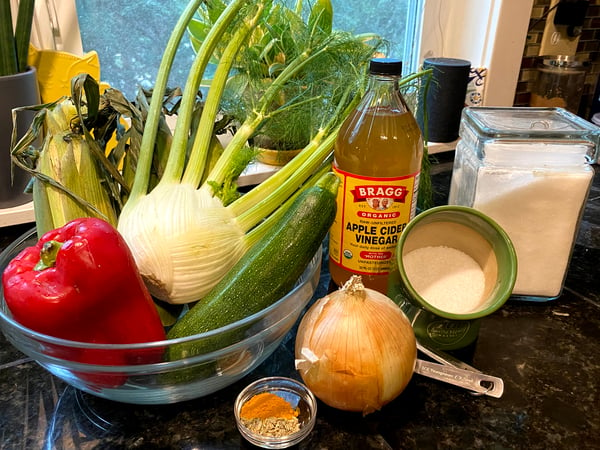
So, to keep things simple, I went to the farmers’ market and gathered up some summer corn, peppers, zucchini, onions and fennel. I initially cut all of the vegetables (except the corn) into a medium dice, but then placed them in my food processor to break them down even further into a fine chop.
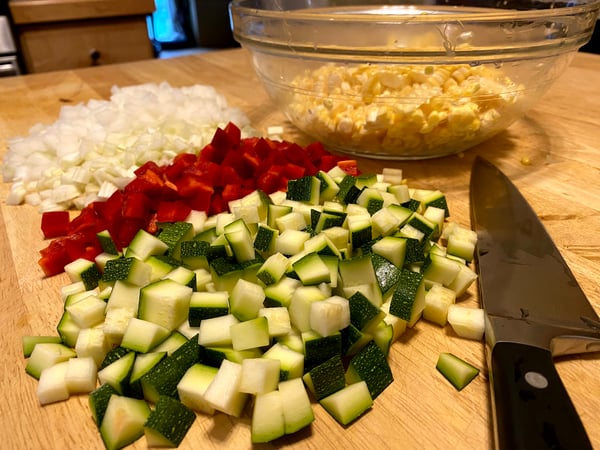
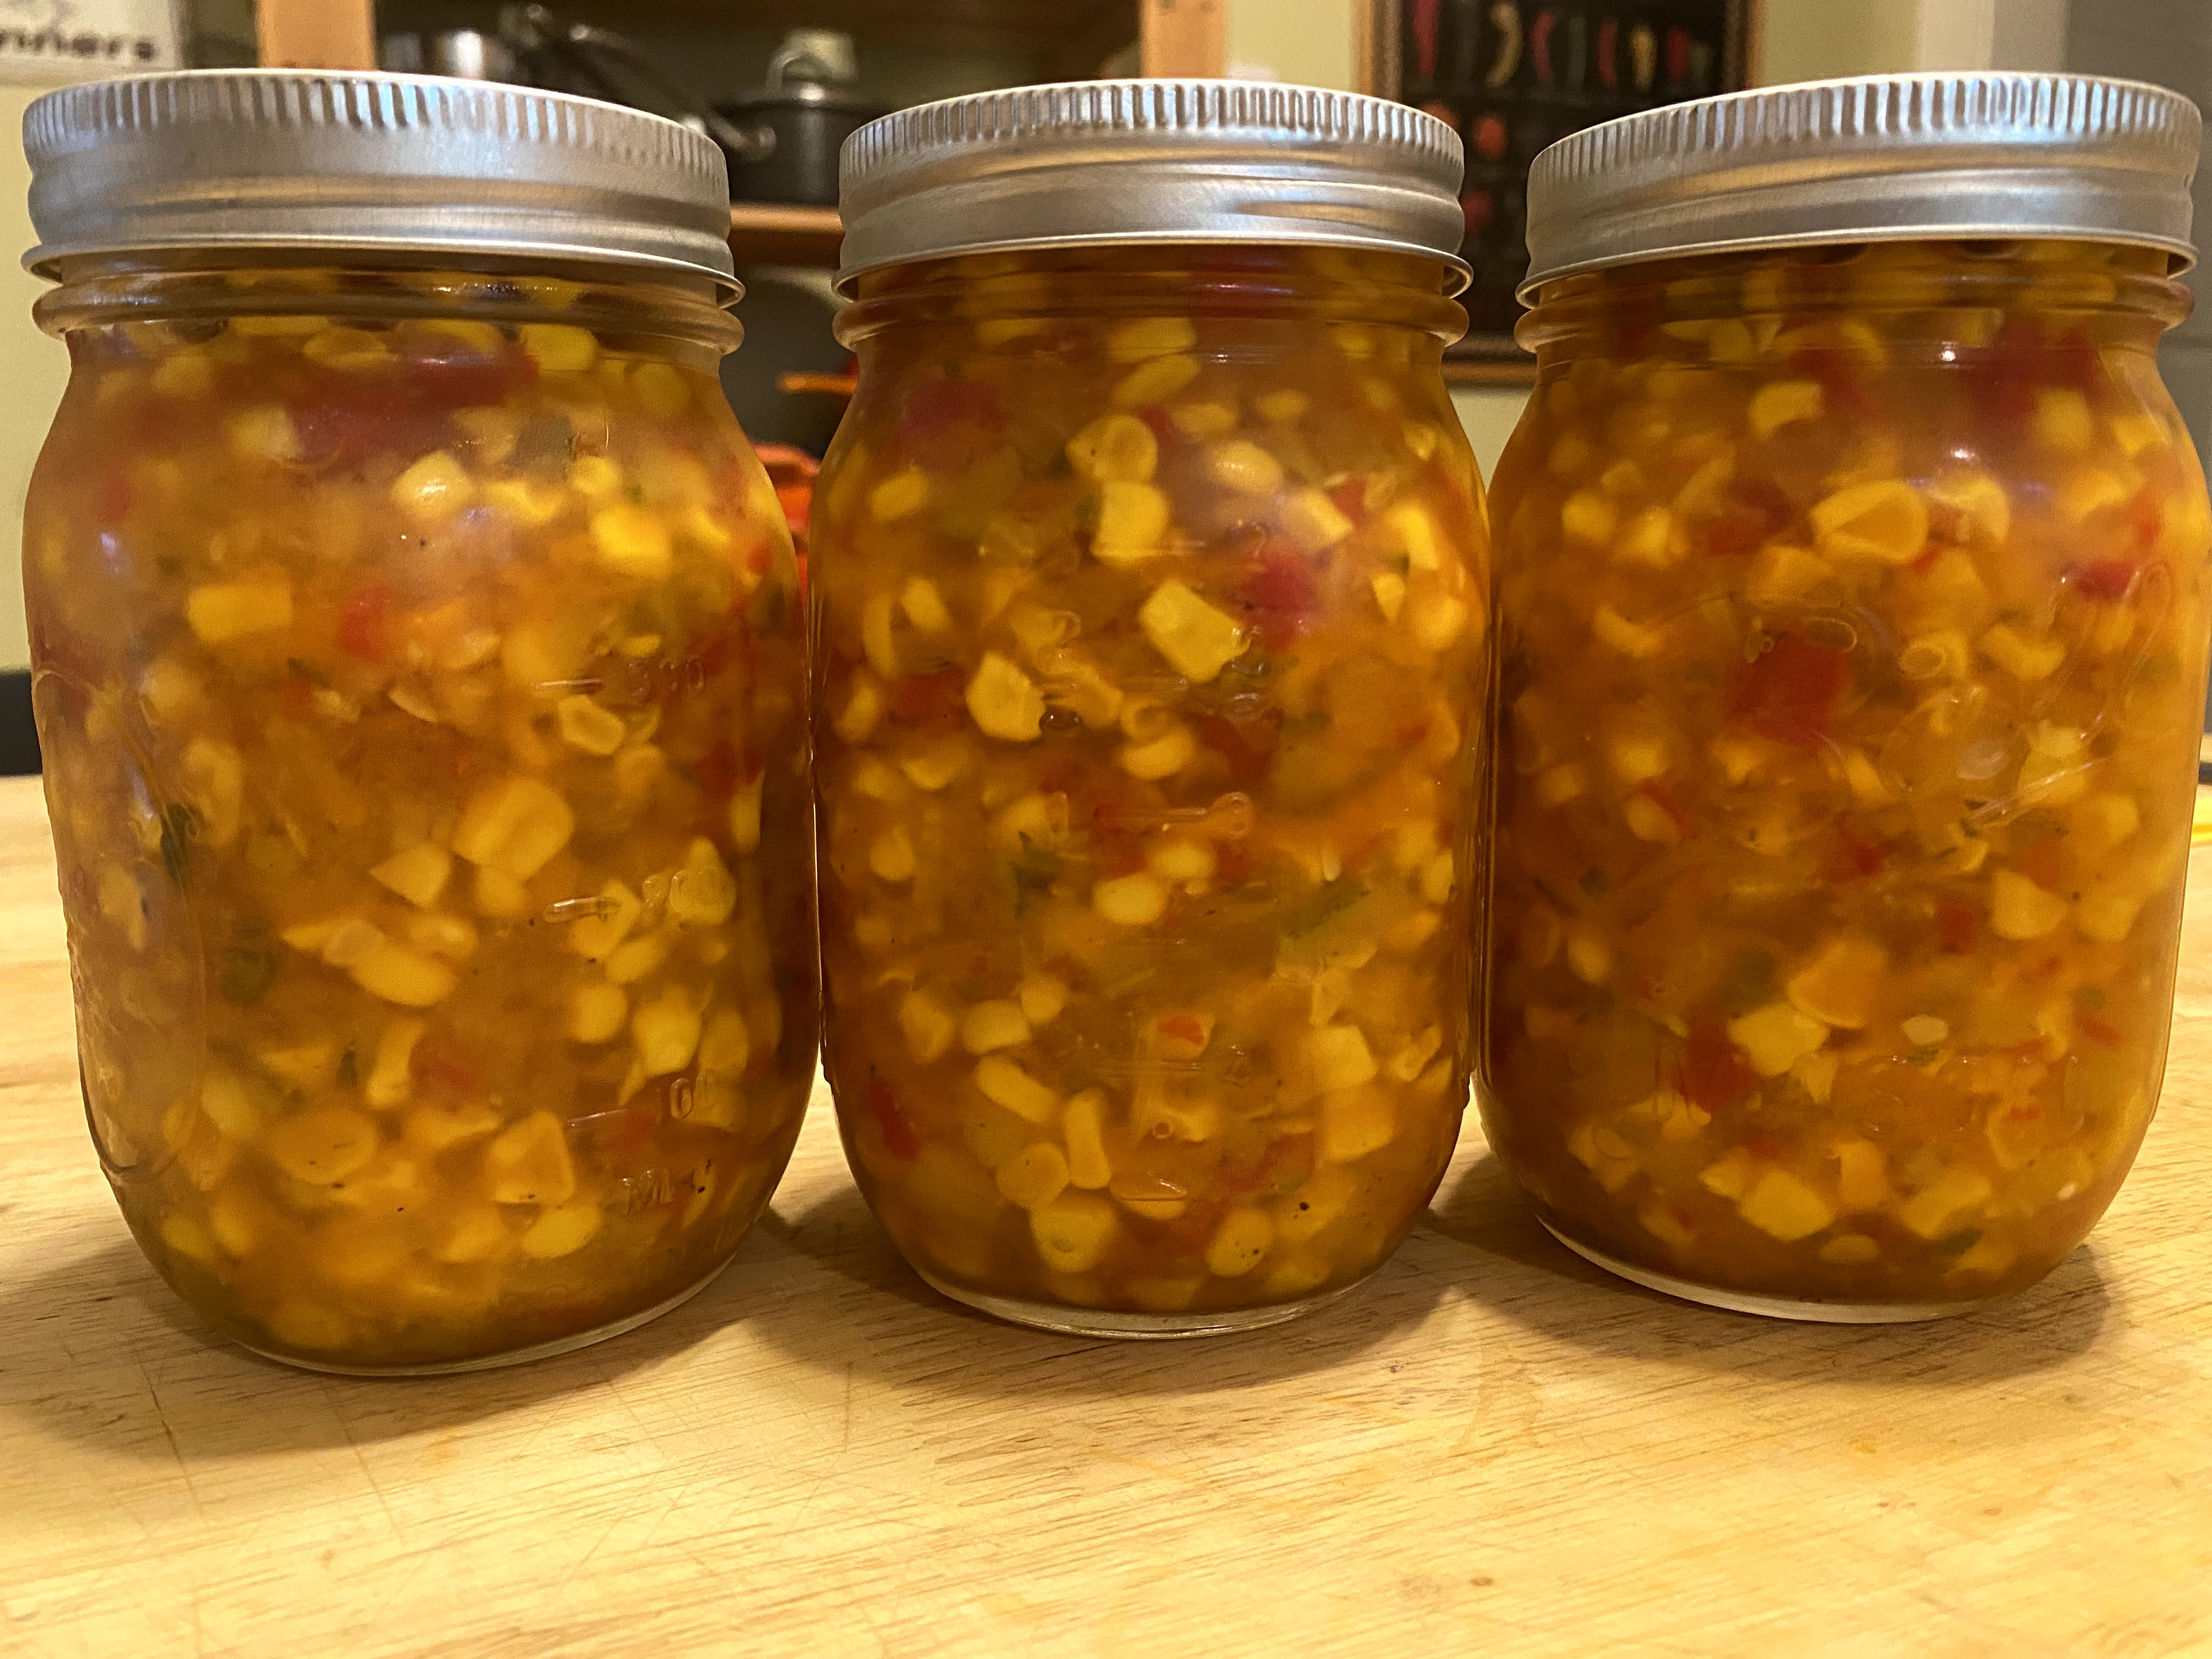
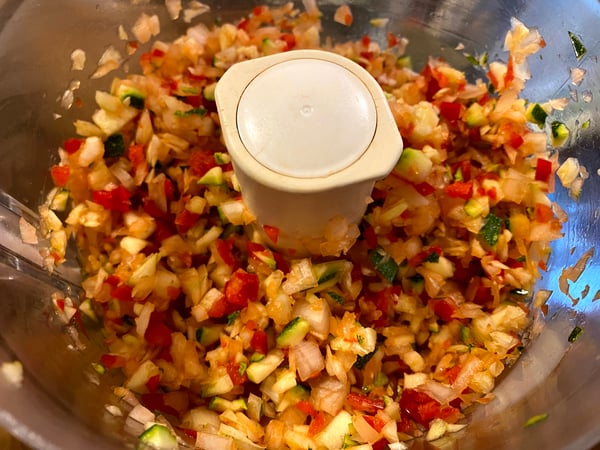 I then transferred the veggies into a saucepot along with the corn, and added my brine ingredients and spices. I brought the mixture to a boil, reduced the heat to a simmer and let it cook for about 20 minutes to soften the vegetables and combine the flavors. I then let it cool for about an hour before placing in my jars.
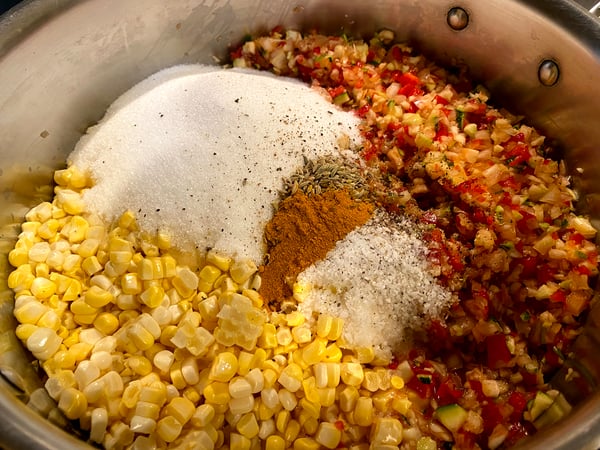 Like I mentioned before, you don’t need any special equipment for making refrigerator pickles, so feel free to use any container you have to store the relish. I used Ball jars because I had them on hand, but any glass or plastic container will do. Cover your container with a lid, and place in the fridge. Let the brine soak into the veggies for a few days to develop maximum flavor before consuming.

Refrigerator Pickled Corn Relish
Scroll down for a printable version of this recipe.
Yield: 5-6 pint jars
Prep time: 40 minutes
Cook time: 25 minutes
Inactive time: 2-3 hours
1 bulb fennel, medium dice
1 medium zucchini, medium dice
2 cups yellow onions, medium dice
1 red bell pepper, medium dice
4 cups corn kernels (from 4 to 6 ears or you can use frozen, defrosted corn)
1 1/4 cups granulated sugar
2 tablespoons kosher salt
Pepper to taste
1 cup apple cider vinegar
1/2 teaspoon turmeric
2 teaspoons yellow mustard seeds
1 teaspoon ground cumin
 1. Pulse the fennel, zucchini, onions and red peppers in a food processor, in batches if necessary, until they are in small pieces, but still distinguishable from each other. Note: If you don’t have a food processor, you can finely chop the vegetables with your knife.
2. Place the mixture in a large saucepan, and add the corn, sugar, salt, pepper, vinegar, turmeric, mustard seeds and cumin.
3. Bring to a boil, and reduce the heat to a simmer. Cover and cook for about 20 minutes, or until the vegetables have softened.
4. Ladle the relish into heatproof jars or containers, and allow to cool on your countertop until room temperature, 2 to 3 hours.
5. Cover the jars, and store in your refrigerator for 2 to 3 months.
Since making this corn relish, I used it as a condiment for chipotle and lime roasted chicken thighs, and I even added a few spoonfuls to my mixed green salad… so good! You can use it as a topping for goat cheese crostini, serve it with BBQ, grilled fish, crab cakes, or try it on a bratwurst or on any other yummy sausages.
 Like I mentioned before, now is the time to preserve the season, and you can do just that in our Virtual Refrigerator Jams, Salsas and Pickles class on Saturday September 4th at 4pm. What better way to spend part of your holiday weekend? Not only will you be making this corn relish, but you’ll also learn how to prepare my favorite tomato salsa and peach jam.
Refrigerator preservation is this week's challenge for our private Facebook group. Join now, make some refrigerated preserved foods and share them with other home cooks.
Refrigerator Pickled Corn Relish
Ingredients
- 1 bulb fennel, medium dice
- 1 medium zucchini, medium dice
- 2 cups yellow onions, medium dice
- 1 red bell pepper, medium dice
- 4 cups corn kernels (from 4 to 6 ears or you can use frozen, defrosted corn)
- 1 1/4 cups granulated sugar
- 2 tablespoons kosher salt
- Pepper to taste
- 1 cup apple cider vinegar
- 1/2 teaspoon turmeric
- 2 teaspoons yellow mustard seeds
- 1 teaspoon ground cumin
Instructions
- Pulse the fennel, zucchini, onions and red peppers in a food processor, in batches if necessary, until they are in small pieces, but still distinguishable from each other. Note: If you don’t have a food processor, you can finely chop the vegetables with your knife.
- Place the mixture in a large saucepan, and add the corn, sugar, salt, pepper, vinegar, turmeric, mustard seeds and cumin.
- Bring to a boil, and reduce the heat to a simmer. Cover and cook for about 20 minutes, or until the vegetables have softened.
- Ladle the relish into heatproof jars or containers, and allow to cool on your countertop until room temperature, 2 to 3 hours.
- Cover the jars, and store in your refrigerator for 2 to 3 months.


