I am so excited to announce that The Chopping Block is finally offering a sous vide cooking class! It never really made sense for us in the past to offer this type of class in person due to the equipment and time involved. So we are making it a virtual offering! If you were ever going to break out your sous vide machines at home, now is the time to do it. By now you may have heard of the slow and low cooking method of sous vide but you may or may not have tried it in your own home. Sous vide is a French cooking technique and the term translates to “under vacuum."
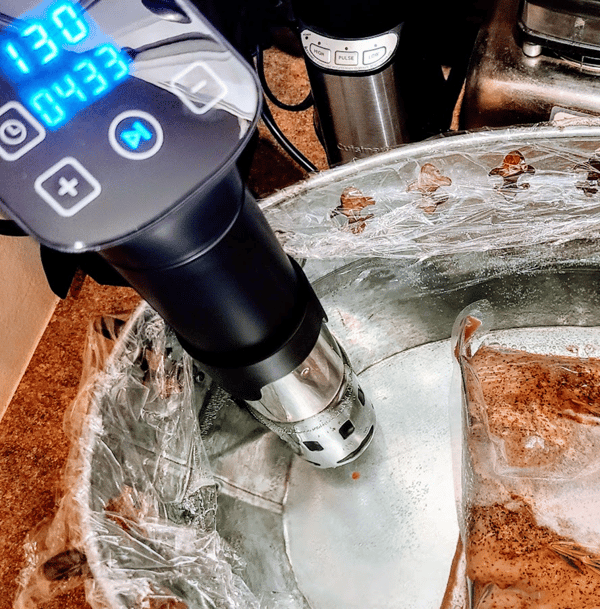 In the sous vide technique, food is vacuum-sealed in a cooking pouch and heated at a precise temperature in a water bath. In addition to relying on perfect timing, sous vide relies on precise temperature control. Simply set the machine and the technique will deliver consistent, perfect results each and every time.
The sous vide method differs from traditional cooking in many ways, most especially temperature. Foods traditionally cook at aggressively hot temperatures, depending on precise timing and skill to know when to remove them before burning or drying out. With sous vide, the precision is in the temperature, which the cook sets with the simple push of a button. Cooked at its ideal serving temperature, food can’t overcook or undercook; it’s perfect every time. And for many foods the technique yields dramatically better results, developing flavors and textures that simply cannot be duplicated using any other cooking method.
 Long ago, the equipment was solely available on a commercial scale and could only be found in restaurants. Ever wonder how an extremely busy steakhouse is able to deliver consistently perfectly cooked steaks every single night? The secret is out, and sous vide is the answer!
It has never been easier to find home versions of the equipment. If you don’t have the equipment, check out this blog where Chef Ben sous vides using just his kitchen sink! I am so excited to teach you how to use these machines and cook a fantastic meal. Without giving too much of the class away, let me break down the 101’s of sous vide cooking.
Equipment
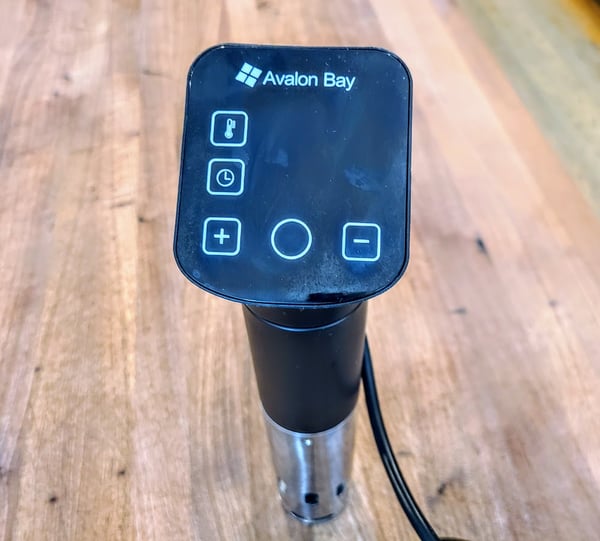
- Immersion Circulator: Anova and Joule are popular brands. I actually own an Avalon Bay. Thank you, Amazon! These machines are now available everywhere. They allow you to maintain a consistent heat to your water bath in order to cook your food in a bag.
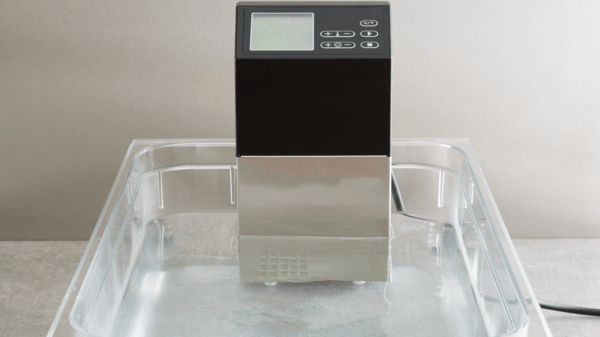
- Water Vessel: Large stock pots, insulated coolers and polycarbonate containers all are good options if your circulator did not come with one. Most importantly you want a lid or plastic wrap to cover the top in order to prevent water evaporation. Also, remember to protect your counter top and place your vessel on a trivet or towel.
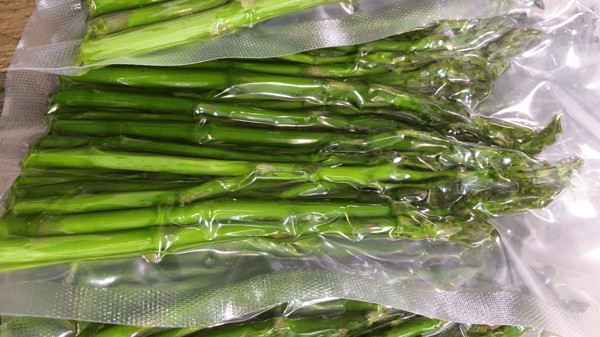
- Bags: Vacuum seal bags, Ziploc bags, or reusable water or heat resistant bags all work. The key is to get at much air out of the bag as possible.
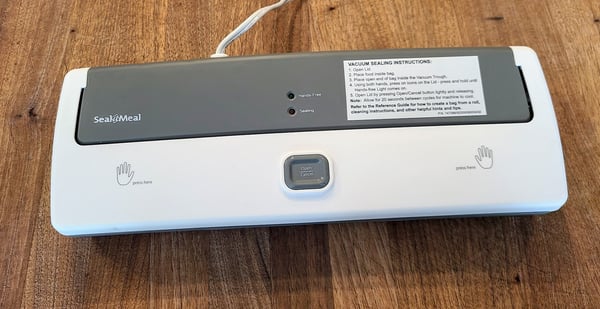
- Vacuum sealer: This is optional, but the less air in the bags, the better results. You just have to be careful if your food items contains juices as this will hinder the sealing process.
- Mason jars: These come in handy for food items that traditional bagging methods won’t work. For example: custards, pates, or yogurt.
Other basic cooking equipment such as pots, pans, oven, torches are all necessary to complete certain sous vide food items for browning or finishing purposes. That is one limitation of sous vide cooking: the fact that the Maillard reaction (browning) happens at temperatures above the boiling point of water. The flavors and crust texture developed by searing are very desirable to me when cooking certain types of meat, such as steak. Unfortunately, this can’t be obtained with the sous vide technique alone.
There are two schools of thought on how to achieve this browning with the sous vide method. Some chefs will brown meats and other foods before placing them into the bag and sealing. This can help that deep brown flavor to permeate throughout the piece of meat as it is circulating in the water. I tend to brown the meat after the sous vide cooking process. This secondary browning is done very briefly and at a higher heat than I usually would use for searing in order to affect only the surface of the food and to avoid overcooking the interior. I have done both methods and they are equally great. I just find it a little easier to sear or roast after the meat has reached my desired temperature.
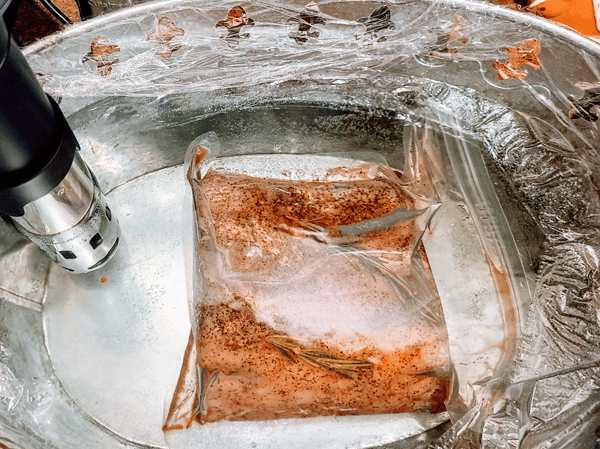
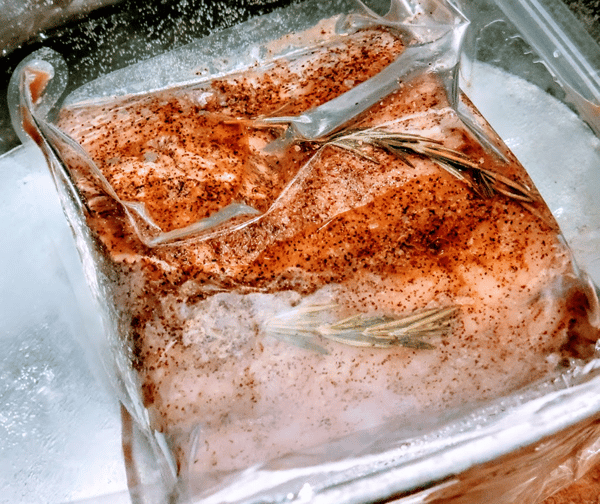 This prime rib went into the bag seasoned with salt, pepper, rosemary and was not seared.
Sous Vide Process
1. Prep the food: Seasoning or marinating is not always necessary depending on the application. Some people believe it is best to season after the sous vide process, depending on the food item.
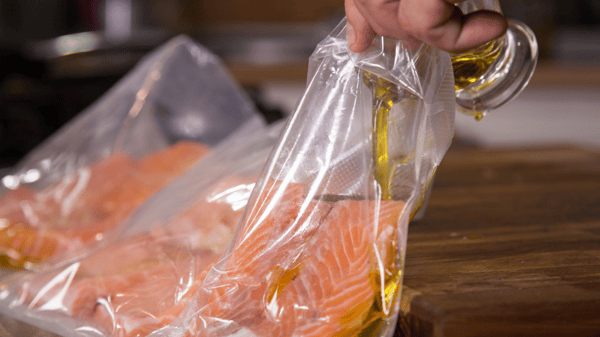 2. Package the food: Vacuum sealing food in bags is preferred but a Ziploc bag with all of the air removed will work in a pinch. Some foods do not require a bag (eggs for example) while others can be sous vide in jars (custards, pickles, or pates).
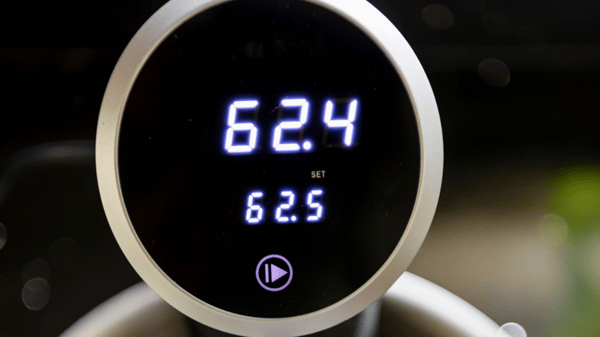
3. Sous vide: Set the time and temperature desired, and you are done.
 4. Finish: Depending on the ingredient, you may sear, broil, torch, or sauté the item to achieve greater flavor. Or chill it rapidly in an ice bath for storage in the refrigerator.
5. Storage: Some food-borne pathogens can multiply to dangerous levels if cooked below 126 °F / 52 °C for enough time, and therefore should not be stored. Instead, they should be eaten immediately.
6. Reheating: You may place food back into water bath for reheating or roast, sear, or sauté to bring food up to proper temperature after chilling.
There are so many pros to cooking sous vide at home, but if I am being honest the biggest con for me is just the timing of it all. Yes, at low temperatures for longer periods of time the meat will become tender and juicy, but I can also achieve a perfectly cooked medium rare steak in 10-15 minutes in a cast iron pan rather than waiting the one hour and 15 minutes it takes with the sous vide machine.
If you are great at meal prep, planning, and have the time, then this is the method of cooking for you. I use mine at home less frequently than I would like, but it definitely comes in handy when I have a large cut of meat that I want to break down evenly and don’t have to think about. For me, that is the most practical use for proteins.
There are a million different things that you can use your sous vide machine for, though. I love using it for fruits, custards and eggs as well. Each item requires a certain time and temperature in order for it to cook properly and depending on how you plan on finishing it. I will not get into all of these details here (just note that I did create a comprehensive time and temperature chart for class; hint, hint!) My best advice I can give you is to research the brand of immersion circulator you have and chances are they have all of that information on their website for reference.
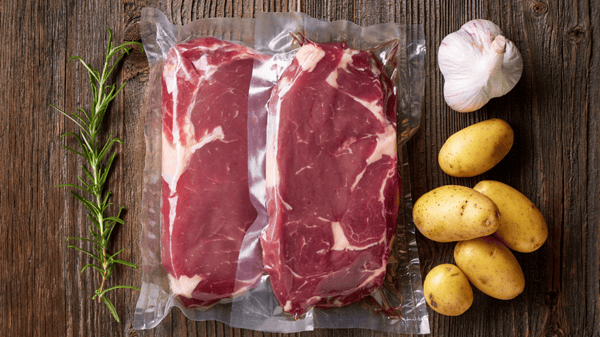 If you want more information on sous vide cooking, definitely check out the virtual class on April 17 at 2pm CST. This is an interactive demonstration style of virtual class. Due to the different times and temperatures need to cook the various dishes, I will have some of the items par cooked, and I will demonstrate how to finish them off in class. I will do my best to answer all of your questions, and you are more than welcome to participate in a recipe or two if you feel comfortable. Below I listed the information I will be going more in depth on during class. I will be demonstrating how to sous vide a steak, mashed potatoes, and grilled asparagus. Hope to “see” you in class.
Skills Covered in Class Include:
- Setting up and using Sous Vide equipment
- Understanding the sous vide process
- Time and temperature guidelines
- Selecting food to be sous vide
- Making a full meal sous vide
- Storing and finishing sous vide items
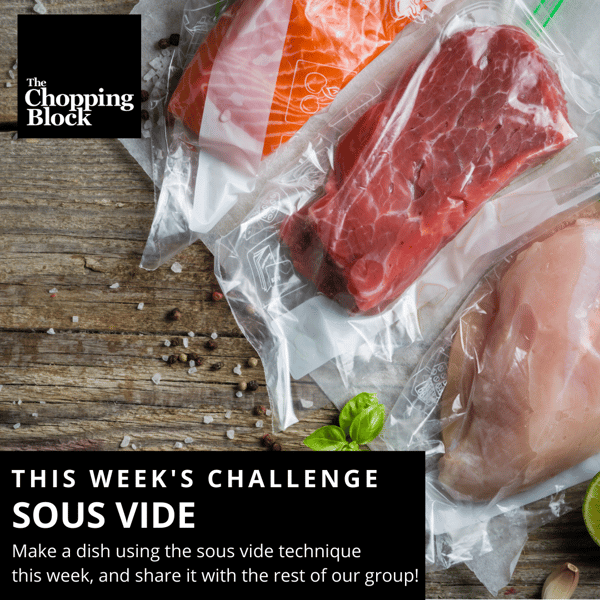
Sous vide is this week's challenge in our private Facebook group. Join, give sous vide a try this week and share your results with other home cooks in our group.
