October is my favorite month of the year. The leaves are changing colors, the air is getting colder and the best reason of all is coming up soon: Halloween! Halloween is a holiday that carries a lot of tradition along with it. I love going apple picking, going to the pumpkin patch, and decorating pumpkins brought home from the patch.
In keeping with the theme of tradition and getting in touch with my families' roots, I decided to celebrate Day of the Dead this year. My house is slowly being adorned with anything Day of the Dead related: papel picado, colorful flowers, candles and one of the most iconic decorations, sugar skulls.

I knew you could buy sugar skulls at Mexican candy stores, but I could not find them anywhere and the Mexican candy store that used to be near me closed down. So I decided to just make some from scratch. It would be way more fun, and I could get my nieces and nephew involved. Luckily, my cousin had done this last year, so I just went to her for a recipe.
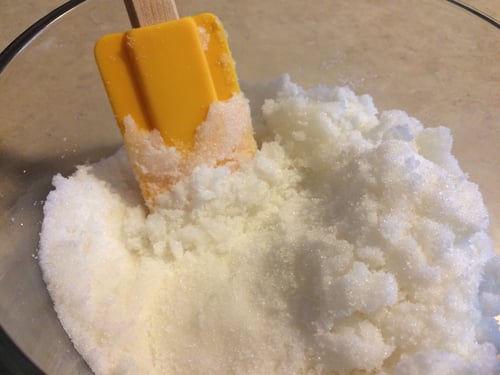
I thought it would be super difficult, but it's really not. The skulls are simply made from granulated sugar, water, and meringue powder mixed together like wet sand.

Here is my cousin's recipe with my notes:
Sugar Skulls
¼ cup of meringue powder (I used Wilton brand) Note: You may need to add more if the sugar mixture is not sticking together.
6 cups of sugar
⅓ cup of water
Place all of the ingredients inside a food processor (you can also do this with your hands but a food processor makes it easier and quick) and pulse a couple of times until you get the consistency of wet sand.
Pick up some of the sugar mixture with your hands and squeeze it, making sure that it sticks together.
Pack it into your skull molds then pop them out onto a parchment lined plate or sheet tray and let the skulls dry for about 24-48 hours depending on how warm and dry your house is.
If your home is always freezing like mine is, heat up your oven to 300 degrees and then turn it off. Place the skulls into the oven with the door open a bit. You are just trying to dry them out, not cook them and this should help.
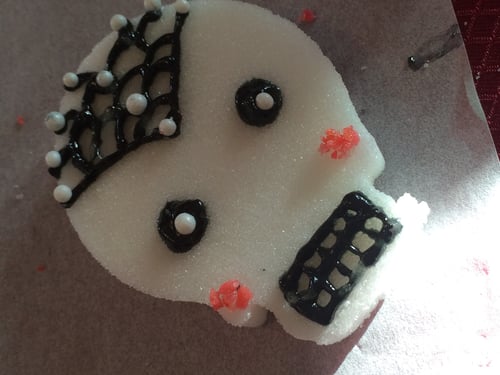
Notes: *This recipe creates enough sugar to do a couple of medium size 3d skulls if you choose to use that mold. I used a medium size skull cookie cutter and packed the sugar into there on top of a parchment lined sheet tray and just slid the cookie cutter off.
Once your sugar skulls are dried, they are ready to be decorated. All you need is some royal icing (use the recipe on the meringue powder package since you already have it), food coloring, candy, piping bags and tips.
This is where it's great to get the kids involved.
If you want to add some flare to your skulls, add sprinkles, edible glitter dust.
My rule is to use all edible ingredients because if you have kids helping you they may be tempted to eat something.
If you are looking for more cooking activities to do as a family, consider some of The Chopping Block's family night classes such as this Sunday's Family Night: Ghoulish Feast.
