Even if you are a Chicago native, you may not realize that Chicago has its own version of Giardiniera. My father-in-law who was born and raised in Chicago recently moved out west and went into shock when he realized he couldn’t find his beloved sport peppers and Giardiniera. Of course, he could find Giardiniera but it was the traditional style, full of cauliflower and sweet peppers meant to be served as antipasto, which is delicious of course, but nothing like the fiery Chicago-style Giardiniera.
Chicago-style Giardiniera is used as a condiment and is so engrained in the culture you will find it everywhere such as Potbelly’s Sandwich Shop, Vienna Beef and the famous Portillo’s. I love the fact that the majority of the Chicago population doesn’t think twice about loading their Italian Beef or their beloved Chicago dog with one of the spiciest concoctions you will ever taste! I might assert that rather than our bitter winters and fiery politics, the prevalence of Chicago-style Giardiniera may be proof enough that Chicago is the toughest city in America!
I have looked around quite a bit online and have been unsuccessful at finding a version that even came even close to an authentic recipe. I have seen recipes claiming to be Chicago Giardiniera with a total of 6 hot peppers in it. I promise you that is not at all what Chicago Giardiniera is like. Chicago Giardiniera is mostly serrano peppers and it should be the main ingredient. The flavor however is not just hot pepper, it is rich with oil and olives, a little hint of sweetness from the red bell peppers and carrots, some brightness from the vinegar and a touch of garlic and oregano. It is so much more than just spicy!
I spent a year perfecting this recipe so for those of you Chicago natives longing for a taste of home, I think I have nailed it! For those of you considering a move to Chicago or who think you got what it takes to be a Chicagoan, it's time to start your Chicago Giardiniera training.
There is a canning component to this recipe so I would recommend reading our Guide to Preserving Food to get more detailed information on that process. However, this recipe doesn’t require a complex canning procedure so if you have any familiarity with canning you should be able to follow along with the instructions below. We also have canning classes happening in late summer at The Chopping Block so keep your eye out for them during canning season. We do a basic canning class as well as a Canning Boot Camp.
This is a large recipe and can easily be cut in half. You can make this anytime of the year as all the ingredients are available at the grocery store, and I personally delight in making it during late summer when all the ingredients can be found at their prime at your local farmers market.
Day 1
2 pounds serrano peppers, rinsed and sliced in quarter inch thick circles. Hint, wear rubber gloves!
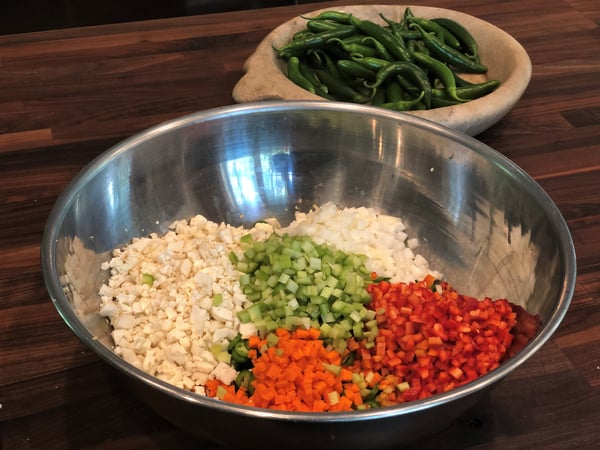
1 pound red bell peppers, seeded and diced small
1 pound of cauliflower, chopped into small pieces
½ pound white onion, peeled and diced small
½ pound carrots, peeled and diced small
½ pound celery, diced small
1 cup of salt
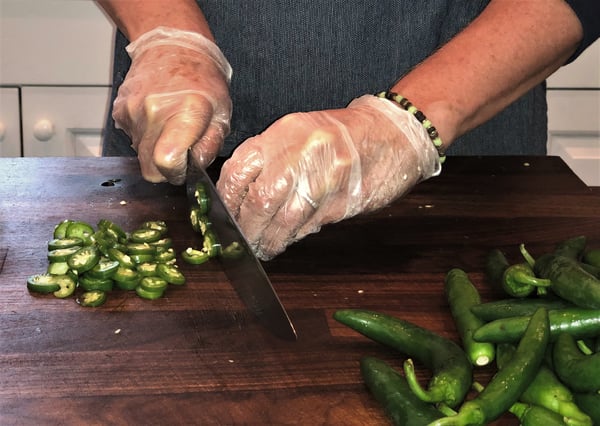
Put all of the above ingredients in a stainless steel or glass bowl, toss with salt, cover and let sit overnight in the refrigerator. This salting removes some of the liquid from the vegetables which both intensifies the flavors and tempers them.
Day 2
Wash 10 pint canning jars and lids. You can use smaller jars if you prefer. This makes a great gift so there will be more to go around with smaller jars. Place the jars on a sheet pan lined with a dishtowel and into a 200 degree oven until you are ready for them.
Fill your stockpot or canning pot 3/4 of the way up with water and heat the water over a high heat.
Take the pepper mixture from the refrigerator, drain the excess liquid off and discard the liquid.
Prepare the next round of ingredients:
12 ounces pimento stuffed green olives, sliced 1/4" thick. Reserve the olive liquid.
1 cup olive liquid from the jarred olives
2 tablespoons garlic, minced
2 teaspoons fresh cracked black pepper
3 Tablespoons dried oregano
5 cups white wine vinegar
3 1/2 cups grapeseed oil
Combine all of these ingredients with the pepper mixture from the day before.
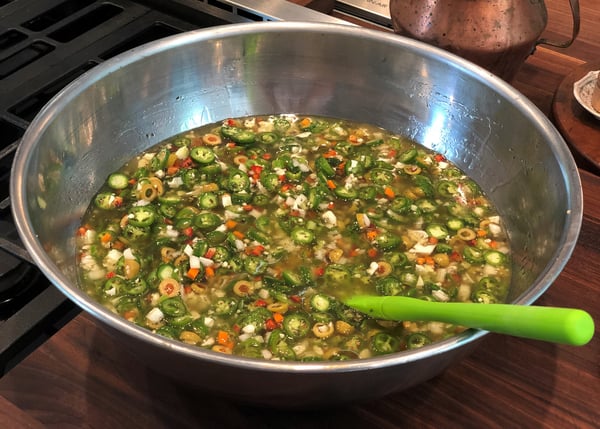
When the water is boiling remove the jars from the oven and fill the jars to right below the threads for the lid. Run a knife around the inside of the jar a couple of times to remove any air bubbles. Do this gently as to not create more air bubbles! Put the lid on the jars and place in the boiling water for 20 minutes.
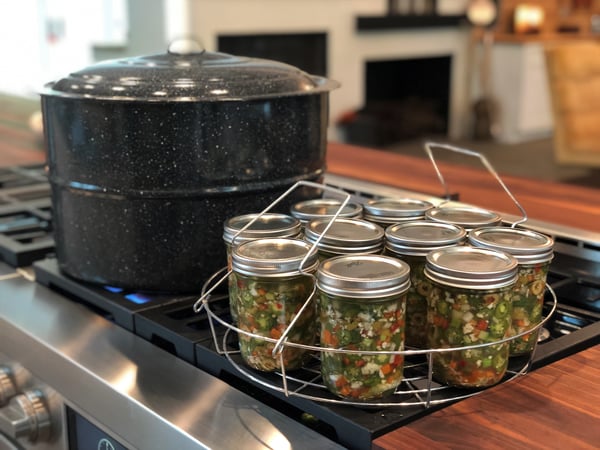
Remove the jars from the boiling water and place onto the dishtowel lined sheet pan and set aside to cool. You should hear popping after some time; that is the sound of the jars sealing. After all the jars are completely cooled check to make sure they are all sealed. You will know they are sealed when you push down on the lid and it doesn’t bounce back. If some jars don’t seal just put them in the fridge and use first. They are fine to use after letting sit for one week, but three weeks is best. The rest can go on the shelf for a year if they last that long!
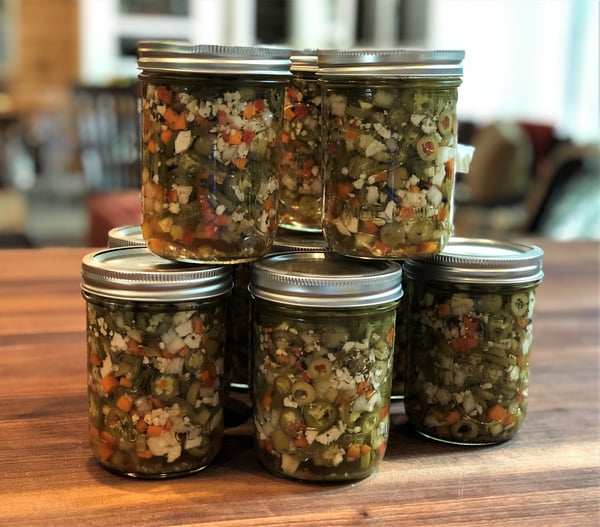
I love to use our Chicago Giardiniera on pizza. I simply can’t eat pizza without something spicy on the top! Our Neapolitan Pizza hands-on classes can get your pizza skills up to snuff. We even have one for teens: Jr. Chef Deep Dish Pizza Party!
Giardiniera is excellent on any sandwich but especially rich sandwiches like tuna or egg salad, and grilled cheese especially loves the spice and tang of Giardiniera. It is a fun twist in a pasta salad, with smoked or grilled meats or sausages and it's amazing on eggs! I hope you enjoy making this truly classic Chicago recipe.


