
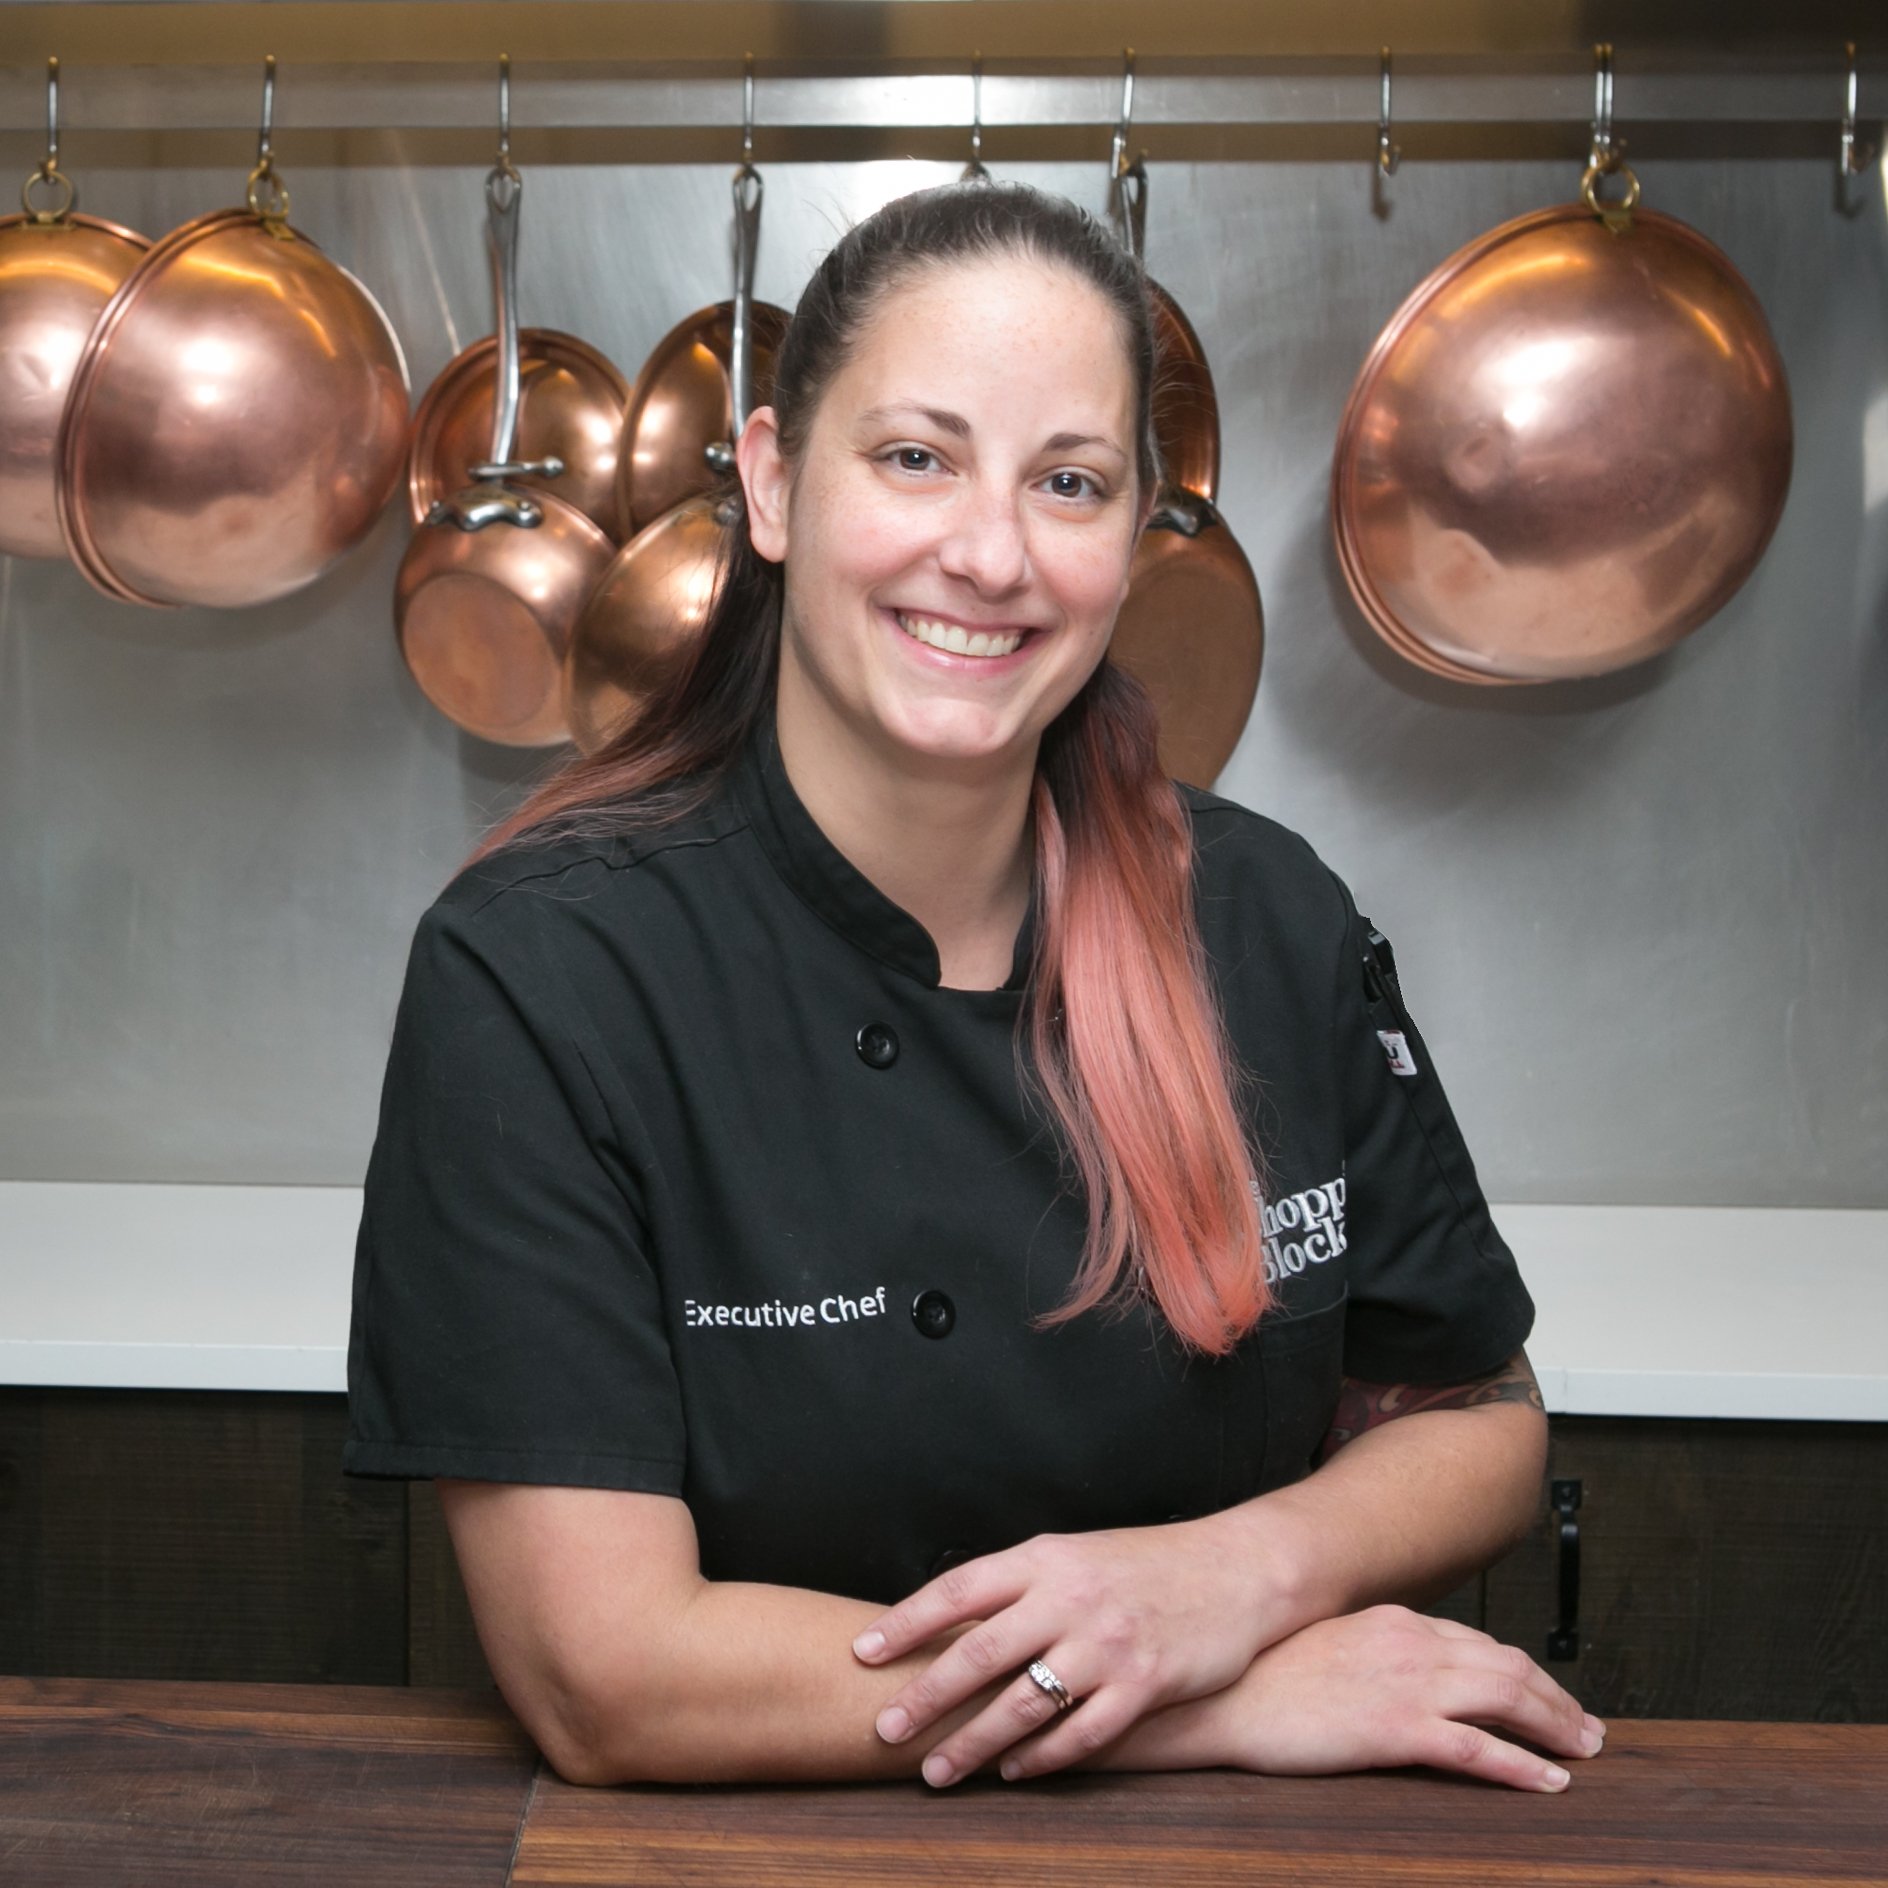
I cannot believe that The Chopping Block has been around for 28 years! I am in awe of my predecessor for building such a wonderful company that I can only hope to continue her legacy for another 20 plus years and hopefully leave my own mark for someone to carry on after me. I am excited to be celebrating my own milestone this year. April marks my 10th year with the company and in September, it will be two years since I took over ownership from our Founder Shelley Young. I have seen many people come and go throughout the years and have so many fond memories of not only the staff and classes but the wonderful students whom I have become close with throughout the years.

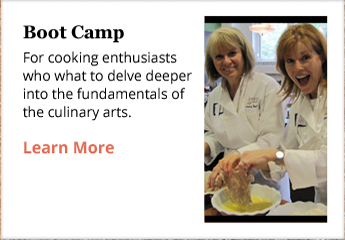
It makes my heart so happy to see regular guests, which I like to call “Frequent Choppers,” continually coming back to take our awesome classes or celebrate their own milestones with private events at TCB. Our Culinary Boot Camp alums become family to me once they graduate, and I still keep in contact with the majority of them regularly. I am so proud of what we do here and stand by our mission to get you to cook; one class at a time! I always love seeing the A-ha moments that guests have when a skill or technique just clicks into place or when they love a new tip or trick that the chef teaches them. That’s my favorite part of the job!

Selfishly, I just love all things food: talking about food, eating food, making food for others, but teaching people how to cook food has ultimately become my favorite passion and having you all being willing to listen and enjoy what I have to say just amazes me. It is truly the best job ever. We can’t do what we do without all of your support, and I greatly appreciate every last one of our students I have met through the years. So, in honor of my 10th anniversary and to honor you all, I am hosting a Tasting Table demonstration class on Wednesday, April 30 at 6pm. We started doing this version of demo classes last year to give all of our chefs the opportunity to create their own menu to showcase their own love of food and teaching.

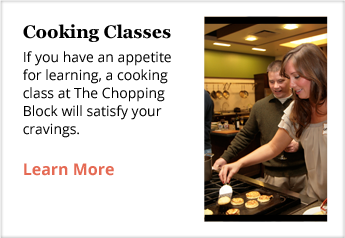
The Tasting Table classes are usually an hour and a half on Tuesday evenings and very reasonably priced. These classes are not hands-on, but you will still learn so much and enjoy the entire menu. Back in the day, when I was still new to TCB we offered chef dinners along these same lines, but they were longer and more expensive. We weren’t seeing much enrollment, so we stopped doing them. Most of our clientele prefers our hands-on classes, but there are still quite a few of you that realize how awesome our demonstration classes can be. So, I wanted to have regularly scheduled demo programing available.

My Tasting Table menu is going to be a throwback to the original two dinners that I did in 2016 and 2017. I took some of my favorite dishes from each menu and will put a few new twists on the original recipes.

As you can see, I had a hard time narrowing down my menu so you will definitely leave satisfied! There were a couple of recipes, however, that couldn’t make it to this year's tasting. Quite honestly, I don’t think you would want to listen to me ramble on for more than two hours! So, I thought I would share them here, ten more recipes for ten years on the job! These recipes below were from my first chef dinner. The theme was Nonna’s Sunday Dinner. It was five courses, more of a complete dinner from start to finish and was very much a meal that I grew up with.
Grilled Rack of Lamb
Yield: 4 servings
Active time: 20 minutes
Start to finish: 20 minutes
2 bone-in lamb racks
Grapeseed oil
Salt and pepper to taste
- Preheat the oven to 350°.
- Heat a grill pan over medium-high heat.
- Lightly coat the lamb racks with grapeseed oil, and season with salt and pepper to taste.
- Grill the racks, presentation-size down, until caramelized. Flip and repeat on the second side.
- Transfer the racks to a parchment-lined sheet tray, and roast until done to your liking. An internal temperature of 125° to 130° is ideal for medium rare.
- Allow to rest for about 10 minutes on a cutting board with a juice groove.
- Cut the rack into chops, and serve with Hazelnut-Mint Pesto (recipe follows).

Hazelnut-Mint Pesto
Yield: 4 cups
Active time: 10 minutes
Start to finish: 10 minutes
3 cloves garlic
1/2 cup hazelnuts, toasted
1/3 cup parmesan cheese, grated
2 cups mint leaves
2 cups parsley leaves
1/2 lemon, juiced
Extra virgin olive oil, as needed
Salt and pepper to taste
- Place the garlic, hazelnuts and parmesan cheese in a food processor. Pulse until finely chopped.
- Add the mint, parsley and lemon juice.
- Turn the food processor on, and slowly start adding the oil until you have reached the desired consistency.
- Season with salt and pepper to taste.
Oven-Roasted Green Beans
Yield: 4 servings
Active time: 10 minutes
Start to finish: 30 minutes
1 pound haricot verts, vine ends removed
Grapeseed oil, as needed
Salt and pepper to taste
- Preheat the oven to 425°.
- Place the beans on a sheet tray and toss with just enough oil to coat. Season with salt and pepper to taste.
- Roast the beans for about 20 minutes, or until tender and charred around the edges.
- Transfer the beans to a platter, and top with Tomato-Caper Relish (recipe follows).

Tomato-Caper Relish
Yield: 2 cups
Active time: 25 minutes
Start to finish: 25 minutes
2 tablespoons extra virgin olive oil
2 shallots, thinly sliced
5 roma tomatoes, seeded and diced
5 cloves roasted garlic (see note, below)
2 teaspoons dried oregano
1 tablespoon balsamic vinegar
1/4 cup capers
2 tablespoons fresh basil, chiffonade
Extra virgin olive oil
- Heat a large sauté pan over medium-low heat, and add the olive oil. Gently sauté the shallots until tender and aromatic, about 1 minute.
- Stir in the tomatoes, roasted garlic and dried oregano. Allow to cook for about 2 minutes, and season with salt and pepper to taste.
- Add the balsamic vinegar and cook until the pan is dry.
- Finish with the capers, basil and olive oil.
Note:
To roast garlic, slice the top off a whole head of garlic to expose the cloves. Place it in a small ovenproof dish, drizzle with olive oil and cover with foil. Bake at 350º for 40 to 50 minutes, until the cloves are soft and a light golden color.
Orange-Polenta Olive Oil Cake with Pistachios
Yield: One 9-inch cake; 8-10 servings
Active time: 30 minutes
Start to finish: 1 hour, 20 minutes
3 eggs
1 cup granulated sugar
1 1/2 cups whole milk
1 cup good-quality extra virgin olive oil
1/4 cup amaretto liqueur, such as Disaronno
1 tablespoon orange zest
1 1/2 cups all-purpose flour
1/2 cup coarse-ground cornmeal
1/2 teaspoon baking powder
1/2 teaspoon baking soda
Pinch of salt
Powdered sugar, for garnish
3/4 cup pistachios, toasted and rough chopped
- Heat the oven to 350° and place your oven rack in the center of the oven. Coat a 9-inch round cake pan with olive oil and flour tapping out the excess.
- In a large bowl, whisk together the eggs and granulated sugar until well blended and light in color. Add the milk, olive oil, amaretto and orange zest and mix well.
- In another bowl, stir together the flour, cornmeal, baking powder, baking soda and salt. Add the egg mixture to the dry ingredients, stirring until just blended (the batter will be slightly lumpy; do not overmix).
- Pour the batter into the prepared cake pan. Bake until a toothpick inserted into the center comes out with only a few crumbs, 40 to 50 minutes. Remove from the oven and place on a wire rack to cool completely.
- When the cake has cooled, run a knife around the perimeter of the pan and invert the cake onto a serving plate. Dust with powdered sugar, and cut into slices.
- Serve with Zabaglione (recipe follows) and garnish with the pistachios.

Zabaglione
Yield: 4 servings
Active time: 25 minutes
Start to finish: 25 minutes
1 egg
3 egg yolks
1/4 cup granulated sugar
1 orange, zested
1/4 cup orange juice
2 tablespoons amaretto
2tablespoons orange liqueur, such as Grand Marnier
- In the bottom half of a double boiler, bring 2 inches of water to a simmer.
- In a metal bowl that fits over the saucepan, but not touching the water, place the egg, yolks, and sugar.
- With an electric mixer or a whisk, beat the mixture until frothy.
- Place the bowl over the simmering water and continue to whisk.
- Add the zest, orange juice, amaretto, and orange liqueur. Beat the mixture until thick, about 5 to 7 minutes.
- The zabaglione should hold a soft shape when the beaters are lifted.
These next recipes are from my second chef dinner. The theme was Cicchetti, which is basically Italian tapas or appetizers to share with the table. One of my favorite ways to eat is family style. I love the assortment and small bites of variety.

Spicy Fennel Taralli (Crackers)
Yield: 75 small crackers
Active time: 40 minutes
Start to finish: 1 hour
1 cup olive oil
1 1/2 cups white wine
2 teaspoons salt
1 tablespoon red pepper flakes
2 teaspoons fennel seeds
2 teaspoons baking powder
4 to 5 cups all-purpose flour
- Preheat the oven to 400º and line two sheet trays with parchment paper.
- In a large bowl mix together the olive oil, wine, salt, pepper flakes, fennel seeds, baking powder and 4 cups of flour. Mix well until a ball forms. If the dough is too sticky add more flour as needed. Tip: It usually takes me 4 1/2 cups to get the right consistency. The dough should hold together, but not be dry.
- Working in small batches, roll the dough into a rope, that's about 1/2 inch thick. Cut into smaller pieces. The length of the pieces will depend on the size you want the taralli to be.
- Once the small ropes are cut, stretch slightly and cross its legs. Place them on the prepared sheet trays, and bake for 20 to 30 minutes or until golden brown. Tip: The baking time will depend on the size of the taralli, so watch the first batch so you can judge the cooking time for the rest. ¥
Note:
You can flavor the taralli with whatever you’d like! I’ve used fresh cracked black pepper, red pepper flakes, fennel, garlic, onion, olive, caper and sundried tomatoes. You can use these ingredients by themselves, or mix them together! If you want to use olives or capers, be sure to dry them well to eliminate the excess moisture.

Caponata and Whipped Goat Cheese Grilled Crostini
Yield: 2 quarts; 8 cups
Active time: 1 hour
Start to finish: 1 hour
1/4 cup (2 ounces) red wine vinegar
3/4 cup dried currants
2 tablespoons extra virgin olive oil
1 red onion, diced
4 stalks celery, diced
6 cloves garlic, minced
2 tablespoons granulated sugar
4 roma tomatoes, diced
1/2 cup cerignola olives, cut around the pit and julienned
1/2 cup pine nuts, toasted
1/4 cup grapeseed oil
5 eggplant, diced
1 tablespoon red chili flakes
1 bunch basil, chiffonade
Salt and pepper to taste
For the bread:
Italian bread, cut into 1/4-inch slices
Garlic grapeseed oil
Salt and pepper to taste
8 ounces goat cheese, room temperature
1/4 cup heavy cream
Salt and pepper to taste
- In a small bowl mix together the vinegar and currants. Allow to soak until the currants are softened. Strain the currants through a fine sieve, reserving the vinegar.
- Heat a large sauté pan over medium heat, and add the olive oil. Sauté the onions, celery and garlic until softened.
- Sprinkle in the sugar and cook until caramelized.
- Deglaze the pan with the reserved red wine vinegar, scraping free any browned bits from the bottom of the pan.
- Stir in the tomatoes, soaked currants, olives and pine nuts. Remove from the heat.
- Heat a separate, large sauté pan over medium-high heat, and add the grapeseed oil. Sauté the eggplant and chili flakes until golden brown.
- Transfer the cooked eggplant to the pan with the other ingredients, and mix well.
- Stew the caponata on low heat until everything has melded together, but isn't mushy.
- Fold in the basil, and season with salt and pepper to taste. Note: This is best served at room temperature.
- Heat a grill pan over medium heat.
- Brush both sides of the bread with the garlic oil, and season with salt and pepper to taste.
- Grill the bread for about 2 minutes on each side, or until slightly charred. Set aside on a platter.
- To make the goat cheese spread, place the cheese and heavy cream in a food processor and process until smooth and creamy. Season with salt and pepper to taste.
- To assemble the crostini, spread the grilled bread with the goat cheese, and top with a spoonful of the caponata.

Zucchini Fritters with Spicy Rock Shrimp and Tomatoes
Yield: 12 fritters
Active time: 45 minutes
Start to finish: 1 hour, 15 minutes
For the fritters:
2 pounds zucchini, grated and tossed in a bowl with 1 teaspoon salt
2 eggs
1/3 cup yellow onion, minced
2 cloves garlic, minced
1/4 cup fresh parsley, chopped
3 tablespoons fresh oregano, chopped
1/3 cup unbleached all-purpose flour
1/2 teaspoon baking powder
1/3 cup parmesan cheese, grated
1/2 teaspoon freshly ground black pepper
1/8 teaspoon nutmeg, grated
Oil for frying
For the shrimp:
2 tablespoons butter
1 pound rock shrimp
2 tablespoons garlic, minced
1 pint cherry tomatoes, halved
2 tablespoons fresh basil, chiffonade
Salt and pepper to taste
- In a large bowl toss together the grated zucchini and salt. Mix well, and allow to sit for about 30 minutes.
- Preheat the oven to 200º.
- Thoroughly wring out as much liquid as you possibly can (key for achieving crispy fritters). Tip: One method is to place the grated zucchini in a clean dish towel and wring out as much liquid as possible.
- Stir in the eggs, onions, garlic and herbs. Then stir in the flour, baking powder, parmesan and spices.
- Heat the oil in a sauté pan over medium-high heat. Drop about 3 heaping tablespoons of batter per fritter in the skillet, and fry on both sides until nicely browned. Place the fried fritters on a cooling rack set over a sheet tray to drain. Keep warm in the oven while preparing the shrimp and tomatoes.
- To prepare the shrimp, heat a large sauté pan over high heat. Add the butter, shrimp and garlic.
- Once the garlic is aromatic and the shrimp start to turn pink, add the tomatoes.
- Cook for 2 minutes and remove from the heat. Stir in the basil, and season with salt and pepper to taste.
- Serve the zucchini fritters with the shrimp and tomatoes on top.

Pan-Fried Polenta Cakes with Shaved Parmesan
Yield: 1/4 sheet tray; about 16 cakes
Active time: 25 minutes
Start to finish: 2 hours, 25 minutes
3 1/2 cups water or chicken stock
1/2 cup milk
1 teaspoon sea salt
1 cup coarsely ground cornmeal
1 tablespoon fresh parsley, rough chopped
1 tablespoon fresh basil, rough chopped
3 ounces mascarpone cheese
Salt and pepper to taste
3 tablespoons butter, for crisping the polenta
3/4 cup parmesan cheese, shaved
- Place the water or stock, milk and salt in a saucepan over high heat. Whisk in the cornmeal and bring to a boil.
- Reduce the heat to low and continue to cook, stirring frequently, until very thick. Polenta is done when a thin film of forms on the bottom of the pot, about 25 minutes.
- Remove from the heat and fold in the herbs and mascarpone.
- Season with salt and pepper to taste.
- Spread the creamy polenta into a buttered 1/4 sheet tray. Cover with plastic directly touching the polenta to prevent a film from forming.
- Chill in the refrigerator until set, about 2 hours but overnight is ideal.
- Once the polenta is set, cut it into circles, triangles or squares.
- Heat a nonstick sauté pan over medium heat and add the butter. Brown the polenta “cakes” in batches on each side until golden brown and crisp.
- Serve the crispy polenta on a platter topped with a dollop of your favorite marinara and parmesan shavings.

I can’t thank you all enough for your support in the past years. It has meant the world to me, and I hope to see you on the April 30th for an epic meal! You can sign up here. I really hope you try your hand at making these recipes. Comment below if you have any questions. If you can’t make it in April, make sure to keep your eye on our class calendar for other demo or even hands-on classes that may pique your interest.