Having homemade staples around the house, like stock or broth, marinara, barbecue sauce, or even precooked beans can make it so much easier for a home cook to whip up a quick meal on a whim. When you make your own staples, instead of using store-bought items, you can control everything that goes into them, therefore tailoring them to your health needs and to your palate.
Many home cooks make large batches of their favorite staples and freeze the extra, which is great, but if you're like me, and don't have a ton of freezer space, you might not be too keen on stuffing a bunch of stuff in your freezer. Plus there's the factor of waiting for it to thaw when you need it, and I don’t know about you, but I’m notorious for forgetting to do that when I need it.
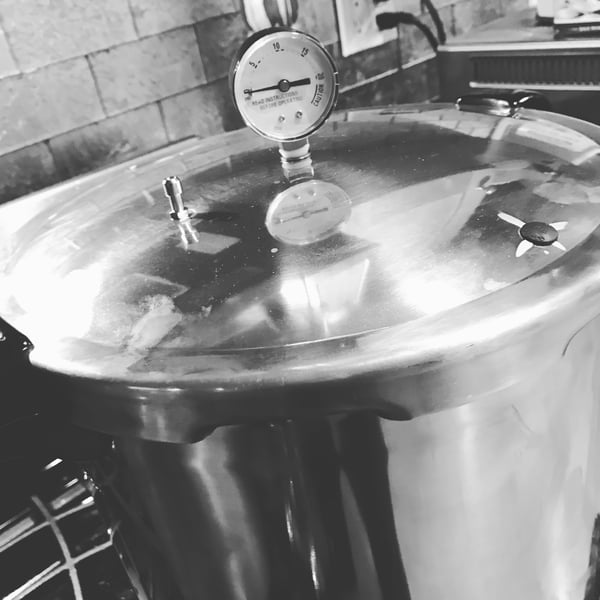
But fear not, there is a way to preserve your perishable staples safely for your cabinet: Pressure canning!
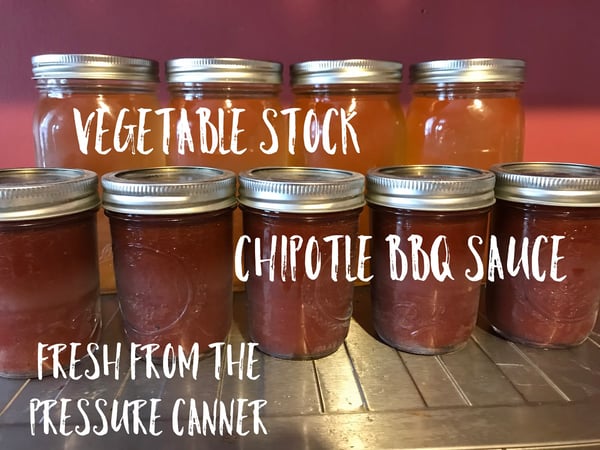
I got really into canning after assisting with The Chopping Block's Summer Canning and Preserving class last August. I canned a lot of jams and jellies. I decided that for Christmas, I wanted to give homemade canned gifts to people, and one thing I really wanted to do for my very Italian family was make & dry homemade pasta, and make & can marinara. After reading up on how to can marinara, I learned that since it’s a low acid food, it would need to be pressure canned. So I bought a pressure canner, and was immediately hooked. I started pressure canning all my regular staples. From buying super cheap about-to-go-bad berries to make jam, to using vegetable scraps (onion tops, carrot peels, etc) I put in a freezer bag to make stock, I began to see that this pressure canner had already sold itself in the money I’d been saving.
Not only are canning and pressure canning super economical, you can also control the portions of what you’re canning to exactly what you need, which helps cut down on food waste. For example, I cook for 1-2 people regularly, so having 8oz jars of something like marinara allows me to grab exactly what I need for a recipe. This is better than the alternative; opening an overpriced store bought 32oz jar of “eh” flavored marinara, shoving the unused contents in the back of my fridge, forgetting about it, and inevitably letting it go bad and go to waste.
Canning is also much more eco-friendly than freezing and refrigerating, as you use less energy by not overcrowding your fridge or freezer. Plus the glass jars are reusable and the one-time use lids are recyclable. Also if you're a gardener, canning & pressure canning your home-grown produce can make you pretty self-sustainable in the kitchen.
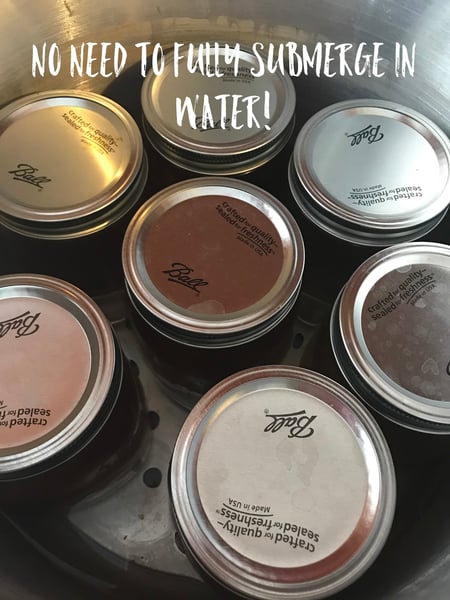
One of the especially eco-friendly perks about a pressure canner in particular is that you use less water to can. In a water bath canner, your jars must be completely submerged in simmering water, which can be anywhere from 3-4 gallons. When using a pressure canner, you only need about 3-4 inches of water (there is usually an indicator line on the inside of the canner), which is about 1½ gallons.
I still use a water bath canner, as it is a great way to preserve pickles and jam. These items are perfect for water bath canning because they are foods with high acid content. In environments with high acid content, botulism (the common culprit in food spoilage) cannot grow and thrive when indirect heat (aka the surrounding water) is introduced, so your home canned goods are safe.
However, when it comes to foods that are low in acid, like beans, sauces, and most vegetables, water bath canning is not effective because water can only reach 212°F. In a low acid environment, that is not hot enough to kill bacteria that causes botulism. That's when you need a pressure canner, as it creates a… well… pressurized environment, which allows water to reach up to 250°F, hot enough to kill any botulism causing bacteria.
The design of a pressure canner is similar to that of a pressure cooker, just on a larger scale. And yes, just like a pressure cooker, the canner might be very intimidating to a lot of home cooks. But when knowing the right technique of how to use one, it can be the greatest item a DIY kitchen fanatic can have.
There are two types of pressure canners; dial gauge and weighted gauge. I’ve only ever used a dial gauge, so that will be the basis for my instruction. But both weighted and dial gauges have a lot of the same features, as you see here:
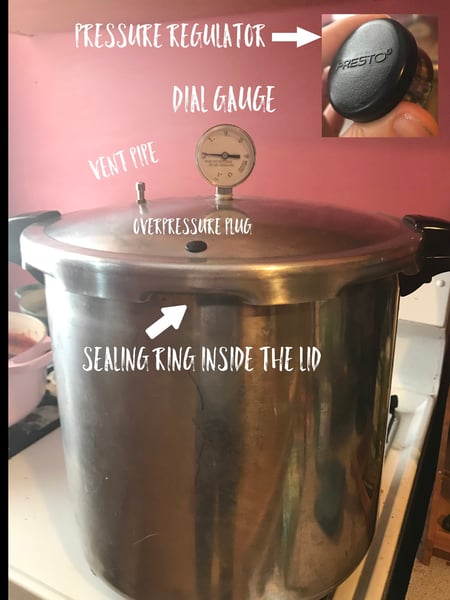
Both have vent pipes and a safety valve, both to ensure that you can pressure can at home safely. In this post, I will walk you through the steps that I personally take when I pressure can, but to ensure maximum safety, be sure to have your manual handy, and read the instructions thoroughly.
According to a lot of online forums and videos, you technically don’t need to sterilize your jars, just merely clean them. Me being the Nervous Nellie that I am, I still take the precaution to sterilize, but instead of schlepping out another large vessel of water and waiting for that to boil, I put my jars on a sheet tray and place them in a 350 degree oven for 15 minutes, and I place the lids & bands in a small pot with simmering water for a few minutes.
Once the jars are sterilized and warm, fill them with whatever it is you’re canning, making sure that your canning goods are also warm. Unlike water bath canning, where you only leave ¼ inch of headspace, I leave a full inch. This ensures that the jar won’t blow under the pressure. Don’t worry, it’ll still be sealed and no bacteria can get in. (There’s also no need to add lemon juice, citric acid, or extra vinegar either). Then just wipe the rims with a damp clean paper towel, and put the lid on until it’s fingertip tight. You may need to use a towel for this because it will be hot.
Place the jars in your pressure canner. One great thing you can do when pressure canning that you can’t do in a water bath canner is you can stack the jars! Just make sure you don’t stack a jar completely over a band. Staggering them will provide you with a tighter seal.
 Ready to start the pressure? Hold your horses! Before you put that lid on, inspect it thoroughly:
- Is your sealing ring lined up tightly on the inside of the lid? Good!
- Is your pressure plug in place but not too tight? Check!
- Is your pressure regulator near you and ready to go? Okie dokie!
- Is your dial gauge tightened? I’ve found that sometimes the pressure dial gauge’s nut & bolt get loose on the bottom, especially after I’ve previously used my canner. If it’s loose, air escapes and I can’t get any pressure to build up, so tighten it!
Inspect, inspect, inspect!
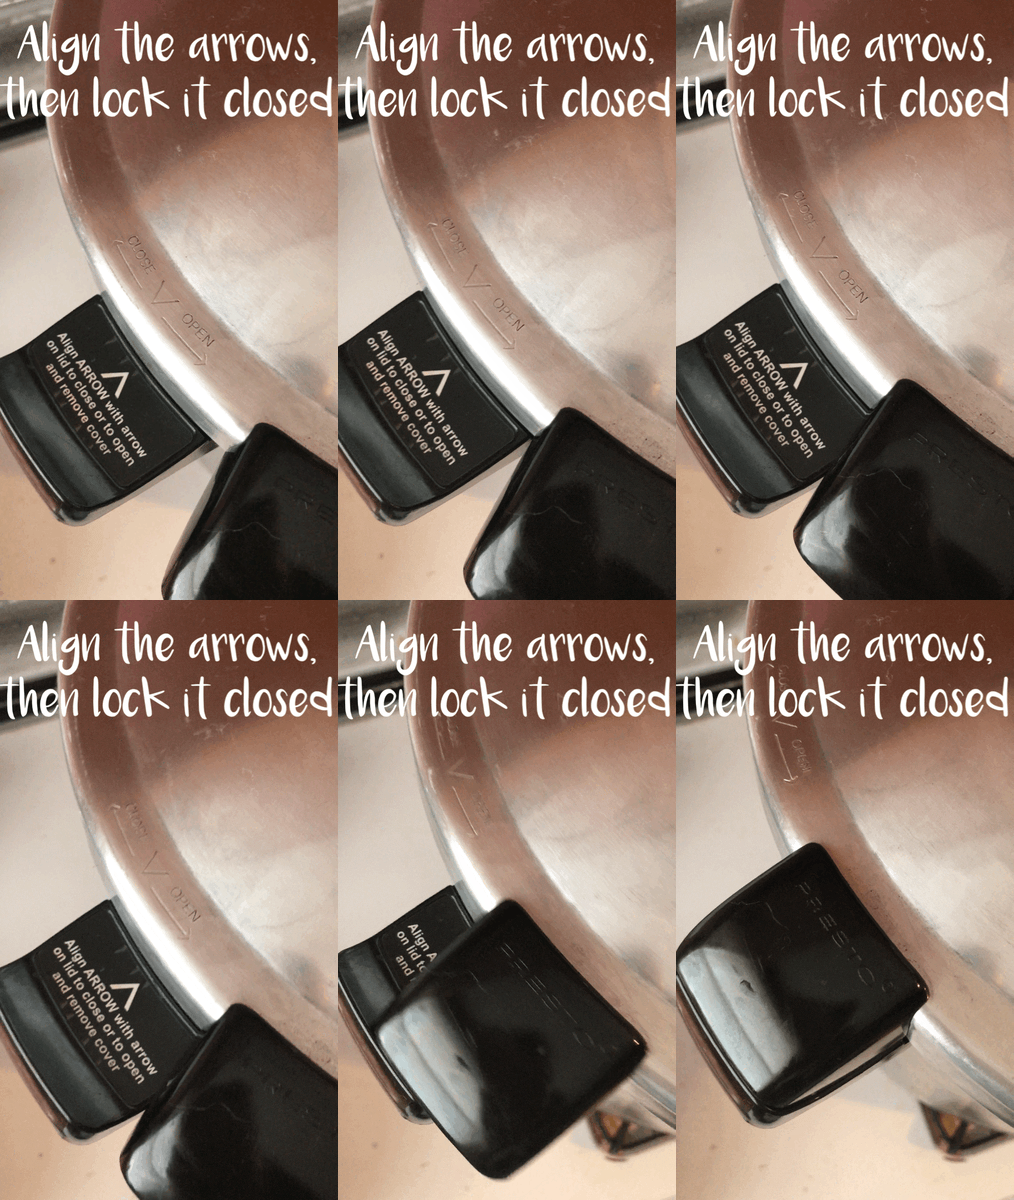
Inspection complete? Clamp the lid on tight. There are usually arrows to indicate where you need to line up your canning pot with your lid to lock it shut. Crank that heat up to the highest setting on your largest burner.
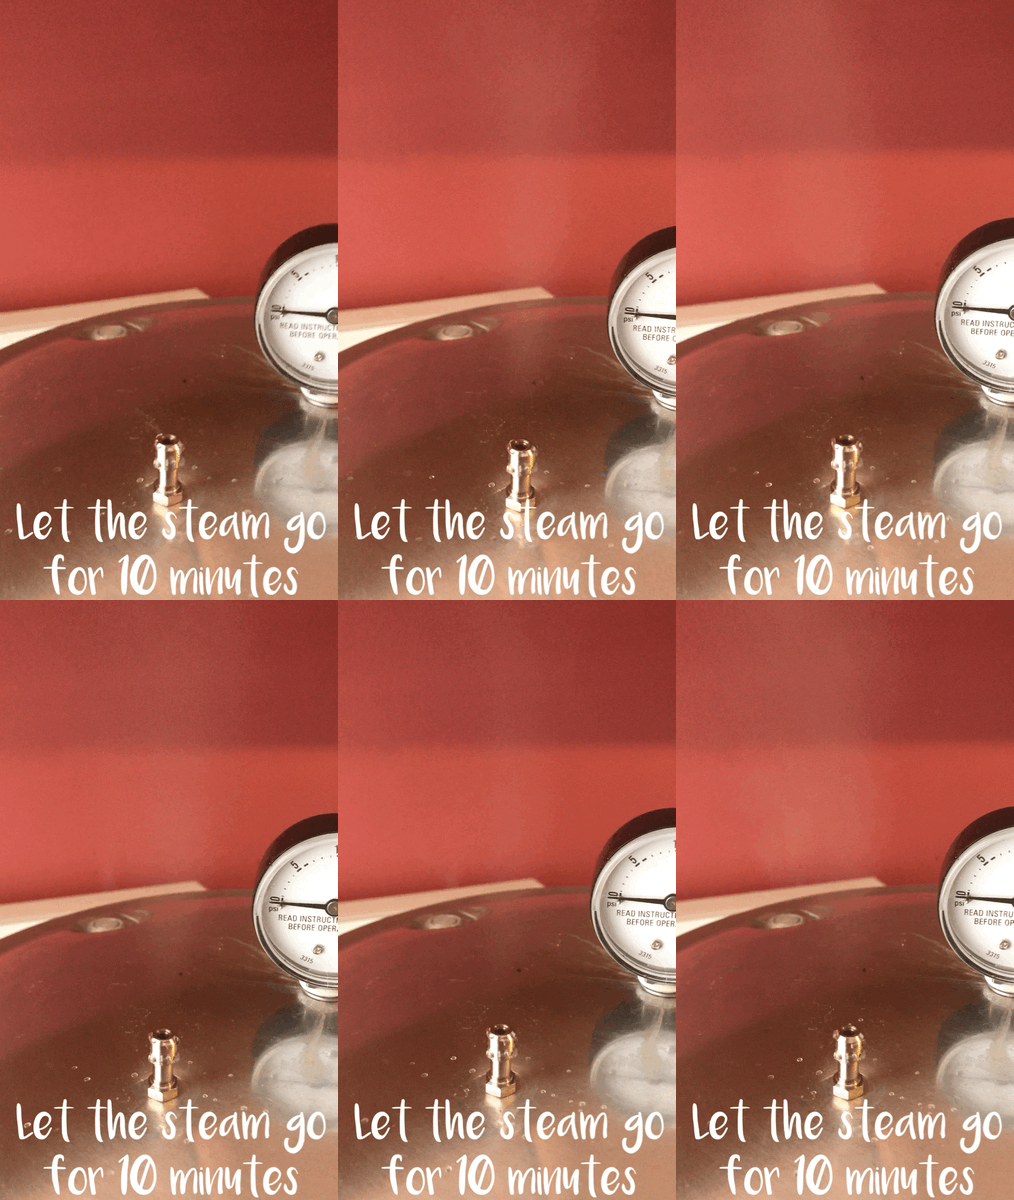
 Once you see steam coming out of the vent pipe, let that vent for a full 10 minutes. It’s gonna make some weird noises, but don’t fret! That’s normal (and a good thing).
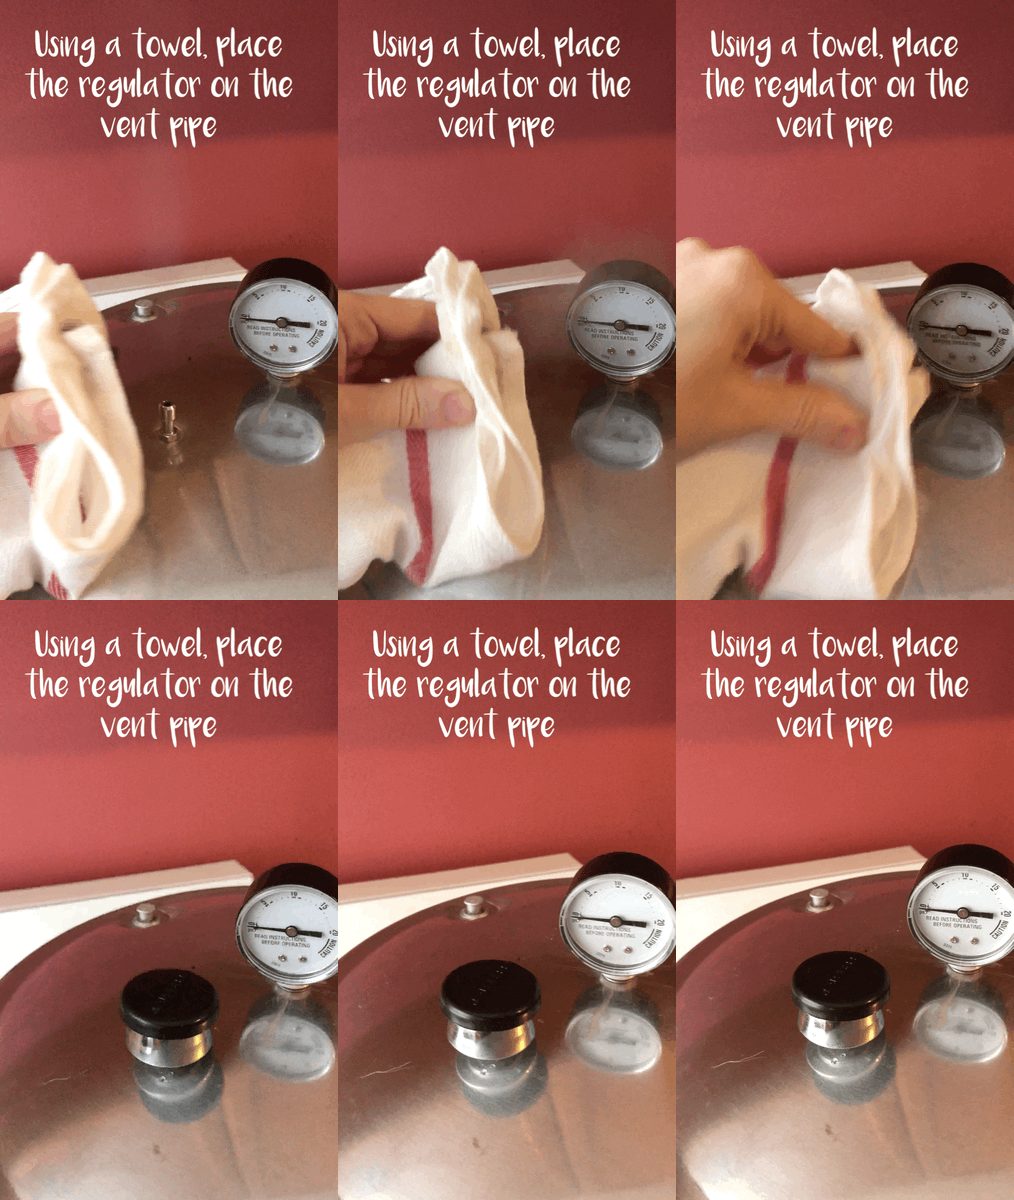
 After that 10 minute mark, place the pressure regulator on top f the vent pipe, using a towel, because the steam is hot.
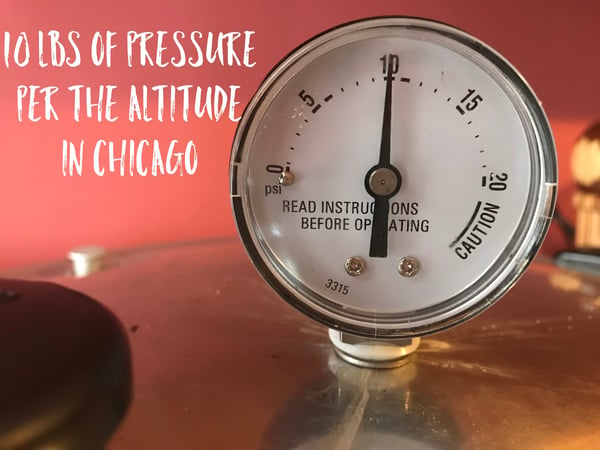
 You’ll soon see the dial on the gauge start to rise. Be sure to research the recommended PSI to use based on your altitude level. Here in Chicago, 10-12 pounds of pressure is the recommended PSI. This is when you’ll need to start regulating the flame on your burner. It may need to be high, it may need to be low, or it may need to fluctuate. Whichever way, keep your eyes on it. I like to pressure can 8oz & 16oz jars for 20 minutes, and my 24oz & 32oz jars for 25 minutes.
 Once the time is up, turn the heat off and let the dial gauge go down to 0. Once at 0, remove the pressure regulator. There will be a little excess steam coming out of the pipe. Once that stops, you may take the lid off and carefully . remove the jars. Place them on a level surface, and let them rest undisturbed, until the seals of the jars all “ping” shut. If any of your jars don’t seal, you can still use it for about a week or so.
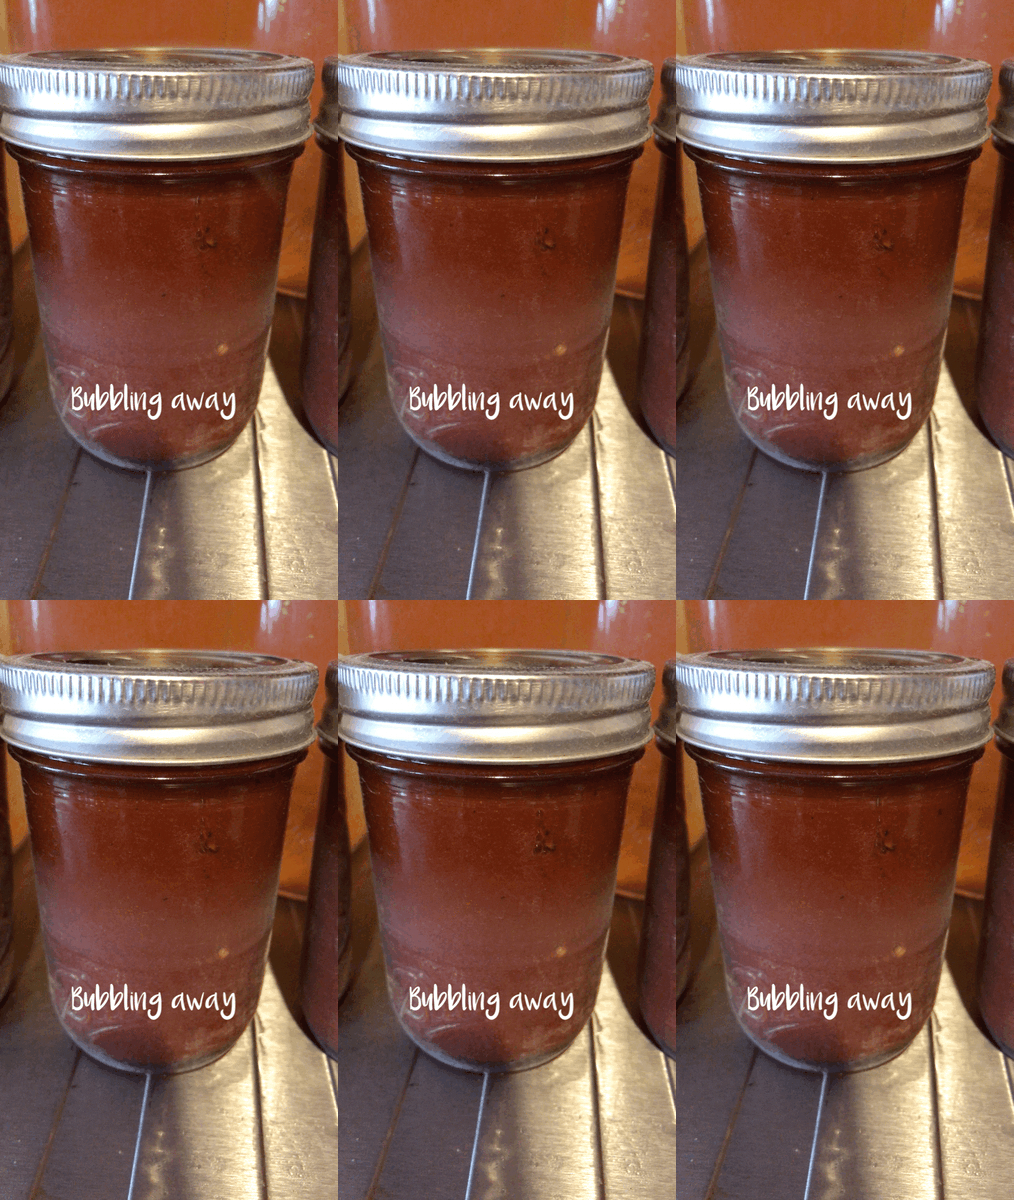
My favorite thing about pressure canning is seeing the jars continue to bubble after you remove them!
 If you like having your own staples on hand, and think you can handle the pressure, I highly recommend investing in a pressure canner. Once you get over the initial intimidation factor, you can take your DIY self-sustaining kitchen to so many new levels.
Our Canning and Preserving classes will return in full force this summer! Get a head start by signing up for our July 15 demonstration class at Lincoln Square.


