Cold weather outside means it’s time to wake up your oven and warm up with some fresh, homemade bread. Bread making can be intimidating, but with the right tools and a few helpful tips, you’ll be slicing into your own creations in no time.

Here are my favorite tools for every step of the way.
1. Measure it out!
Accurate measurements are the foundation of a good bake. Using the right tools for the job will go a long way to bake better bread.

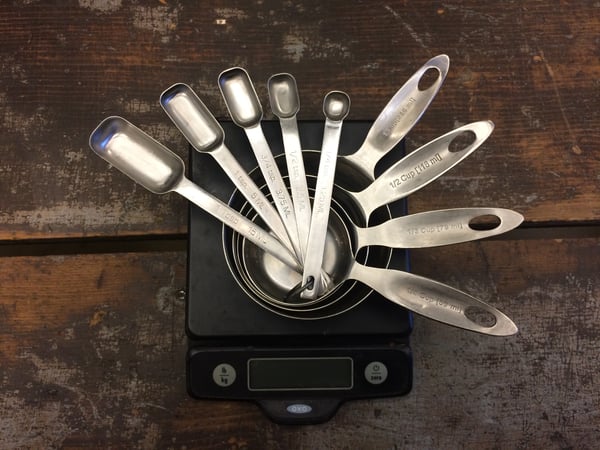
Measuring cups and spoons for dry ingredients: if you can scoop it with a spoon, it belongs in here! Examples include flours, salt, sour cream, yogurt, and sugar.
Digital scale for recipes done by weight: this is the most accurate and consistent way to measure both wet and dry ingredients. Many advanced and most professional baking books will use ingredients that are weighed out.
Liquid measuring cups: if you can pour it, it belongs in here! Examples include milk, honey, oils, water, and melted butter.
Having an assortment of bowls in various sizes is essential. Smaller bowls for measuring out ingredients, larger bowls for mixing and proofing your dough.
Shaping and forming your dough is lots of fun, but can be frustrating without the right tools.
Bench scraper: The ultimate baker’s tool! The perfect instrument for dividing your dough into dinner rolls or strands for braiding, and for cleaning our your work area afterward.
Pastry brush: The delicate tough you need for removing excess flour from your dough, or for applying glazes and washes for a beautiful, shiny crust.
4. Get Baking!
Bread can either be baked in a pan or free-form on a baking sheet or hot stone. Each method yields different, but equally beautiful results.
Pizza peel and stone: For a traditional look and a crisp crust, a pizza stone is the way to go. The ceramic material hold heat more evenly than a baking sheet, and the unglazed surface draws moisture out of the dough for a crunchy crust. The stone is preheated in the oven, and a peel is used to transfer the dough in and out of the oven.
5. Is it done yet?
The most accurate way to know if a loaf is done is to take its internal temperature. A digital probe thermometer is a quick and easy way to know if your bread is ready to come out
Unfortunately there isn’t a great tool for this step. But, waiting for your bread to cool off is an essential step. When the bread comes out of the oven, the residual heat continues to cook the dough and enhance the structure of the bread. Slicing too early interrupts this process and creates a gummy interior, so take a break and enjoy the aroma while your bread cools to room temperature.
7. Time to eat!
A nice, big cutting board is the perfect way to serve your masterpiece, and a serrated knife is the perfect way to cut it. The teeth of the serrated blade are perfect for slicing through bread’s tender crumb without crushing it.
Love to make your own bread but avoiding gluten? Check out our brand new Gluten-Free Breads Boot Camp at the Merchandise Mart on January 28th. There's just one spot left!
