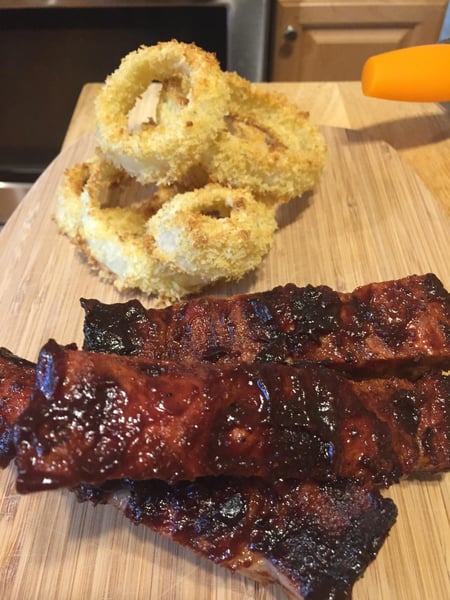
Onion rings are one of those dishes I would never think to make at home. They are delicious, but who wants to deep fry in August? I certainly don't! But here lies the dilemma… I don't want to deprive myself of these tasty, crunchy morsels at home, so I came up with a solution.
When it was time to come up with a side dish to accompany bbq ribs for dinner over the weekend, I decided to try a twist on the onion ring. Instead of making the deep fried classic, I decided to try a more approachable version: crispy panko coated oven-baked onion rings! They are not only a healthier alternative, but really delicious, too! If you're like me, there's some skepticism when changing a recipe to make it healthier, but this oven-baked version really delivered in taste and texture.
Here's how you do it:
1. Preheat your oven to 425º, and line 2 sheet trays with parchment paper.
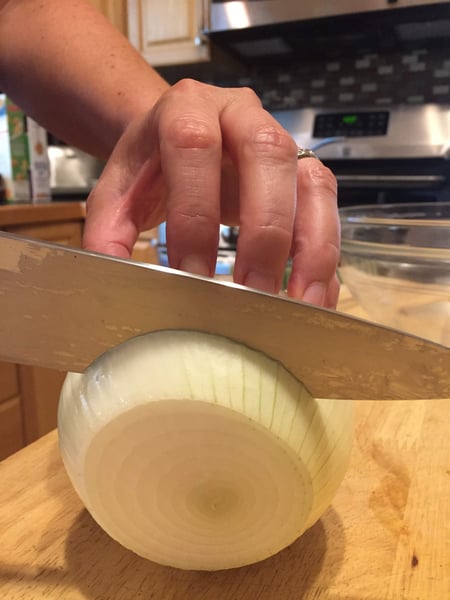
2. Peel 2 Spanish onions, and cut them into 1/2- to 3/4-inch rounds. This is more than enough onion to serve 4 people.
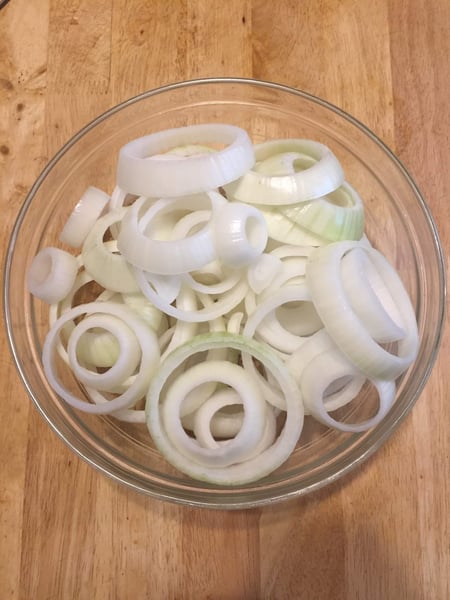
3. Separate the layers, and place in a large bowl. Season with a generous sprinkling of salt.
Tip: I used The Chopping Block's very own herbs de Provence salt in this step. It added such a great layer of flavor!
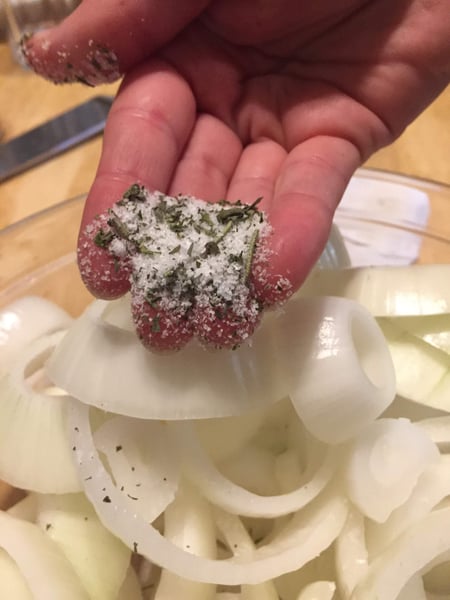
4. Let the onions sit while you're getting the remaining ingredients together.
5. Get your dredging station set up:
- Fill one shallow bowl with all-purpose flour.
- In another shallow bowl, whisk together 3 eggs and 1/4 cup buttermilk.
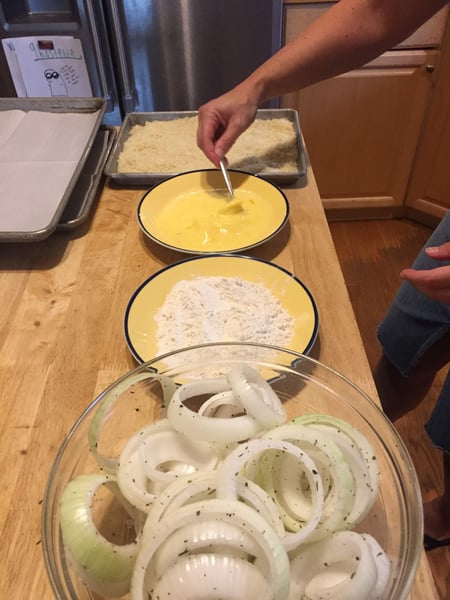
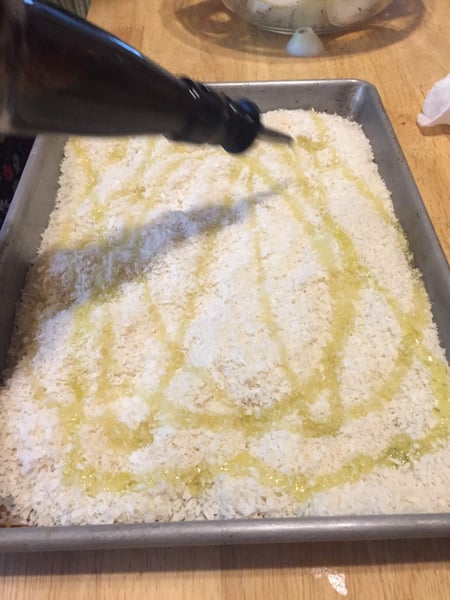
- On a sheet tray, toss together 4 cups of fine breadcrumbs with 2 tablespoons extra virgin olive oil. Note: You can use panko breadcrumbs, but I would pulse them in a food processor a few times. The finer the breadcrumbs, the better coverage you'll have.
6. To bread the onions rings, follow these steps:
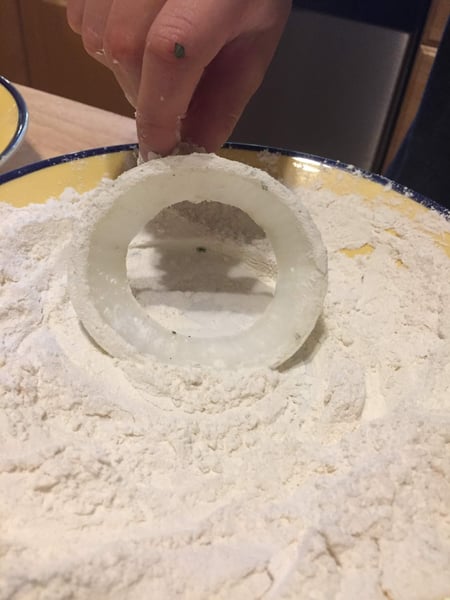
- Dredge the onion rings through the flour, shaking off any excess.
- Dip the onion rings into the egg-buttermilk mixture coating them well.
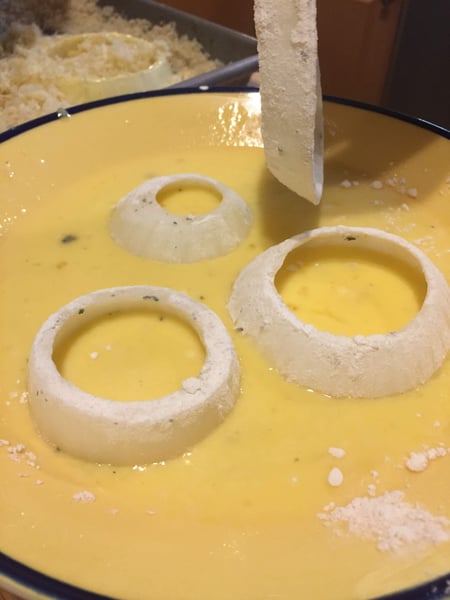
- Thoroughly coat the onions rings with the breadcrumbs.
Tip: Grab some family members, and set up an assembly line.
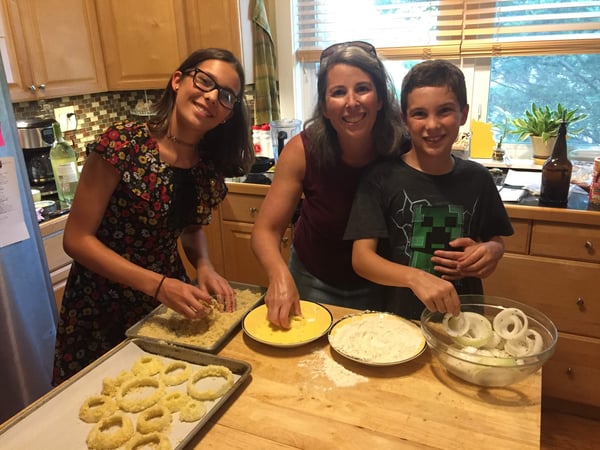
7. Place the breaded onion rings on the prepared sheet trays, and bake until golden brown and crispy, 15 to 20 minutes. Serve hot with ketchup, bbq or plain!
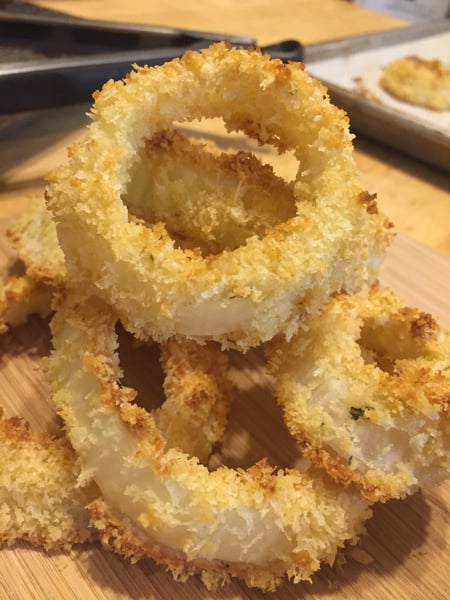
I wasn't totally sure how these would compare to the deep fried version, but my family was blown away by how delicious they were! My son, who normally picks out every little bit of onion from his food, was devouring these. We were all laughing at his willingness to eat anything that's breaded and "fried".
This delicious side dish is so versatile, and goes with so many different foods, but my suggestion is to pair them with any one of the burgers in our Beyond the Burger outdoor grilling class or with the sliders in our Summer in the City outdoor grilling class this grilling season.
