For many who love baking, homemade croissants represent a particularly challenging prospect. So for those of us that don’t even like to bake, croissants can be downright terrifying! And let’s just be perfectly honest, could homemade croissants ever be as good as those from a professional bakery? I think not! Does anyone really have two whole days to devote to a few pieces of dough whose flakes will inevitably leave grease stains all over your clothes? Certainly not!
 Oh, but they are really so delicious, especially when hot out of the oven. And so it was that when I found myself in Paris last week, I saw my chance to finally conquer this flaky, buttery demon of my cooking nightmares at the fabulous La Cuisine Paris French Croissant Class.
Our chef Eric began by explaining the multi-step process of creating laminated dough. Laminated dough is the basis of the croissant and all of its cousins and is created by folding butter between layers of dough several times to create alternating layers of butter and dough, thus creating the croissant’s unique flakiness.We began with flour and added water, sugar, salt, butter and fresh yeast to it.
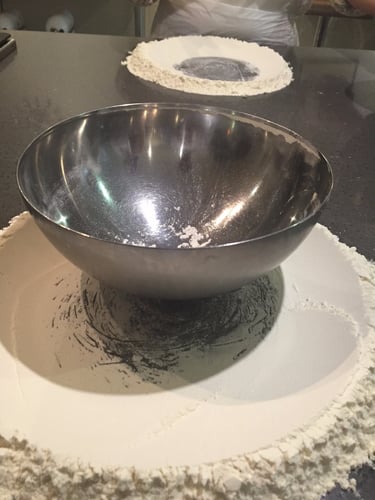
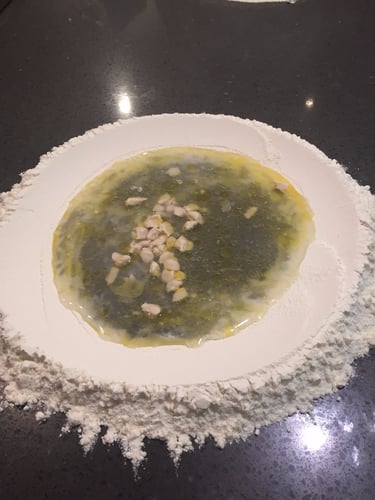 After swirling it around, we formed it into a ball and then kneaded the ball until it was firm and smooth. Then we put it aside to rest.
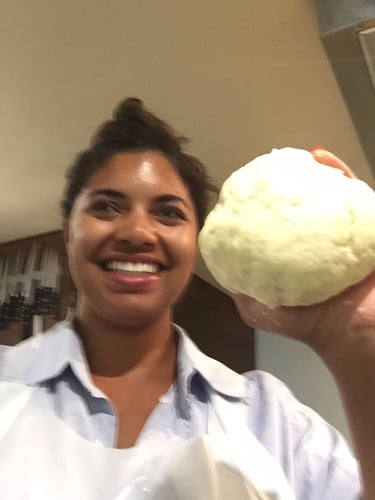 While our dough rested, we worked on preparing our butter. We flattened and rolled out the butter creating a rectangle that would later be encased by our dough.
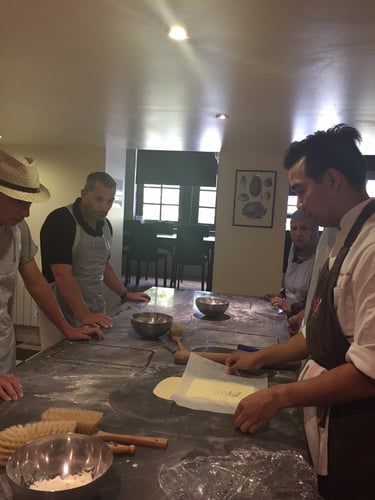 The key to a good croissant and developing those flaky layers is to keep everything cold so that the butter layers remain distinct from the dough layers. So, in between each step everything has to go back into the fridge which is what makes this such a time-consuming process. Here in class we worked with dough from the previous day so that we could move right along to wrapping our butter in dough and then folding up our dough to create those delicious layers. We did three series of rolling out the dough and then folding it in on itself, with time in the refrigerator in between each step.
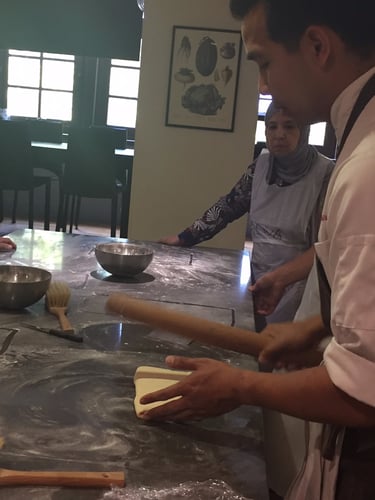 After a final pass through the refrigerator, we rolled out our dough and then moved on to cutting and shaping the dough. We formed it into the classic croissant, cutting long triangles and rolling them up to make the traditional crescent shape.
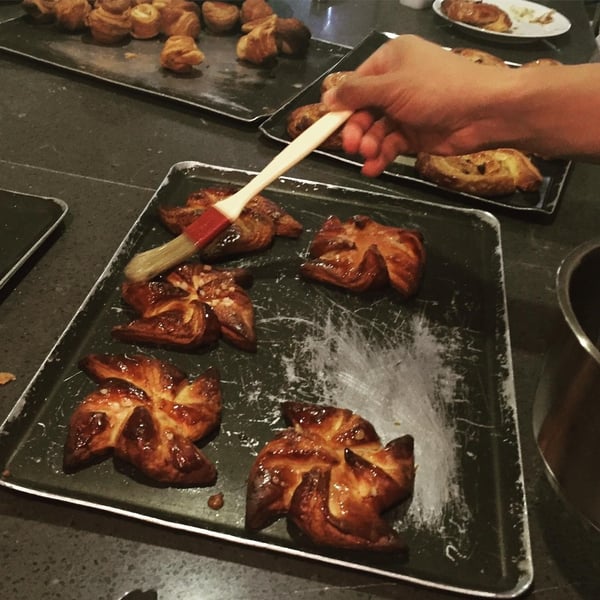
 We also cut some squares that we turned into pinwheels and other shapes that we sliced into little baskets to hold some jam. After some proofing in a warm oven, it was time to bake. And just a few minutes later, voila! And a few minutes after that, these were all gone!
 If you’ve ever considered trying your hand a homemade croissants all I can say is do it, but don’t do it alone. This is a fairly technical process requiring a good deal of guidance, even for us professionals, so join us for The Chopping Block'stwo-day Croissant and Danish Boot Camp on September 9th and 10th where you too can tackle this flaky foe and learn all about the many sweet and savory ways to use laminated dough.


